Think of backing up your WordPress site as the ultimate insurance policy for your online business. It’s simply the process of making a complete copy of your site—all the files, all the database entries—so you have something to fall back on if things go south. This isn't just some techie chore; it's the safety net that catches you when an update backfires, a security breach happens, or you just make a simple mistake.
Why Backing Up Your Site Is Not Optional
Let's be real—backups feel like a hassle right up until the moment they save your skin. And that moment always seems to come out of nowhere, turning what could have been a minor glitch into a full-blown catastrophe if you're not ready. Assuming your site is somehow immune to problems is a bet you don't want to make.
The truth is, websites can break in countless ways. A seemingly harmless plugin update can clash with your theme and trigger the dreaded "white screen of death." Human error is another big one; accidentally deleting a critical file or messing up a database query can knock your entire site offline in an instant.
The Real-World Risks You Face
And then there are the security threats, which are always lurking. Hackers are constantly probing for weaknesses to exploit, and a successful attack can lead to lost data, a defaced homepage, or much worse. While the core of the WordPress platform is solid, its incredible flexibility is also its biggest challenge.
Just think about the sheer scale of it all. As of 2025, WordPress powers something like 518 million websites, which naturally makes it a massive target. Even though the core software is secure, a staggering 96% of security vulnerabilities actually come from third-party plugins and themes. These are the tools we all rely on to add features, but they also open up new doors for potential attacks.
Your First Line of Defense
This is where a reliable backup becomes your best friend. It turns a potential disaster into a manageable inconvenience. Instead of frantically trying to rebuild your site from scratch, you can just restore a recent, clean version and get right back to business.
Backing up your WordPress site isn't just a best practice; it's a fundamental part of being a responsible website owner. It gives you peace of mind, knowing your digital assets are safe from the inevitable and the unexpected.
It's really not a question of if something will go wrong, but when. Having a solid backup plan in place means you're prepared for that moment. It’s the difference between a few minutes of downtime and days—or even weeks—of lost income and a damaged reputation.
Choosing the Right WordPress Backup Strategy
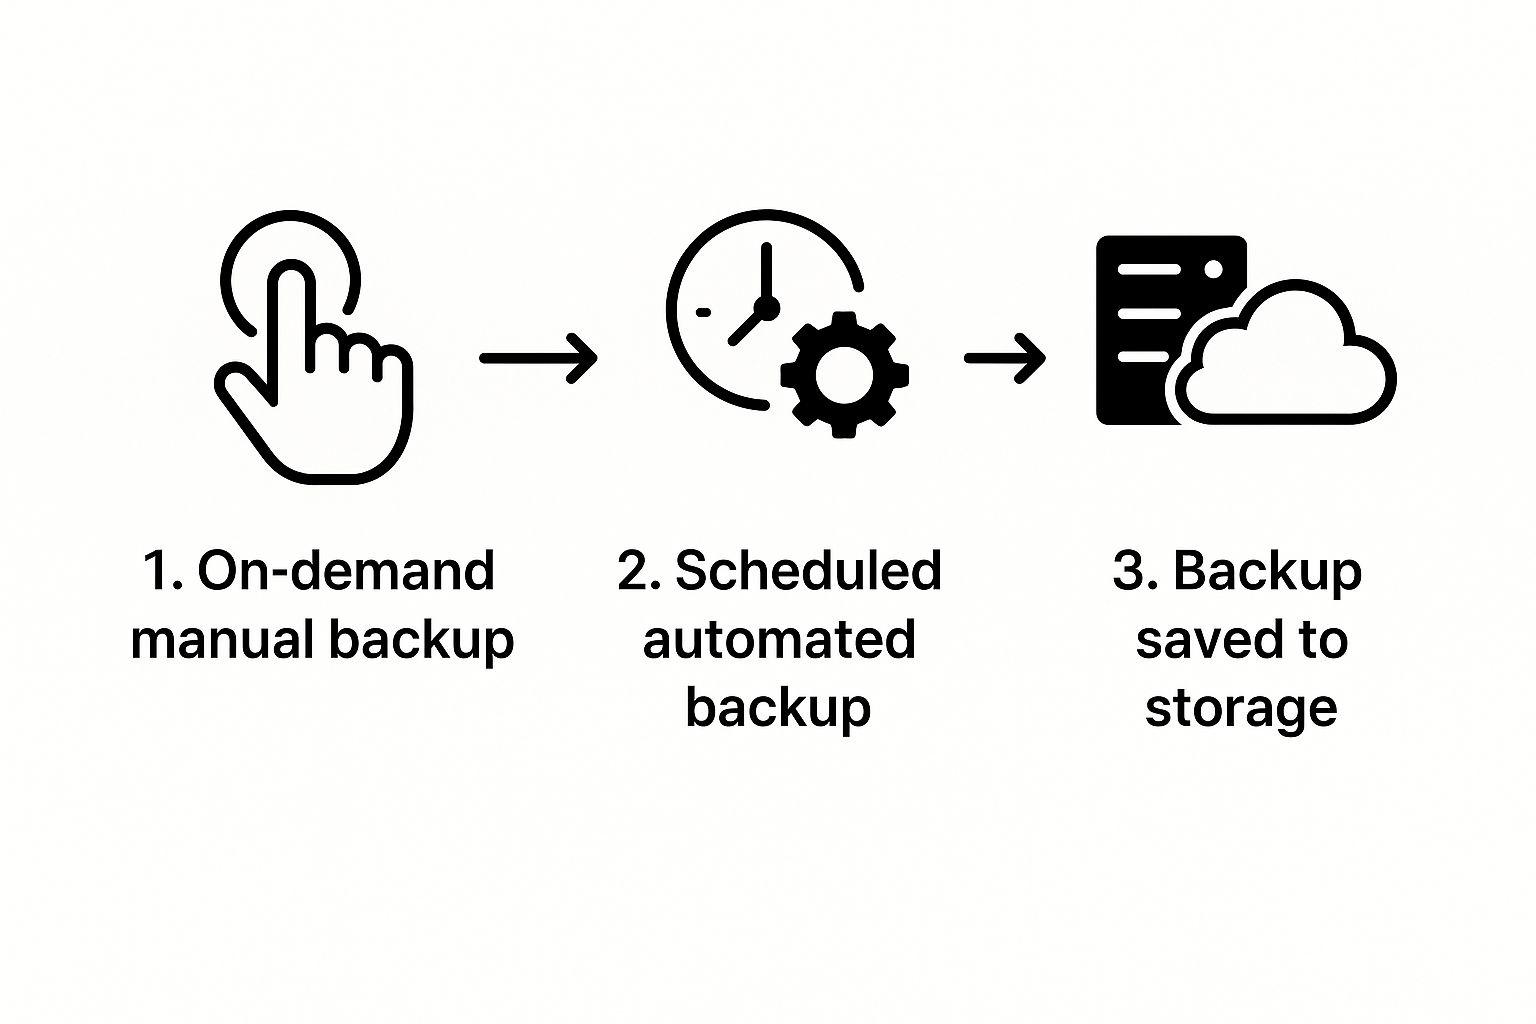
Before you get into the nuts and bolts of backing up your site, you need to decide how you're going to do it. The best method for a small personal blog is a world away from what a busy online store needs. Your choice really comes down to one of three main approaches.
The most common route, by far, is using a dedicated backup plugin. This is almost always the best bet if you want something convenient and automated. Good plugins take care of everything for you—scheduling the backups, zipping up the files, and shipping them off to a safe place like Google Drive or Dropbox.
On the other end of the spectrum is the manual approach. This involves getting your hands dirty with tools like cPanel or an FTP client to download your files and database yourself. It gives you maximum control and is a great way to understand what makes your site tick, especially if you only need to grab specific files.
Comparing Your Main Options
So, which path is yours? It all depends on your technical comfort level, how complex your site is, and honestly, how much time you want to spend on this. Every strategy for backing up your WordPress site has its own pros and cons.
If you have a simple portfolio that you only touch a few times a year, a manual backup every quarter is probably fine. But if you're running an eCommerce shop with orders coming in every day, you absolutely need a rock-solid, automated system to prevent data loss.
Here's a quick breakdown of the core differences:
- Automated Plugins: Perfect for beginners and anyone with a busy schedule. You set it up once and it just works, ensuring your backups are always consistent.
- Manual cPanel/FTP: Best for users comfortable in a server environment who want total control over the backup process.
- Host-Provided Backups: A handy safety net that your hosting company provides. It's great to have, but often isn't as flexible or easy to manage as a dedicated plugin.
The best backup strategy is the one you’ll actually use. Consistency beats picking the “perfect” but complicated method every single time. Choose what fits your workflow.
Making the Right Choice for Your Site
For most people, a quality backup plugin strikes the perfect balance of reliability, ease of use, and powerful features. It takes human error out of the equation—no more forgetting to run a backup for weeks!—and turns a stressful restoration process into a few simple clicks.
If you're juggling multiple websites, the value of a single dashboard becomes crystal clear. A desktop app like WP Foundry can be a huge time-saver, letting you manage backups for all your sites from one place. To get a better handle on this, you can learn more about building a solid website backup plan for WordPress.
Ultimately, think about how often your site changes. If you’re publishing content, getting orders, or have users registering daily, an automated, daily backup is non-negotiable. For more static sites, a weekly or even monthly backup schedule will do the trick. Just make sure your backup frequency matches your rate of change.
Using a Plugin for Automated WordPress Backups
For most people, the simplest way to handle backing up your WordPress site is to use a dedicated plugin. It takes all the technical guesswork out of the process, giving you an automated solution that just works in the background. It's the definition of peace of mind.
These plugins turn a potentially complex task into a straightforward "set it and forget it" process. In just a few minutes, you can set up a recurring schedule, decide exactly what you want to save, and have the backup files sent to a secure spot off-site. Honestly, this is the gold standard for protecting your site.
Getting Started with a Backup Plugin
First things first, you need to pick a plugin. The WordPress plugin repository is full of great options, but UpdraftPlus is one of the most popular and trusted out there. It has millions of active installations for a reason.
The free version is surprisingly powerful and more than enough for most websites. It gives you scheduled backups and lets you connect to remote storage, which are the two most important features.
Here's what its plugin page looks like:
That high rating and massive user base tell you it's a solid tool that people rely on.
Once you install and activate it, you’ll find its settings panel right in your WordPress dashboard. This is your control center for setting up your backup schedule, linking cloud storage, and everything else. The interface is built to be intuitive, so you don't need to be a developer to get it right.
Configuring Your Automated Backup Schedule
The real magic of using a plugin is the automation. You get to decide how often your site is backed up—daily, weekly, or if you run a busy eCommerce shop, even hourly.
For most blogs or standard business sites, a good starting point is a daily database backup and a weekly full-site backup. This schedule ensures your latest content like posts, pages, and comments are always safe, while also keeping a recent copy of all your theme and plugin files.
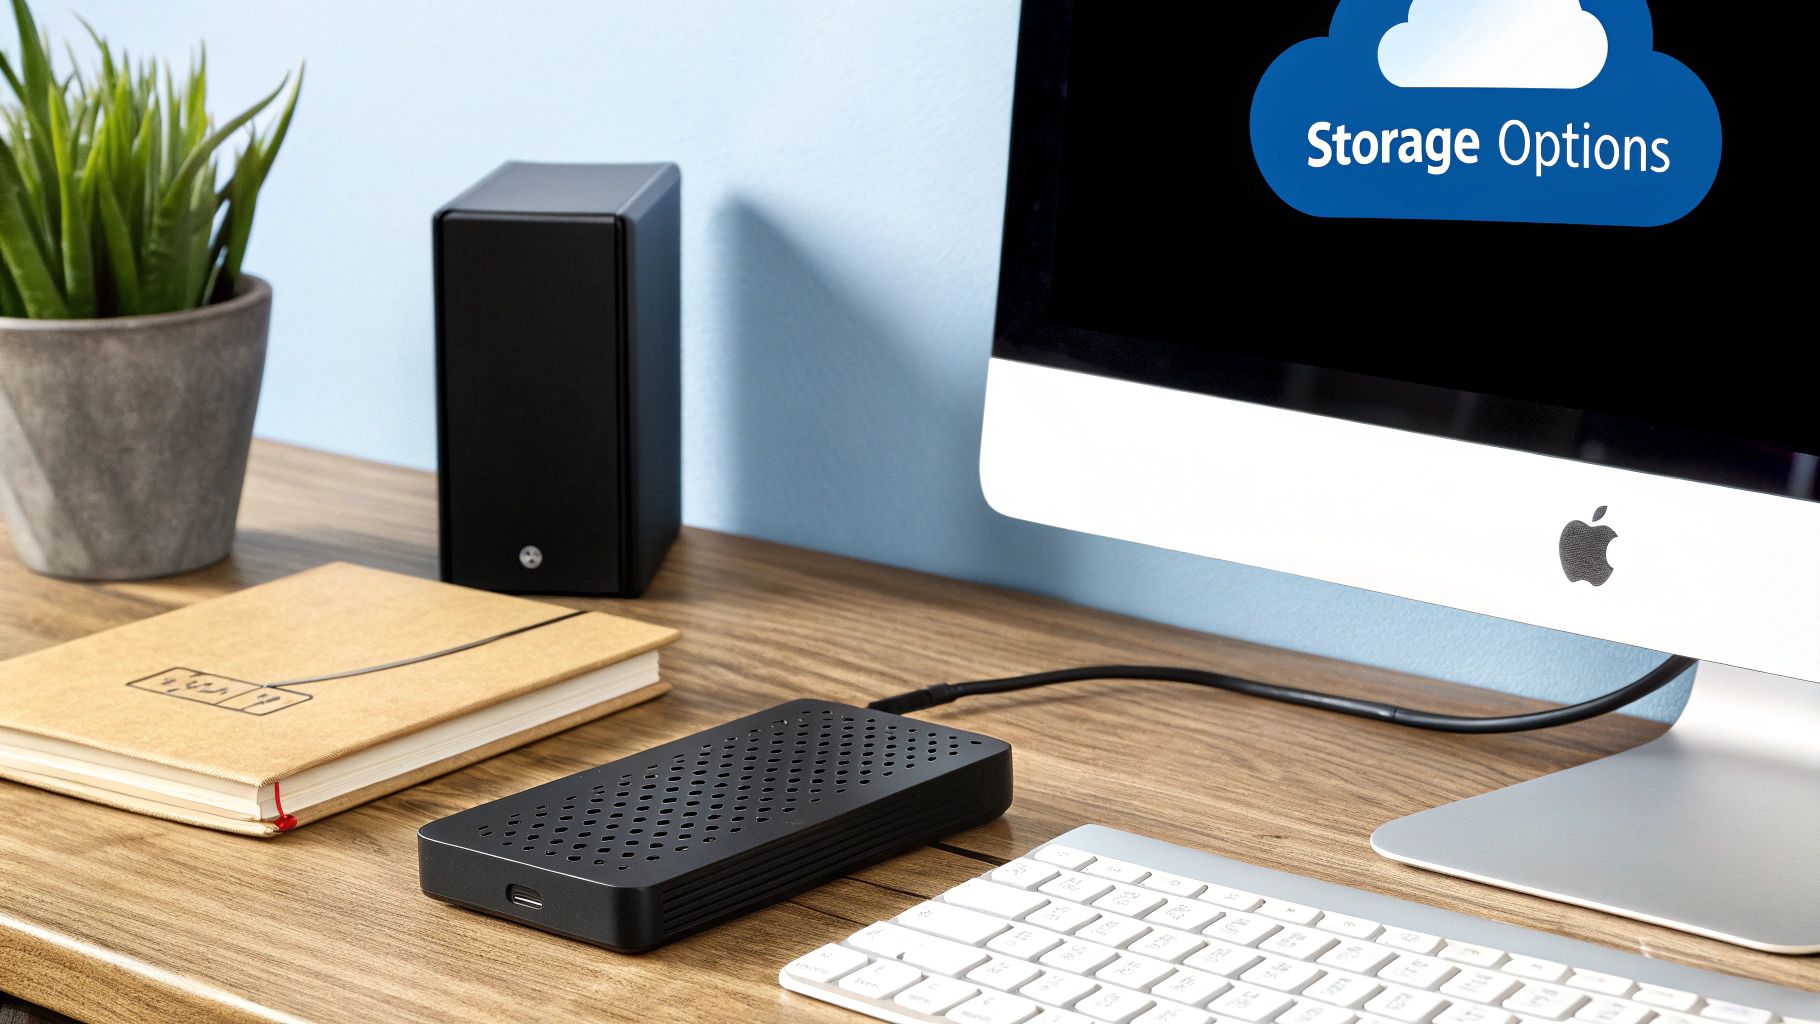
The single most important part of this setup is choosing a remote storage location. Never store your backups only on the same server as your website. If the server crashes or gets hacked, your backups are gone too.
Storing backups on your server is like keeping the spare key to your house inside the house. If you get locked out, the spare key is useless. Always send your backups to a separate, off-site location.
Plugins make this incredibly easy by connecting directly to services you probably already use. You can link your account with just a few clicks. Popular choices include:
- Google Drive: A great option with generous free storage.
- Dropbox: Perfect if you already use it to manage other files.
- Amazon S3: A more robust, industrial-strength solution for very large sites.
Once you’ve linked your preferred service, the plugin will automatically push every new backup to your cloud account.
One last tip: make sure you enable email notifications. The plugin will then send you a quick email to let you know if a backup was successful or—more importantly—if it failed. This way, you can jump in and fix any issues right away.
The Manual Method: Backing Up with cPanel and FTP
While plugins are incredibly convenient, there are times you either want or need more direct control over your site's data. Getting your hands dirty with a manual backup of your WordPress site is the best way to really understand how all the pieces fit together.
The whole process boils down to two key steps: grabbing a copy of your site's files and exporting its database.
This hands-on approach is great if you enjoy the more technical side of web management. It's also a lifesaver if you ever get locked out of your WordPress dashboard but still need to secure your data. You get to see the raw file structure of your site, which is a seriously useful skill to have.
Downloading Your WordPress Files via FTP
At its core, your WordPress website is just a collection of files and folders sitting on your web host's server. To back them up, you’ll need to copy them over to your own computer using a File Transfer Protocol (FTP) client. Think of an FTP client as a simple file manager that connects your desktop to your remote server.
A great free and reliable tool for this is FileZilla. Once you connect to your server using the credentials your host provided, you'll see a two-pane view: your local computer's files on the left, and your server's files on the right.
Your WordPress installation is usually located in a folder called public_html, or sometimes a folder named after your domain. Just select all the files and folders inside that directory, then drag and drop them into a new, dedicated folder on your computer.
Pro Tip: Before you start downloading, make sure your FTP client is set to show hidden files. WordPress relies on a crucial hidden file named
.htaccessto manage permalinks. Forgetting to back this one up is a common mistake that can cause a lot of headaches later.
The download might take a while, especially if you have a lot of images or other media files. Be patient. Once it's done, you've successfully secured the first half of your backup—all your themes, plugins, uploads, and core WordPress files.
Exporting Your Database with phpMyAdmin
The second piece of the puzzle is your database. This is where all your actual content is stored—every post, page, comment, user profile, and site setting. Without this, your files are just an empty template. You can export this data using a tool called phpMyAdmin, which you can almost always access from your hosting control panel (like cPanel).
When you open phpMyAdmin, you'll see a list of your databases on the left-hand side. You need to select the one that belongs to your WordPress site. If you have multiple databases and aren't sure which is which, you can find the correct database name in your wp-config.php file on the server.
With the right database selected, here's what to do:
- Click the Export tab at the top of the screen.
- For the export method, choose Quick. This is usually all you need, as it includes all the necessary tables and settings.
- Make sure the format is set to SQL.
- Click the Go button.
Your browser will download an .sql file to your computer. This file is a complete snapshot of your entire database. Store it safely in the same folder as the website files you downloaded earlier. Now you have a full, manual backup of your WordPress site.
With WordPress growing so fast—an estimated 660 new sites are built daily and projections show over 861 million sites by 2025—knowing how to do this is more valuable than ever. As sites get bigger and more complex, having the skill to manually protect your data is essential. You can learn more about the platform's incredible growth in the latest WordPress usage statistics from DiviFlash.
How to Restore Your WordPress Site From a Backup
Having a backup is one thing, but knowing how to actually use it when your site goes down is what really counts. Whether a simple plugin update crashed everything or you've been hit by a malicious attack, the restoration process is your lifeline. The right way to do it depends entirely on how you created the backup in the first place.
Most modern backup plugins come with a simple one-click restore feature, which is by far the easiest way to get your site back online. You'll usually find a "Restore" button right next to your backup file inside the plugin's dashboard. Clicking it kicks off an automated process that replaces your broken site with the clean, saved version. It's fast and user-friendly.
The Manual Restoration Process
If you went the old-school route and created your backup manually with an FTP client and phpMyAdmin, the restore process is a bit more hands-on. This method gives you total control, but you have to be careful. You're basically just reversing the steps you took to make the backup.
First, fire up an FTP client like FileZilla and upload all your saved website files back to the server, overwriting what's currently there. After that's done, you need to import your database. Log in to phpMyAdmin, find your WordPress database, and "drop" (delete) all the existing tables. This clears the way for you to import your clean .sql file.
This manual method is powerful but doesn't forgive mistakes. For a detailed walkthrough, our guide on how to restore your WordPress site covers the specific steps you need to follow to avoid common issues.
Test Before You Go Live
No matter which method you use, this is the most important piece of advice I can give you: always test your restoration on a staging site first. A staging site is just a private clone of your live website. Restoring there lets you confirm that the backup actually works without causing more chaos on your public-facing site. The last thing you want is to make a bad situation even worse.
The real value of a backup is its restorability. A backup you haven't tested is just a collection of files—not a recovery plan.
The current security landscape makes this process more critical than ever. In 2025 alone, there were 1,250 reported vulnerabilities in WordPress plugins and themes. Malware remains the biggest threat out there, impacting nearly 73% of compromised sites, with backdoors not far behind.
These numbers, highlighted in the latest WordPress security statistics on sqmagazine.co.uk, show just how quickly a site can be compromised. Your ability to quickly restore a clean version of your site is your best defense against serious downtime and data loss.
Common Questions About WordPress Backups
Even with a solid backup strategy, a few questions always seem to come up. Answering them is the key to turning a simple backup routine into a recovery plan you can actually count on. Let's dig into some of the most common things people ask about backing up a WordPress site.
"How often should I back up my site?" This is probably the number one question I hear, and the honest answer is: it depends. The right frequency is all about how often your site changes.
- For busy sites like an eCommerce store or a blog with new posts every day, you absolutely need daily backups. Losing a full day of sales data or content is a nightmare scenario.
- For more static sites, like a company brochure or a portfolio that only gets updated occasionally, weekly backups will usually do the trick.
The goal is to match your backup schedule to your content schedule. If you're not sure, ask yourself how much work you'd be willing to lose and have to redo. That's your answer.
Where Should I Store My Backups?
This one is non-negotiable. Store your backups anywhere except the same server your website is on.
Keeping your only backups on the same server as your live site is a huge mistake. If that server fails, gets hacked, or goes offline for any reason, your backups will be gone right along with your website.
Always store your backups in a secure, off-site location. Think of it like keeping a spare key to your house at a trusted neighbor's, not under your own doormat.
This is where cloud storage comes in. Most good backup plugins connect directly to services you already know and trust, making the whole process automatic.
- Google Drive
- Dropbox
- Amazon S3
Using one of these services completely isolates your backup files from your live site, which is exactly what you want.
Understanding Files Versus The Database
Finally, you need to know what a "complete" backup actually means. It’s not one thing; it's two critical components: your files and your database. You need both to restore your site.
- Your Files: This is the skeleton of your site. It includes the WordPress core software, all your themes and plugins, and your entire media library (images, documents, etc.).
- Your Database: This is where all your actual content is stored. Every single post, page, comment, user profile, and website setting lives in the database.
A simple way to think about it is that your files are the house, and your database is all the furniture and people inside. One without the other is just an empty shell. To really get into the weeds, you can learn more about what a complete WordPress site backup should include.
At WP Foundry, we simplify WordPress management by integrating essential tools like backups, updates, and security scanning into a single, intuitive desktop application. Take control of your sites today. Learn more about WP Foundry.