
Ever run into the dreaded ‘Fatal error: Allowed memory size exhausted’ message? It's a classic WordPress problem. This error pops up when your website tries to use more PHP memory than your server has allocated, bringing everything to a grinding halt. Thankfully, the fix is usually just a quick code edit to raise that memory limit.
Why WordPress Runs Out of Memory
Think of your WordPress site's memory limit as the workspace your server gives it to function. Every plugin you install, every theme function that runs, and every background process needs a slice of that memory. When the total demand exceeds the available space, your site crashes.
This isn't just a minor technical glitch; it can seriously disrupt your workflow and your visitors' experience.
Symptoms of Low Memory
You're probably hitting your memory ceiling if you start seeing these issues:
- The White Screen of Death: Your site suddenly goes blank, showing nothing but a white page.
- A Sluggish Admin Dashboard: Your WordPress backend becomes painfully slow, making even simple updates a chore.
- Failed Updates: You try to update a plugin or theme, but it fails midway through with a fatal error.
- Image Upload Errors: You can't upload new images or other media files to your library.
These problems often happen because there's a mismatch between what your WordPress site needs and what it's being given. By default, WordPress tries to set a pretty modest memory limit—just 40MB for single sites and 64MB for multisite setups.
But here's the catch: your hosting provider's server configuration has the final say. This often creates a conflict where your site needs more resources than the host allows by default.
A common culprit is having too many plugins, or even just a few that are poorly coded and hog resources. If you need a refresher on plugin management, this guide on how to add a plugin to WordPress is a good place to start. A bloated database can also contribute to performance lag, so it's smart to periodically optimize your WordPress database to keep things running smoothly.
Common Memory Limit Scenarios
Not sure how much memory your site actually needs? It really depends on what you're running. A simple blog has very different requirements than a complex e-commerce store loaded with features.
Here’s a quick table to give you a general idea of where to start.
| Website Type | Typical Plugin Count | Recommended Memory Limit |
|---|---|---|
| Simple Blog / Brochure Site | 5-15 | 128MB |
| Portfolio with Gallery | 15-25 | 256MB |
| E-commerce (WooCommerce) | 20-35 | 256MB – 512MB |
| Membership / LMS Site | 25-40+ | 512MB or more |
This table should help you gauge a reasonable memory limit for your setup. Remember, these are just starting points—you might need to adjust based on your specific combination of themes and plugins.
How to Check Your Current Memory Limit
Before you start editing files to increase your WordPress memory limit, you first need to know what you're working with. Just guessing can mean you make unnecessary changes or, worse, set a new limit that's still too low to fix the problem.
Luckily, WordPress has a handy built-in tool that tells you exactly what you need to know.
You won't need to fire up an FTP client or edit any code for this part. Everything is available right inside your WordPress dashboard in the Site Health tool. This tool gives you a great diagnostic overview of your site's setup and performance, including the server details we're looking for.
Finding the Limit in Site Health
To find your current PHP memory limit, just follow these steps:
- From your WordPress admin menu, navigate to Tools > Site Health.
- Click on the Info tab at the top.
- Find the Server section and click it to expand the details.
In that list of your server's core settings, you're looking for the line item labeled PHP memory limit.
The screenshot below shows you exactly where to find it.

This value is the maximum amount of memory your server currently allows WordPress to use. If that number looks low (like 64M or 128M) and you're running into errors, that's a pretty clear sign it's time to give it a boost.
If you're dealing with more complex issues beyond memory, it's worth learning how to properly debug in WordPress to get to the root of the problem.
Editing Your wp-config.php File
The most straightforward and reliable way to increase your WordPress memory limit is by editing a core file called wp-config.php. This file holds your site's most critical settings, making it the ideal spot to define a new memory allowance. You can get to it using an FTP client like FileZilla or the File Manager in your hosting control panel.
Before you touch anything, make a backup of your wp-config.php file. I can't stress this enough. A single misplaced character can take your entire site offline, so downloading a copy to your computer first is a non-negotiable step. It's a two-minute task that can save you hours of panic.
Adding the Code Snippet
With the wp-config.php file open, you're looking for a specific comment that serves as a landmark: /* That's all, stop editing! Happy publishing. */.
You need to add the new code just before this line. Paste in the following snippet:
define('WP_MEMORY_LIMIT', '256M');
This one line tells WordPress to set its memory ceiling to 256MB. Once you've added it, save the file and upload it back to your server, overwriting the existing version.
Placing this code before the "stop editing" line is critical. If you put it after, WordPress will simply ignore it, and your memory limit won't change.
So, why do this at all? If you've ever seen the dreaded “Fatal error: Allowed memory size of X bytes exhausted” message, you've hit the memory ceiling. A default limit of 40MB is fine for a basic blog, but once you start adding complex themes and plugins, that memory gets eaten up fast. Bumping it to 256MB is a common and effective fix for these kinds of errors.
Sometimes, you might run into an issue where you can't save the changes to the file. This is almost always a file permissions problem. If that happens, you'll need to adjust them. We have a full guide on how to manage file and folder permissions on WordPress websites that walks you through the process.
What to Do When wp-config.php Doesn't Work
So you’ve edited your wp-config.php file, uploaded it, and… nothing. The memory limit in your Site Health tool hasn't changed at all. This is a surprisingly common situation, and it almost always means your hosting provider has locked the PHP memory limit at the server level, making it ignore your wp-config.php request.
When this happens, don't worry—you still have other options. The server is configured in layers, which means other files can often override these hosting defaults. Your next moves are to try making the change in your site’s .htaccess file or, for more direct control, the php.ini file.
This simple graphic shows the standard process for editing wp-config.php, which should always be your first attempt.
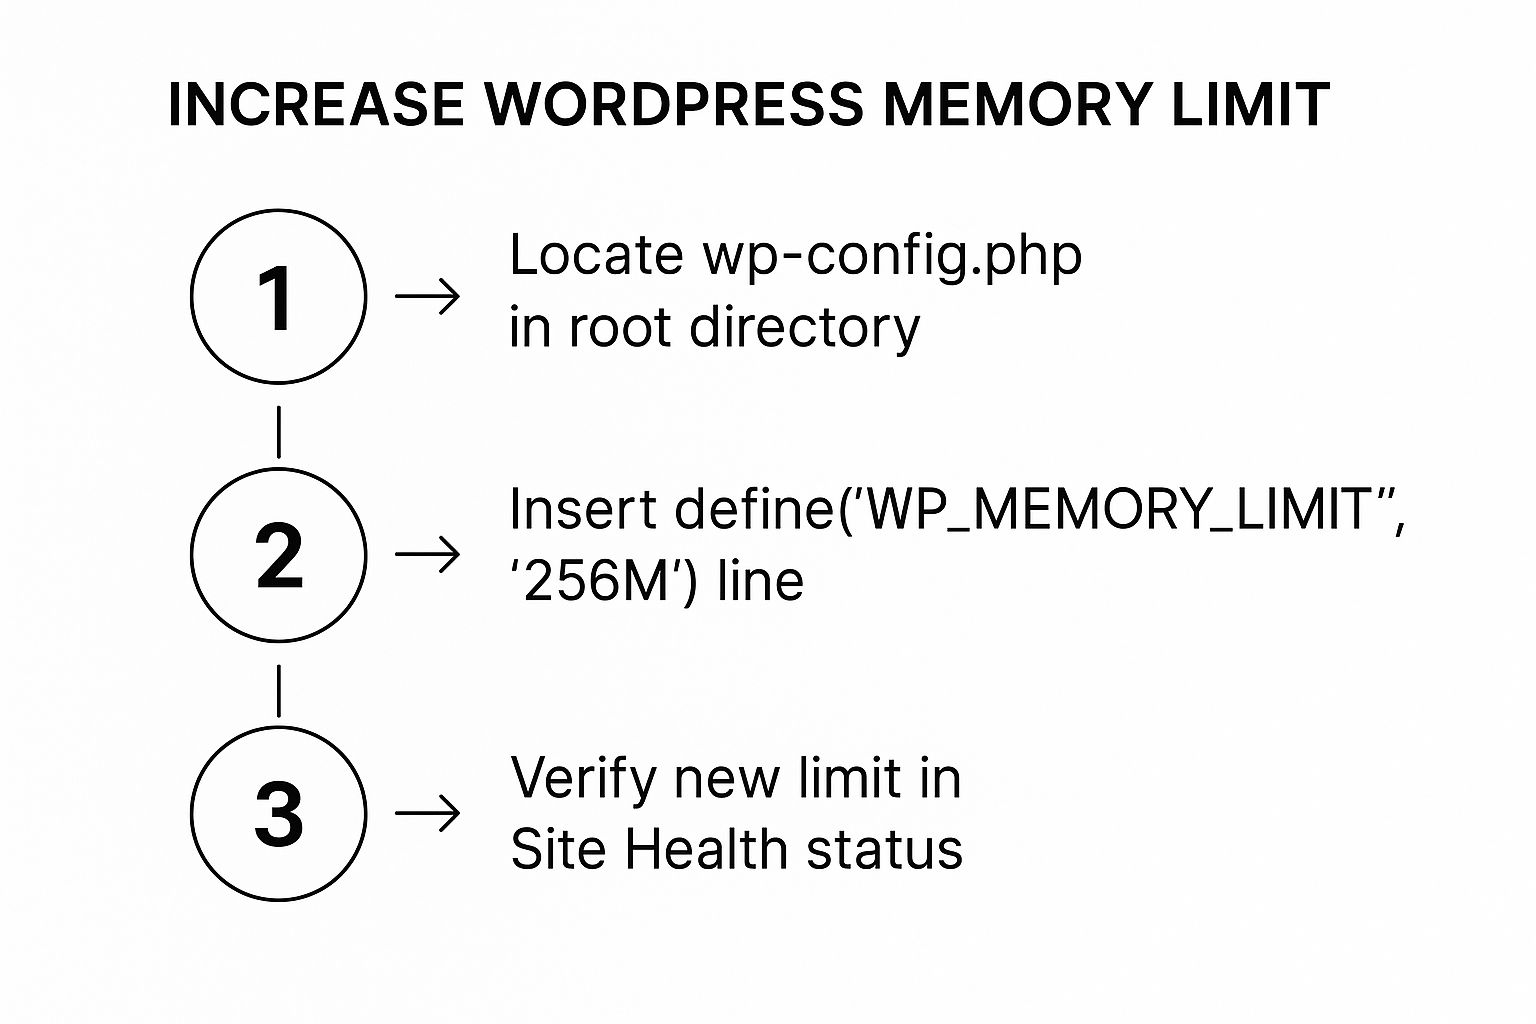
This is the ideal path, but when it's blocked by your host, you just need to take a different route. Let’s look at two effective workarounds.
Modify Your .htaccess File
Your website’s .htaccess file is a powerful configuration file used on servers running Apache software. If your host uses Apache (which most shared hosts do), you can add a line to this file to request a higher memory limit. This method often works because .htaccess rules are processed after the main server configuration but before WordPress even starts to load.
You can find the .htaccess file in your site’s root directory—the same place you found wp-config.php. Just like before, it's always a good idea to make a quick backup before you start editing.
Open the file and add this line right at the very top:php_value memory_limit 256M
Save the file, upload it back to your server, and then head back to your WordPress dashboard. Refresh the Site Health page. For many people on shared hosting, this is the simple trick that finally makes the memory limit increase stick.
Edit the php.ini File for Direct Control
If both the wp-config.php and .htaccess methods fail, your next stop is the php.ini file. This is the main configuration file for PHP itself, so editing it gives a much more direct instruction to the server.
How you access this file really depends on your hosting provider. On a VPS or dedicated server, you'll have full control. On some shared hosting plans, you might be allowed to create your own php.ini file in your root directory to override the server's default settings.
If you can find and open the file, look for a line that starts with memory_limit. It will look something like this:memory_limit = 128M
Simply change the value to what you need—for instance, 256M:memory_limit = 256M
If that line doesn't exist, you can usually just add it yourself. Save the file and check Site Health one more time. If this still doesn't work, it's very likely your host has disabled local php.ini overrides. At that point, your best bet is to contact their support team directly and ask them to increase it for you.
Choosing the Right Amount of Memory
When you see a memory error, the knee-jerk reaction is to just crank the number as high as it will go. Problem solved, right? Not exactly.
Throwing more memory at your site can actually hide bigger issues, like a rogue plugin eating up resources in the background and bogging everything down. The real goal is to find that sweet spot—enough memory for your site to run smoothly without wasting server resources.
Finding Your Sweet Spot
There’s no magic number here; the right amount really depends on what your site is doing. A simple blog with a few plugins is a world away from a busy WooCommerce store juggling complex queries and a heavy page builder.
Here are a few real-world guidelines I stick to:
- 128MB: This is usually plenty for a basic blog or a simple brochure-style website.
- 256MB: My go-to recommendation for most modern WordPress sites. It’s a solid baseline if you’re using a page builder or running a small e-commerce shop.
- 512MB: I reserve this for the heavy hitters—large e-commerce sites with thousands of products or membership platforms with constant user activity.
Don't fall into the trap of thinking more memory equals more speed. It doesn't. A lean, well-optimized site running on 256MB will almost always run circles around a bloated site with 512MB. The limit is a ceiling, not a gas pedal.
Memory is typically allocated in increments, often starting at 64MB for very small sites and bumping up to 128MB as they grow. High-traffic sites with lots of plugins usually land somewhere between 256MB and 512MB.
It’s worth noting that WordPress itself sets the admin area’s memory limit (wp_max_memory_limit) to 256MB by default, because it knows backend tasks often need a bit more muscle. You can read more about these recommendations and how they affect your site over at Melapress.com.
Answering Your WordPress Memory Questions
Even after you've successfully bumped up the WordPress memory limit, a few questions tend to pop up. Getting a handle on these nuances is key to managing your site well and not just papering over deeper problems.
One of the most common head-scratchers is editing the wp-config.php file only to see… nothing change. If you're positive you added the code correctly but the Site Health tool still flags the old value, your hosting provider is almost certainly overriding it at the server level. This happens all the time on shared hosting plans.
Your next move should be to try the .htaccess method. If that doesn't work either, it's time to contact your host’s support team and ask them to make the change for you.
Is It a Good Idea to Set a Really High Memory Limit?
It might be tempting to just crank the memory limit up to something huge, like 1GB, and call it a day. But that's usually a bad idea.
Setting an excessively high limit can actually hide serious problems, like a badly coded plugin that's leaking memory. A buggy script could chew through all that extra memory, which slows down the entire server and can even impact other websites on a shared plan.
You're much better off setting a reasonable limit, like 256MB, and then digging into any plugins that still cause errors. That way, you're actually finding the root cause instead of just treating a symptom.
Bumping up the WordPress memory limit is the right call when your site genuinely needs more resources for legitimate tasks. It's not a permanent fix for sloppy code that will just keep causing trouble.
At the end of the day, if one specific plugin is always hitting that memory ceiling, the best long-term solution is to find a better, more efficient alternative. This is how you keep your site stable and performing well without needing a wild amount of server resources. Proactive management always beats reactive fixes.
For straightforward management of all your WordPress sites—including performance monitoring and one-click updates—take a look at WP Foundry. Learn how WP Foundry can centralize your WordPress maintenance today!