That sinking feeling when you realize your WordPress site might be hacked is awful. Maybe it's redirecting to spam sites, showing weird content, or just crawling at a snail's pace. It's easy to panic, but what you do in the first hour is absolutely critical.
Your first goal isn't to fix everything at once. It's to stop the bleeding and get ready for a proper cleanup. Rushing in and deleting files you don't recognize can actually make the situation a whole lot worse.
Your Immediate Action Plan for a Suspected Hack
The moment you suspect something is wrong, your job is to contain the damage. A calm, methodical approach will set you up for a successful recovery. We need to protect your visitors, preserve evidence, and give ourselves a safe space to work.
Below is a quick checklist of the first things you need to do. Think of it as digital first aid for your website.
Immediate WordPress Security Lockdown Checklist
This table breaks down the essential first steps to lock down your site and prevent further damage.
| Action Step | Why It Matters | Recommended Tool |
|---|---|---|
| Activate Maintenance Mode | Immediately stops visitors from being exposed to malware or seeing a broken site. Protects your brand reputation. | A simple plugin like WP Maintenance Mode. |
| Create a Full Backup | This backup isn't for restoring; it's a forensic snapshot of the hack. It's crucial for identifying the breach. | Your hosting control panel's backup tool or a manual FTP/phpMyAdmin export. |
| Change All Admin Passwords | If an account is compromised, this locks the attacker out and prevents them from doing more damage. | Use the WordPress Users panel to reset passwords for all admin-level accounts. |
| Contact Your Host | They may have server-side logs or tools that can provide immediate insight into suspicious activity. | Your hosting provider's support channel (live chat or support ticket). |
Following these steps methodically will put you in control of the situation and lay the groundwork for a successful cleanup.
Get Your Site Offline with Maintenance Mode
First things first, take your site offline for visitors. This is non-negotiable. You don't want your customers stumbling onto a malware-ridden page, and you certainly don't want search engines to find it and blacklist your domain.
Putting your site into maintenance mode throws up a temporary curtain, showing a professional message while you sort things out behind the scenes. You can get this done in minutes with a free plugin like WP Maintenance Mode or by creating a .maintenance file in your site's root directory.
Pro Tip: Don't settle for the default maintenance page. Customize the message to something like, "We're performing some important updates and will be back online shortly." It tells visitors you're on top of it and that the outage is temporary.
Create a Full (Infected) Backup Right Now
I know what you're thinking—why on earth would I back up a hacked website?
This backup isn't for restoration. It's an evidence file. It captures a perfect snapshot of the hack, which is invaluable for figuring out how the attackers got in and what they did. Without it, finding the original vulnerability is like searching for a needle in a haystack.
A complete backup needs two parts:
- All Your WordPress Files: This means the core files, your themes, plugins, and especially the uploads folder. The easiest way to grab these is through your hosting control panel's File Manager (zip it up!) or an FTP client.
- Your WordPress Database: This holds all your content—posts, pages, user info, and site settings. Head over to phpMyAdmin in your hosting panel and export the entire database as a
.sqlfile.
Once you have both, label the backup clearly—something like "INFECTED_BACKUP_2023-10-27"—and store it somewhere safe and offline. This file is your key resource for the next phase: the deep dive to remove malware from your WordPress site. Taking these containment steps seriously sets the stage for a thorough recovery without losing your data or your reputation.
How to Find and Confirm Malware on Your Site
Before you can get rid of malware on your WordPress site, you have to put on your detective hat. The goal is to figure out exactly where the infection is hiding. This usually means a combination of running automated scanners and doing some manual digging yourself. If you just jump into cleaning things up without knowing what you're dealing with, you're likely to miss a backdoor and get reinfected almost immediately.
The truth is, most WordPress hacks aren't the work of criminal masterminds; they're usually just opportunistic attacks. Malware is by far the biggest culprit, responsible for about 72.7% of all site infections that security firms see. That makes it a much more common problem than things like backdoor access or SEO spam. You can dig into more of these WordPress stats over on Hostinger's tutorial.
Starting with Automated Security Scanners
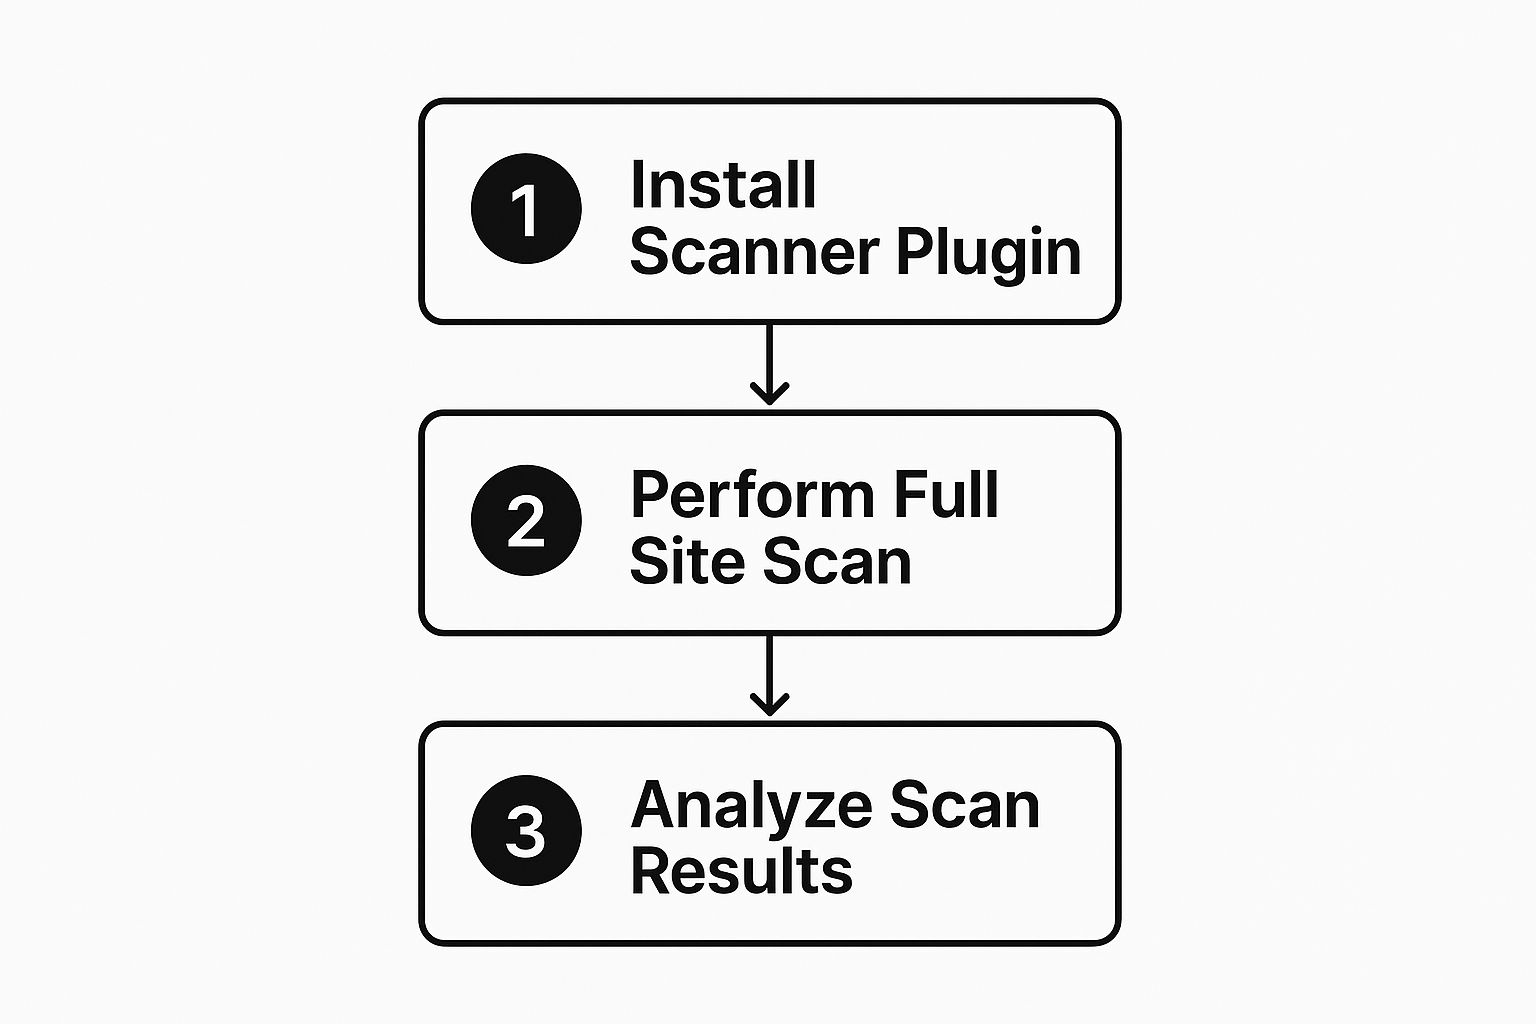
Your first move should always be to run a good security scanner. These tools are built to quickly check all your site's files and database tables against a huge library of known malicious code. It's the fastest way to get an initial diagnosis and can save you hours of poking around manually.
Plugins like Wordfence and Sucuri Security are the gold standard here, and for good reason. They offer deep scans that can spot altered core files, suspicious bits of injected code, and known malware signatures. Running a full, high-sensitivity scan is the most important first step you can take. For a deeper dive into different tools, check out our guide on how to scan WordPress for malware.
Here’s a typical Wordfence scan result, showing you exactly what needs your attention right away.
The report neatly organizes issues by how severe they are, tells you which files are compromised, and explains why they were flagged. This gives you a solid starting point for your cleanup.
Digging Deeper with Manual File Inspection
Scanners are great, but they're not perfect. Some of the sneakier types of malware can slip past automated checks, which is why a manual look-through is a smart next step. You'll need to connect to your site using an FTP client like FileZilla or your web host's built-in File Manager to see what’s going on.
A great trick is to sort your files by the "Last Modified" date. Hackers almost always leave a trail, and files that were changed recently—especially core files you know you haven't touched—are huge red flags. Be extra suspicious of these key WordPress directories:
/wp-content/uploads/: This folder should really only have media like images, videos, and PDFs. If you spot any PHP files (.php) in here, you've almost certainly found malware./wp-includes/: This is a core WordPress directory and its files should almost never change. Any recently modified files here need a close look./wp-content/themes/: Check your active theme's folder for any strange files. Hackers love hiding malicious scripts here because they get loaded on every single page view.
Expert Insight: A classic hacker move I see all the time is hiding a file with an innocent-sounding name like
license.phporcache.phpdeep inside theuploadsfolder. These are almost always backdoors designed to give the attacker a permanent way back into your site.
Checking for Malicious Code in Your Database
The last place to check is your database. It's common for hackers to inject malicious scripts or spammy links directly into your database tables, especially wp_posts and wp_options. You can look through your database with a tool like phpMyAdmin, which you'll find in most hosting control panels.
When you're in there, hunt for anything that looks out of place. Are there odd <script> tags injected into your post content? Have any new admin users mysteriously appeared in your wp_users table? These are textbook signs of a database compromise. Finding these injections now is critical for a complete and successful cleanup.
Once you have all your evidence from both the scanner and your manual checks, you’ll have a full picture of the infection and be ready to start removing it.
Manually Removing Malicious Code and Files
Okay, you've got your scan results. Now it's time to roll up your sleeves and get your hands dirty. This part of the process is like digital surgery—it demands precision and a steady hand, but it’s the only surefire way to know you’ve scrubbed every last bit of the infection from your site.
The core of our strategy here is simple: compare your infected files to known-good, original copies. To do that, you'll first need to download fresh versions of your WordPress core, your active theme, and every plugin you have installed.
Preparing Your Clean Files for Comparison
Before you even think about touching your server, you need to assemble your "clean room." This means grabbing pristine copies of all your software from their official sources. This isn't optional.
- WordPress Core: Head straight over to WordPress.org and download the latest version. Unzip it on your computer.
- Themes: If you’re using a free theme from the repository, download a new copy. For premium themes, you'll need to log into the developer’s site to get the latest clean version.
- Plugins: Same drill as themes. Get fresh copies from the official WordPress plugin directory or the developer's website for any premium plugins.
Once you have everything, create a dedicated folder on your local machine to keep it all organized. This folder is now your gold standard, the clean reference you'll use to spot anything that’s out of place on your live site.
Replacing WordPress Core Files
Hackers love messing with WordPress core files. They’re predictable, and they run on every single page load, making them a perfect vehicle for malware. Replacing them is often the single most effective step you can take to remove malware from your WordPress site.
Using an FTP client or your hosting file manager, you’re going to upload the clean WordPress files you just downloaded, overwriting what's currently on your server.
Critical Warning: Be extremely careful here. You must NEVER delete your
wp-config.phpfile or the entire/wp-content/directory. Thewp-config.phpfile holds your database connection details, and/wp-content/contains your themes, plugins, and all your media uploads. Deleting either will completely destroy your site.
From the fresh WordPress download on your computer, first delete its wp-content folder and the wp-config-sample.php file. Now, upload everything else to your site's root directory. When your FTP client asks if you want to overwrite the existing files, say yes. This swaps out all the core files with clean ones while leaving your specific content and settings untouched.
Inspecting Sensitive Configuration Files
Next up are two of the hackers’ favorite targets: .htaccess and wp-config.php. These files are incredibly powerful, controlling server rules and database access, so compromising them gives an attacker a lot of control.
Open your site's wp-config.php file and put it side-by-side with the wp-config-sample.php from your clean download. You're looking for anything that seems out of place. Hackers often inject long, garbled strings of text or suspicious functions like eval, base64_decode, or gzuncompress. If you see anything besides your database details and the WordPress salts, get rid of it.
Your .htaccess file needs the same scrutiny. A standard WordPress .htaccess is actually very simple. If you find a bunch of complex redirect rules pointing to spammy websites, that's almost certainly malware. For most sites, you can just delete the infected .htaccess file. Then, log into your WordPress admin, go to Settings > Permalinks, and just click "Save Changes." WordPress will generate a brand new, clean one for you.
Cleaning Theme and Plugin Files
This is where the real detective work begins. Go through your active theme's folder on the server and compare it against the clean version you downloaded. Do you see any extra files? Or files with recent modification dates that you know you didn't touch?
Be extra vigilant with these files, as they are common hiding spots:
functions.phpheader.phpfooter.php
Attackers frequently inject malicious PHP right at the top or bottom of these files. The code might look like gibberish—it's often obfuscated to hide what it’s doing—but its very presence is a massive red flag.
The whole point of running a scan first is to give you a roadmap for this manual cleanup. That initial scan tells you exactly where to look.
With the scan results in hand, you can move from file to file with confidence, knowing what you're looking for.
Searching the Database for Infections
The last stop is your database. Using a tool like phpMyAdmin (usually available in your hosting control panel), you'll want to focus on the wp_posts and wp_users tables.
In wp_posts, search for spammy links or unauthorized <script> tags that might have been injected directly into your posts and pages. You can run simple SQL queries to search for common spam keywords or malicious domains you identified earlier.
Over in wp_users, check for any admin accounts that you don't recognize. A common trick is for hackers to create their own admin user to ensure they can always get back in. If you find one, delete it on the spot. Managing user roles properly is a huge part of good security; you can read more about how to manage file and folder permissions on WordPress websites to lock things down further.
Restoring and Hardening Your Clean WordPress Site
You’ve successfully kicked the malware out. That’s a huge win, but don't pop the champagne just yet. The final, most important phase is getting your site back online and locking it down so this nightmare never happens again. This is where you shift from reactive cleanup to a proactive security mindset.
Think of it like this: you've evicted an intruder. Now it's time to change the locks, reinforce the doors, and maybe install a better alarm system. These next steps are absolutely non-negotiable if you want to keep your site safe for the long haul.
The Great Password Reset
First things first. Assume every single password connected to your site has been compromised. Hackers are masters at sniffing out credentials, and leaving even one old password active is like leaving the back door wide open for them to waltz right back in.
This reset needs to be comprehensive. It's not just about your WordPress admin login.
- All WordPress User Accounts: Go through every user—admins, editors, authors, everyone. Enforce strong, unique passwords for all of them.
- Hosting Control Panel (cPanel, Plesk, etc.): This account is the master key to your entire server. Its security is critical.
- FTP/SFTP Accounts: These credentials give direct file system access. Change them immediately.
- Database User Password: You'll need to change this in your hosting panel and then update your
wp-config.phpfile with the new password to get your site talking to its database again.
Updating Everything to Patch Vulnerabilities
Outdated software is the #1 reason WordPress sites get hacked. Period. Attackers run automated bots 24/7 that do nothing but scan for sites running plugins or themes with known security holes. If your software is old, you’re not just a target; you're a sitting duck.
Now that the malware is gone, it's time for a full-scale update.
- WordPress Core: Make sure you're running the absolute latest version of WordPress. No excuses.
- All Plugins: Go to your plugins page and update everything. If you see a plugin you don't use anymore or one that hasn't been updated by its developer in ages, delete it.
- All Themes: Update your active theme. Then, hunt down any old, inactive themes you have sitting there and delete them. They're a classic backdoor for hackers.
This isn't a one-and-done task. Get into the habit of checking for updates weekly. It's a fundamental part of website maintenance.
Getting Off Google's Blacklist
If Google caught the malware on your site, it probably slapped a big, ugly warning on it, telling visitors to stay away. This warning can absolutely kill your traffic and your reputation. Once you are 100% certain the site is clean, you need to ask Google for a re-evaluation.
You can do this right from your Google Search Console account. Find the "Security Issues" report, explain that you've cleaned up the mess, and submit a review request. It might take a day or two, but it's the only way to get that warning lifted and salvage your SEO.
Key Takeaway: Post-cleanup hardening isn't just about fixing the damage; it's about fundamentally changing your security posture. A clean site with the same old vulnerabilities is a site that will get hacked again.
In really severe cases, wiping the slate clean by restoring from a known-good backup is your best bet. For a detailed walkthrough, our guide on how to restore WordPress from a backup has you covered. And if this whole ordeal has you thinking about a more secure hosting environment, you might want to learn how to migrate your WordPress site.
By systematically resetting credentials, updating all your software, and clearing your name with the search engines, you can finally put this incident behind you and build a much more resilient website.
Building a Proactive WordPress Security Plan
After the stress of cleaning a hacked site, the last thing you want is a repeat performance. This is where we shift gears from frantically putting out fires to proactively building a fortress. Your goal now is to create a sustainable, long-term security strategy that keeps threats locked out before they ever get a chance to knock.
A solid security plan isn't about finding one magic plugin that solves everything. It's about layering your defenses and building smart habits. It’s about knowing the most common ways attackers get in and slamming those doors shut for good. By focusing on a few critical areas, you can dramatically cut down your risk and keep your site safe and sound.
Understanding the Biggest Threat: Plugins
Let's be blunt: the single biggest point of failure in the WordPress world isn't WordPress itself—it's plugins. They're incredibly useful, but they introduce a huge variable into your security. Plugins are the main source of security problems, responsible for a staggering 90-95% of all vulnerability reports in recent years.
The core WordPress software is actually quite secure. But plugins, often built by countless third-party developers with different skill levels and priorities, are the ecosystem's weak link.
Just look at the numbers for 2024. A whopping 1,614 plugins were pulled from the official WordPress repository because of security flaws, most of them high or medium-risk threats. The data makes it crystal clear: how you manage your plugins is your first and most critical line of defense.
Implementing a Strict Update and Vetting Process
Since plugins are the front door for most attackers, your update routine needs to be ironclad. Think of every update notification as an urgent security patch, because a lot of the time, it is.
- Update Weekly, Minimum: Don’t let updates pile up. Carve out time every single week to review and apply all available updates for plugins, themes, and WordPress core.
- Use Auto-Updates Wisely: For trusted, well-maintained plugins from reputable developers, turning on automatic updates is a great move. It means critical security fixes get applied the moment they’re released.
- Vet Every New Plugin: Before you install anything, do your homework. When was it last updated? Does it have positive reviews? Is the developer active in the support forums? An abandoned plugin is just a future security nightmare waiting to happen.
- Delete What You Don't Use: Every inactive plugin or theme on your site is a potential backdoor. If you aren't using it, get rid of it. And I mean delete it, not just deactivate it.
Expert Takeaway: Treat your plugins like tenants in an apartment building. You need to know who they are, make sure they're trustworthy, and evict anyone who poses a risk to the community. A "less is more" mindset is always the safest bet.
Leveraging a Web Application Firewall
A Web Application Firewall (WAF) acts like a shield between your website and the rest of the internet. It filters all the traffic coming to your site, spotting and blocking malicious requests before they can even reach your server to exploit a weakness.
Think of a WAF as a bouncer at the front door of your club. It checks everyone's ID and turns away the troublemakers—like bots trying to guess your password or scripts trying to exploit a known plugin flaw.
Services like Cloudflare, Sucuri, or Wordfence offer fantastic WAFs that can automatically block a huge number of common attacks. It's a powerful layer of proactive protection. For anyone just starting out or considering moving to WordPress, setting up a WAF from day one is one of the smartest things you can do.
Cultivating Essential Security Habits
At the end of the day, technology alone can't protect you. Your own daily habits and the way you manage your site play a massive role in keeping it secure.
- Enforce Strong User Roles: Never give anyone more access than they absolutely need. If someone just needs to write blog posts, make them an "Author," not an "Administrator." This is called the principle of least privilege, and it seriously limits the potential damage if one of those user accounts gets compromised.
- Enable Two-Factor Authentication (2FA): This is non-negotiable. 2FA is one of the most effective ways to stop unauthorized logins. Even if a hacker manages to steal a password, they can't get in without that second code from your phone.
- Schedule Automated Daily Backups: Your backup is your ultimate undo button. Use a reliable backup plugin or service to create automated, off-site backups every single day. This ensures that if the worst should ever happen again, you can restore a clean version of your site in minutes, not days.
Common Questions About WordPress Malware Removal
When your site gets hacked, you’re going to have a ton of questions. That's completely normal. Getting the right answers is what separates a quick recovery from a drawn-out nightmare, so let’s clear up some of the most common things people ask when they need to remove malware from their WordPress site.
Think of this as your quick-reference guide to avoid the usual traps and get your site cleaned up for good.
Should I Just Restore an Old Backup to Fix This?
It's tempting, I know. Restoring a backup feels like hitting the undo button on the whole mess. But in reality, it's a risky shortcut that almost never works out.
Here’s the problem with that approach:
- You'll lose data. Everything new—posts, comments, customer orders, user signups—that happened after that backup was taken will be gone. Poof.
- The security hole is still there. The hacker got in for a reason, likely through an outdated plugin or a weak password. Guess what? That same vulnerability is baked right into your old backup. You’ll be reinfected, sometimes within minutes of restoring.
A backup is for disaster recovery, not for fixing a security breach. The only reliable path is to clean the infected site you have now, find out how they got in, and plug that hole immediately. It’s the only way to save your data and secure the site.
My Host Suspended My Account. What Do I Do?
Seeing that "Account Suspended" email is a punch to the gut. Don't panic. It's just your host's standard procedure to stop the infection from spreading to other sites on their server. Your first move is to get in touch with their support team right away.
Ask them for any information they have, like server logs or malware scan reports. This can give you huge clues about where to look. They won’t unsuspend your account until you can prove the site is 100% clean. Go through all the cleanup steps in this guide, run a couple of different scans, and send the clean reports over to your host. The faster you act and the clearer you communicate, the less downtime you'll have.
How Can I Be Sure the Malware Is Really Gone?
This is the big one. You can't just delete a few weird files and call it a day. True confidence comes from a multi-step verification process.
To be certain the coast is clear, here’s what you need to do:
- Use more than one scanner. Never trust a single tool. Run a full scan with a plugin like Wordfence and then double-check it with another, like the Sucuri Security plugin. If both give you the all-clear, that's a good start.
- Scan from the outside. Use a remote scanner like Sucuri SiteCheck. It checks your site the way Google and your visitors see it, looking for visible malware and checking blacklist status.
- Check with Google. Log into your Google Search Console and find the "Security Issues" report. If Google says you're clean, that’s a massive vote of confidence.
- Watch your files. For the next few days, keep a close eye on your site. If strange files don't reappear, you can finally breathe a sigh of relief. The job is done.
Trying to manage security across a bunch of WordPress sites can feel like a full-time job, especially when something goes wrong. WP Foundry pulls everything into one desktop app, letting you update plugins, manage users, scan for problems, and run backups across all your sites from a single dashboard. It helps you stay on top of security without all the chaos. Learn more about how WP Foundry can secure your WordPress portfolio.