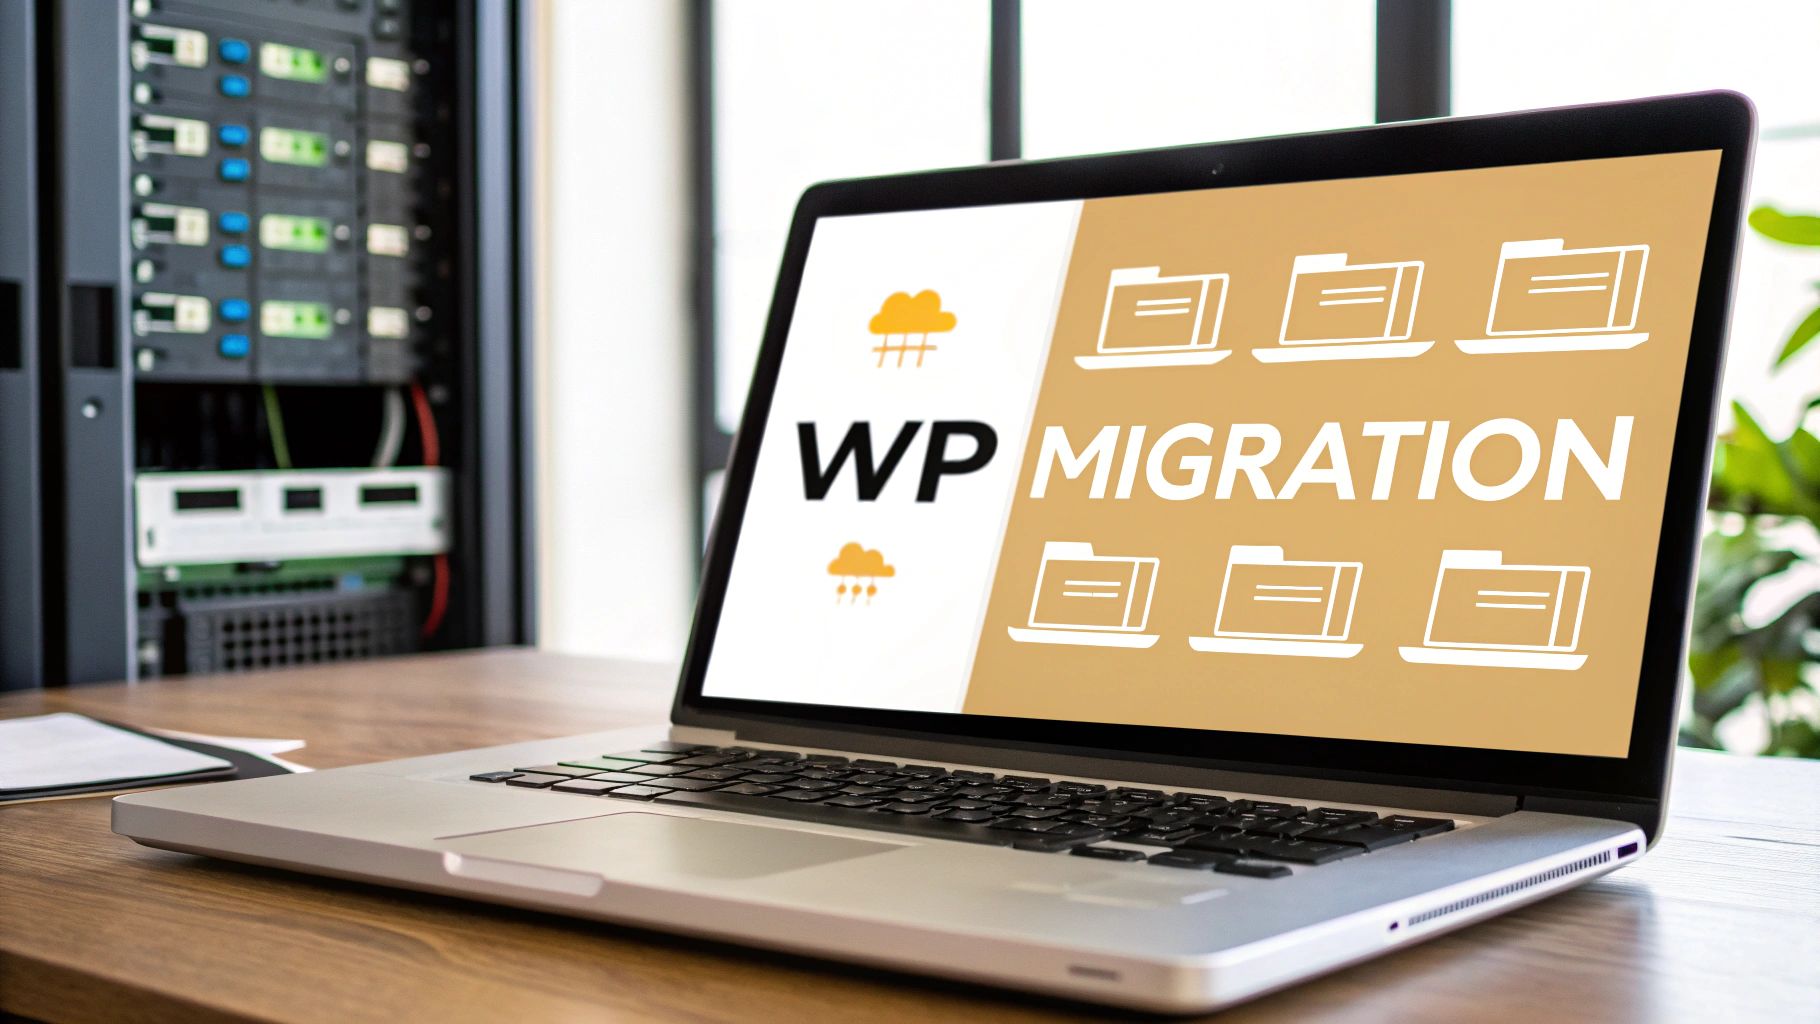
At its core, migrating a WordPress site is a three-part dance: you back up your files and database, move them over to their new home, and finally, update your domain's DNS to tell everyone where to find the new place. You can let a plugin handle the heavy lifting, or you can get your hands dirty and do it manually for a bit more control.
Why Bother Moving Your WordPress Site in the First Place?
Before we get into the nitty-gritty, let's talk about the why. Moving a WordPress site is rarely just for fun. It’s a strategic move that can seriously boost your business and make your visitors happier.
Maybe you're here because your current host just can't keep up. The site crashes every time you get a nice traffic spike from a product launch or a viral post. Or perhaps a sluggish server is tanking your Core Web Vitals, which is a surefire way to slide down the SEO rankings. For a lot of people I've worked with, the big driver is security—especially if you're handling customer data and need a server environment that’s locked down tight.
Building a Stronger Foundation for Growth
Think of a migration as a chance to hit the reset button on any underlying performance issues and really set yourself up for future growth. I've personally seen businesses completely turn their fortunes around just by switching to a hosting environment that actually fits their needs. This isn't just a technical chore; it's a critical business decision.
Here are some of the most common reasons people decide it's time to move:
- A Serious Performance Boost: Upgrading to a host with modern hardware, like NVMe SSDs and a healthy amount of RAM, can make your site feel lightning-fast.
- Room to Grow: Your business is taking off, and you need a hosting plan that can handle more traffic without breaking a sweat.
- Smarter Spending: You might have found a provider that offers the same, or even better, features for less money. Who doesn't want to lower their operating costs?
- Support That Actually Helps: Having access to a support team that knows their stuff and responds quickly is worth its weight in gold when something inevitably goes wrong.
A WordPress migration is less about the technical transfer and more about investing in a reliable, high-performing platform that can actually support your business goals. It's a proactive step toward better security, speed, and growth.
This is a path many businesses have to walk, especially considering how dominant WordPress is. It powers a staggering 60.8% of all websites that use a known CMS, which means the need for smooth, reliable migration methods is constant as companies scale. You can dig into more stats about the CMS market share over at WPZOOM.
Your Pre-Migration Checklist for a Smooth Transfer
Diving into a WordPress migration without a plan is a recipe for disaster. Think of it like a road trip with no map—you might eventually get where you're going, but you're bound to hit a few dead ends and wrong turns. Proper preparation is your insurance policy against the classic migration horror stories: lost data, broken site features, and painful downtime.
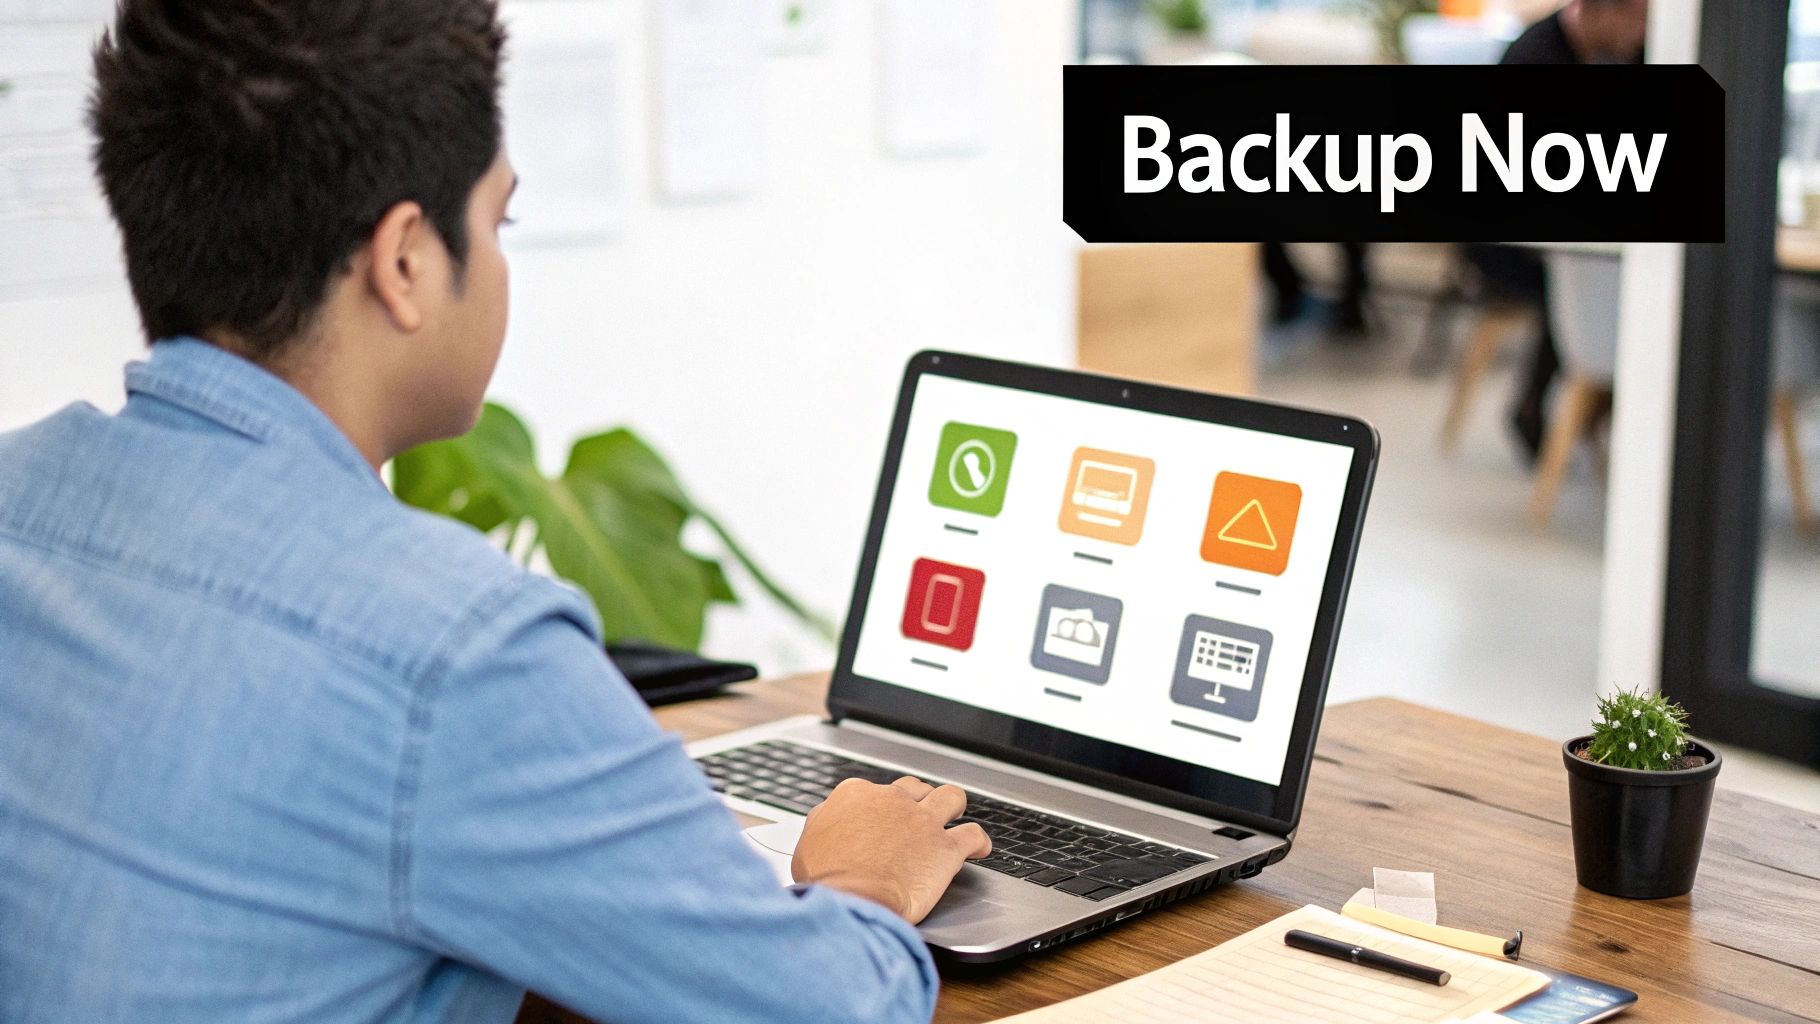
Before you even think about moving a single file, your first job is to get a complete, working backup of your entire website. This isn't just a friendly suggestion; it's the most important step you'll take. For a deep dive into how to do this right, check out our guide on backing up a WordPress website.
Securing Your Digital Assets
Your WordPress site is really two key parts working together: the files and the database. You need a perfect copy of both.
-
Your WordPress Files: This is all the stuff in your
wp-contentfolder—your themes, plugins, and every image or document you've ever uploaded. It also includes the core WordPress files and anything sitting in your root directory, like your.htaccessorwp-config.phpfiles. -
Your WordPress Database: This is the heart of your operation. It stores every post, page, user profile, comment, and setting. If you lose this, you've lost everything.
Lots of people lean on plugins like UpdraftPlus or All-in-One WP Migration to handle this. They bundle everything up for you, which is a massive help if you're not comfortable doing it manually. The alternative is to go old-school with an FTP client like FileZilla to download your files and a tool like phpMyAdmin (usually found in your hosting cPanel) to export your database.
Whichever route you take, always download your backup to your own computer. For extra safety, upload a copy to a cloud service like Google Drive or Dropbox. Having backups in a couple of different places is the single best way to protect yourself if something goes wrong.
Document Everything Before You Move
With your backups safely stored, it’s time to take some notes. This might seem tedious, but it can save you hours of headaches later.
Jot down a few key details about your current setup:
- Plugin & Theme Versions: Write down the exact version numbers for your active theme and every plugin. If something breaks after the move, this list will be your first clue for tracking down compatibility problems, especially with the new server's PHP version.
- Custom Code Snippets: Did you add any custom PHP to your
functions.phpfile or drop in some custom CSS? Make a separate copy of all those tweaks. - Specific Server Settings: Take note of your current PHP version and memory limit. Making sure your new host can match these settings is a simple way to sidestep a lot of common migration errors.
Choosing Your Migration Path
Finally, you need to decide how you're going to get your site from point A to point B. This really boils down to two main options: using a plugin or doing it all by hand.
Since WordPress powers around 43.6% of all websites, there's a huge market for tools that make migrations easier. Automated plugins are popular for a reason—they handle the tricky parts for you and often have success rates over 95% when used correctly. As detailed in the WordPress statistics from ScalaHosting, this ecosystem is robust and reliable.
The manual approach, on the other hand, gives you total control. It's a great choice if you're a developer or if your site is so large that plugins tend to time out. Ultimately, the best method depends on your technical confidence and the specifics of your site.
Choosing Your WordPress Migration Method
To help you decide, here’s a quick breakdown of the most common migration methods.
| Method | Best For | Pros | Cons |
|---|---|---|---|
| Migration Plugin | Beginners, small to medium sites, and anyone wanting a simple process. | Easy to use, often a one-click process. Handles URL replacement automatically. | Can time out on very large sites. Premium features may require payment. Less control over the process. |
| Manual (FTP & phpMyAdmin) | Developers, large or complex sites, and those who want full control. | Complete control over every step. Free (no plugin cost). Great for troubleshooting. | More technical and time-consuming. Higher risk of human error. Requires manual URL updates in the database. |
| Hosting Provider Migration | Anyone moving to a new host that offers a free migration service. | Usually free and handled by experts. Saves you a lot of time and effort. | Only available when switching hosts. You have little to no control over the timeline or process. |
Your choice here sets the stage for the entire migration. For most people, a good plugin is the safest and fastest bet. But if you're comfortable with the tech, a manual move gives you unbeatable control.
Executing the Core Migration Process
With your backups secured and your game plan set, it’s time to get your hands dirty. This is where your site's files and database actually make the journey from the old server to the new one. We’ll walk through both the simple plugin method and the more involved manual approach.
The automated route is popular for a good reason—it boils down a complex job into just a few clicks. But for those who crave more control or are dealing with a massive site, the manual method is a powerful alternative.
The Automated Plugin Approach
For most people, especially beginners, using a migration plugin is the fastest and safest bet. Tools like All-in-One WP Migration or Duplicator are built for exactly this purpose. They package your entire website into a single, neat file that you can easily upload to your new home.
The process is pretty straightforward:
- Install the Plugin: First, add your chosen migration plugin to the WordPress site you're moving (the source site).
- Export Your Site: Head over to the plugin's settings and find the export option. The plugin will bundle everything—themes, plugins, uploads, and the database—into one portable file, often with a
.wpressextension. - Set Up the New Site: On your new hosting account, you'll need a fresh, blank installation of WordPress.
- Import Your Site: Install the exact same migration plugin on this new WordPress site. This time, use the import function to upload the file you just exported. The plugin takes it from there, unpacking all your files and setting up the database.
This graphic gives you a quick visual of the foundational setup required on your new host before you even think about importing your site.
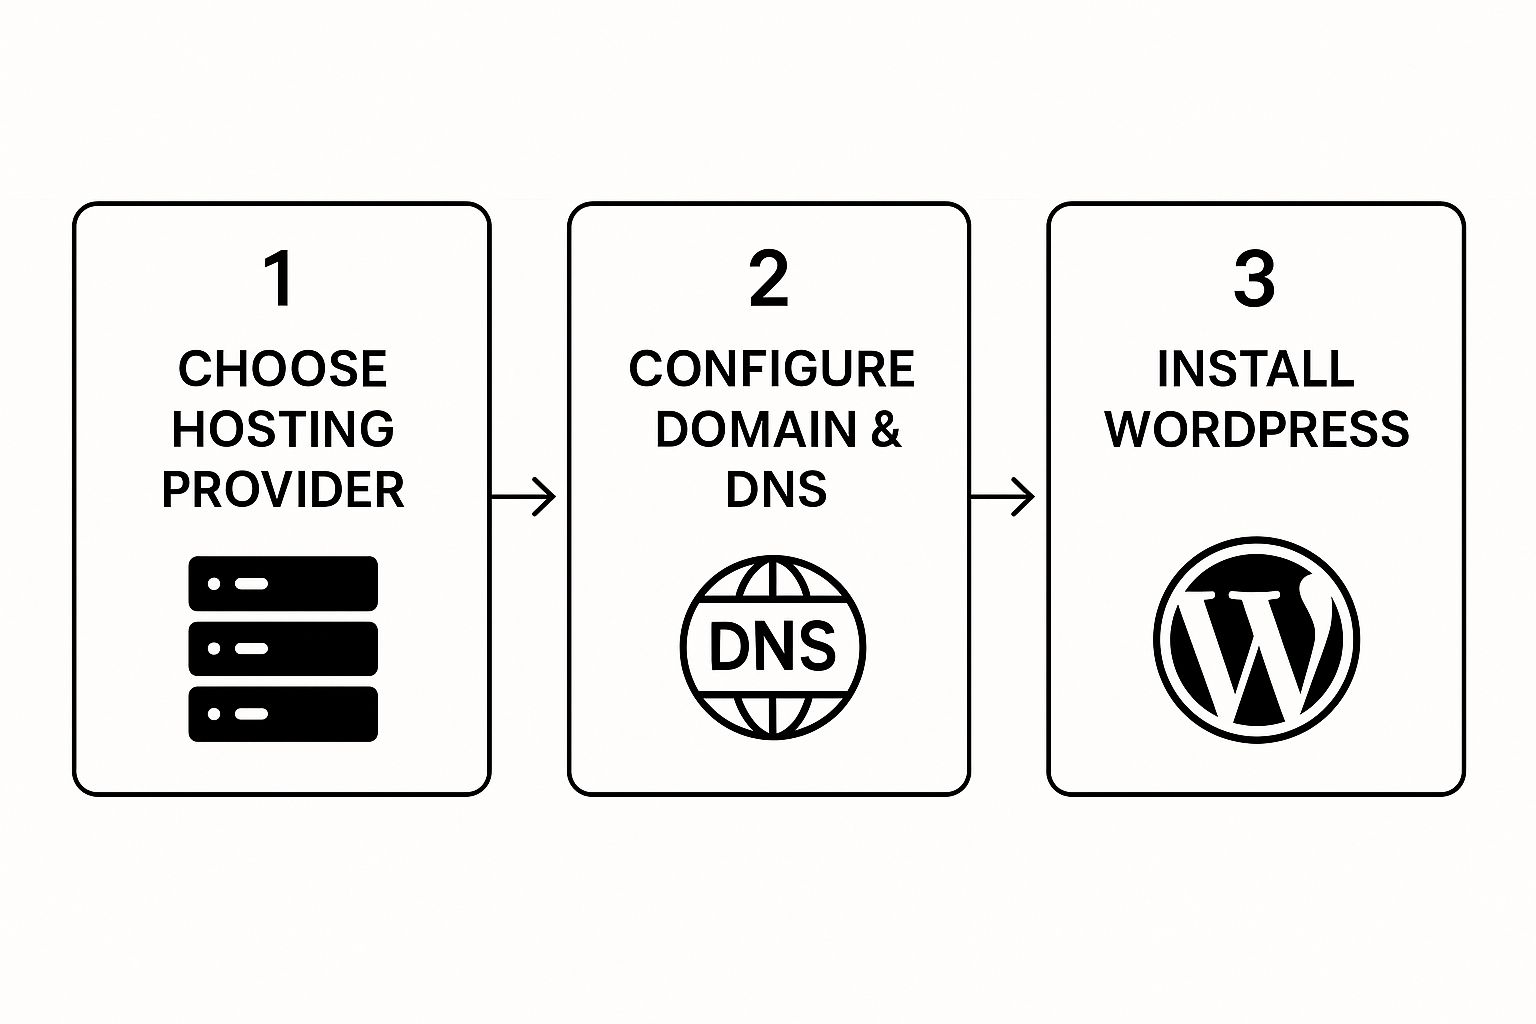
As you can see, choosing a host, pointing your domain, and installing a clean WordPress instance are the essential first steps, whether you're going the plugin route or tackling it manually.
The Hands-On Manual Migration
A manual migration puts you in the driver's seat, which is perfect for massive websites or for developers who want to micromanage every single detail. This process means moving the files and the database as two separate pieces.
Your main tools for a manual move will be an FTP client (like FileZilla) for the files and phpMyAdmin for the database. You'll start by connecting to your old server via FTP and downloading your entire WordPress directory to your computer. Be patient; this can take a while, especially if your wp-content/uploads folder is packed with media.
Next, you'll upload all those files to your new server's root directory using the same FTP client. While that transfer is chugging along, you can get to work on the database.
The most common snag I see with manual migrations happens during the database import. phpMyAdmin often chokes on large files. If your
.sqlexport is over 50MB, you might run into timeout errors. The best solution is often to ask your new host to import it for you directly via the command line.
Once the database is successfully imported, the critical final step is to update the wp-config.php file on the new server. This file is what tells your WordPress files how to talk to your database.
You'll need to open wp-config.php and edit these three lines with the new database credentials from your host:
DB_NAMEDB_USERDB_PASSWORD
Getting these details 100% correct is non-negotiable. A single typo will throw the dreaded "Error establishing a database connection" message. For a deeper dive into doing this without taking your site offline, our guide on how to migrate a WordPress site without any downtime lays out the full strategy.
If all this sounds a bit overwhelming, there's no shame in calling in the pros. You can always consult with expert website migration services to handle the technical heavy lifting. In the end, whether you choose a plugin or a manual transfer, the goal is a seamless move that brings your entire site over, ready for the final round of testing.
Finalizing the Move and Preventing Common Errors

Getting your files and database onto the new server is a huge milestone, but don't pop the champagne just yet. The job's not done. Now we get to the critical final steps that turn that pile of data into a living, breathing website.
This is where a lot of migrations go wrong, so paying close attention here is key.
The first, and arguably most important, task is to hunt down and update every single old URL still hiding in your database. Think about it—every internal link, every image path, and a ton of configuration settings are all still pointing to your old domain. This is the root cause of those frustrating broken images, dead-end links, and pesky mixed-content SSL warnings.
Updating URLs with a Search and Replace
Trying to edit the database by hand is a recipe for disaster. It's tedious, and you're almost guaranteed to miss something. Instead, the smart move is to use a tool built for this exact job. This is where a plugin like Better Search Replace becomes an absolute lifesaver.
After you install it, you’ll see a straightforward interface. You just pop your old URL into the "Search for" field and your new one into the "Replace with" field. That's it.
The plugin then does the heavy lifting, methodically scanning every table in your database to swap out all instances of the old URL. For anyone who prefers the command line, WP-CLI is an even faster and more powerful option for getting the same result.
Sticking to solid database migration best practices is non-negotiable here. It's the only way to ensure your data stays intact and the whole process goes smoothly. With a predicted 15% rise in WordPress use across the tech sector, these complex sites need perfect migrations to keep their intricate setups from breaking.
Fixing Broken Links and Clearing Cache
Once the URLs are sorted, you might hit another common snag: you click on an internal page, and boom—a 404 "Not Found" error. Don't panic. This is usually an incredibly easy fix. It just means your new server hasn't learned your site's URL structure yet.
Here's how you fix it:
- Head to Settings > Permalinks in your WordPress dashboard.
- You don't have to actually change anything on the page.
- Just click the Save Changes button.
That one click prompts WordPress to rebuild its internal rewrite rules, which almost always solves the 404 issue instantly.
Finally, it's time for a good spring cleaning. You need to clear out every layer of cache. Old, stored versions of your site can create a confusing situation where you (and your visitors) are still seeing the old site.
Clearing all your caches is a simple but critical step. It’s amazing how often this is overlooked, causing a ton of confusion after a migration.
Be thorough here. You need to purge everything:
- Plugin Cache: If you use something like W3 Total Cache or WP Rocket, go into its settings and hit the "Clear Cache" button.
- Server Cache: A lot of managed hosts have their own caching systems. Look for a "Purge Cache" or similar button in your hosting control panel.
- CDN Cache: If you use a CDN like Cloudflare, you'll need to log into your account there and purge its cache, too.
- Browser Cache: Last but not least, clear your own browser's cache to make sure you're not getting served stale files.
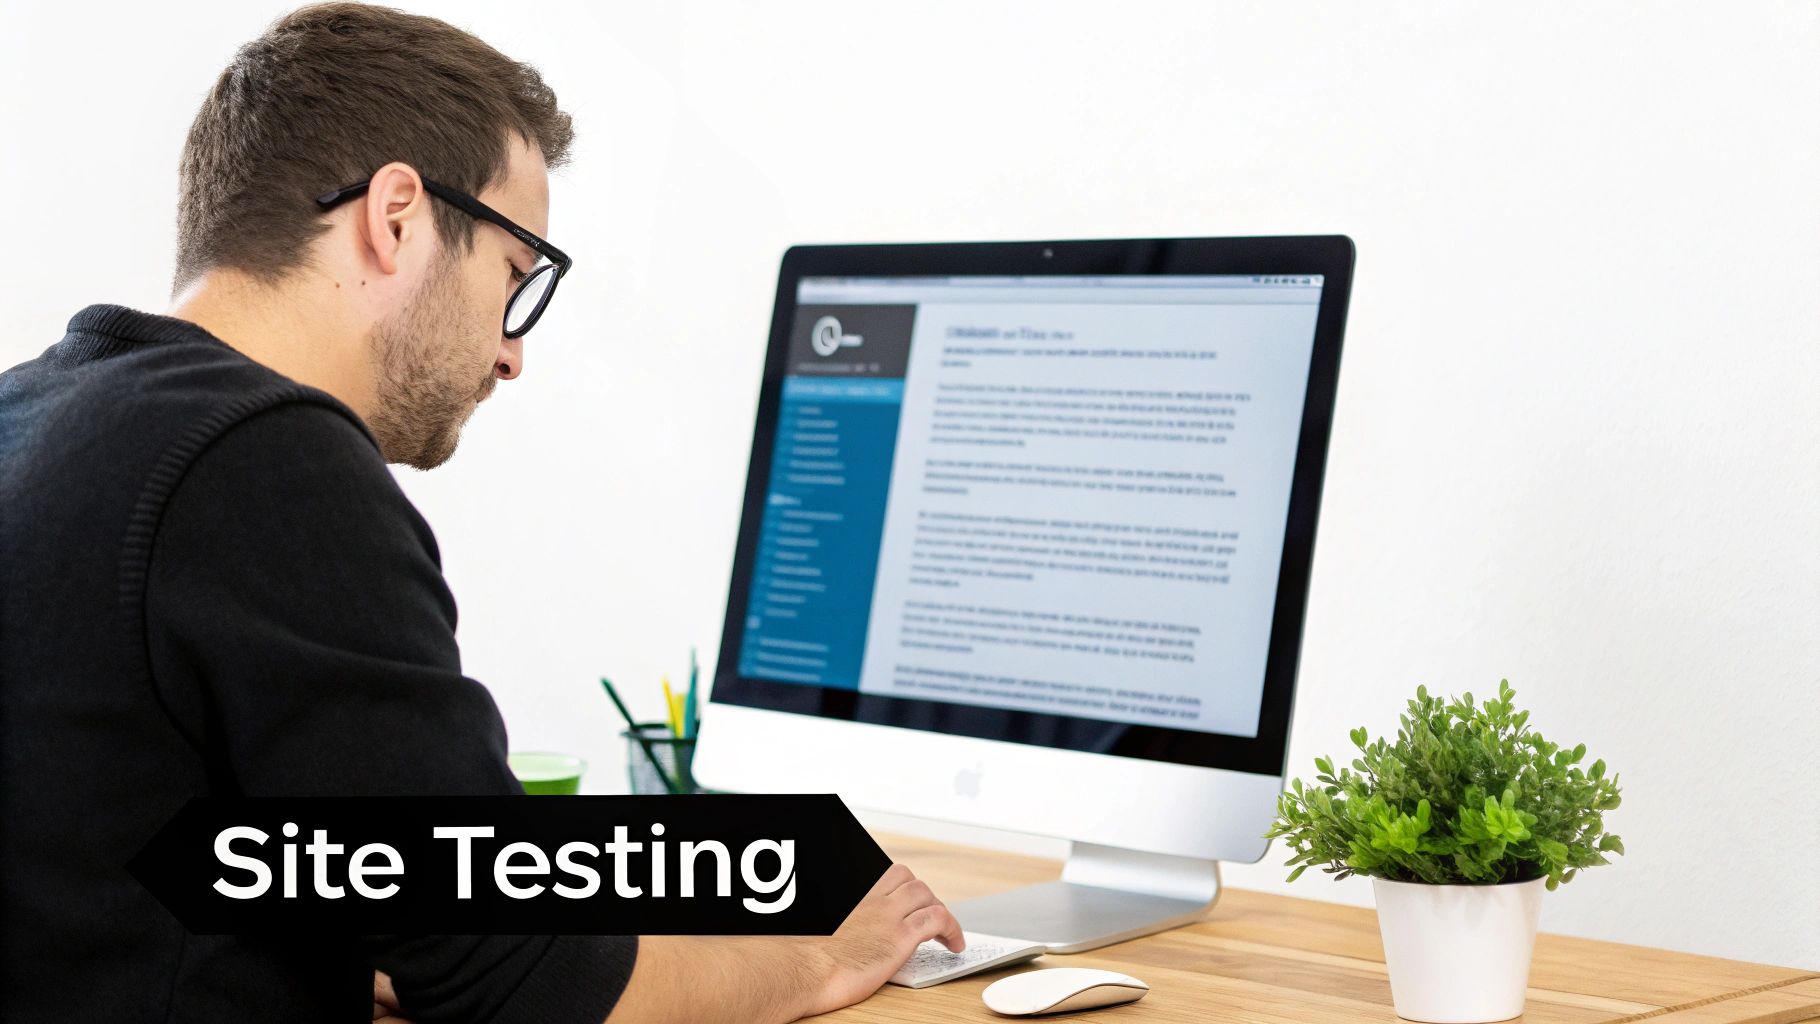
The Post-Migration Health Check You Cannot Skip
Your site is live on the new server, but don't pop the champagne just yet. This final stage is your last line of defense against those small, sneaky issues that often slip through during a move. Rushing this can lead to a terrible user experience and even ding your SEO rankings.
A methodical health check makes sure everything is working precisely as it should. It’s about more than just checking if the homepage loads; you need to dig in and confirm the entire user journey is seamless, from the first click to the final contact form submission.
Front-End Testing: Your Public Face
First things first, look at your site like a brand new visitor would. Open it in a fresh browser window—or even better, an incognito window. This prevents your own browser cache from tricking you into seeing an old, cached version of the site.
Click through your main navigation menu, testing every single link. Make sure your key pages like "About," "Services," and "Contact" all look right. The goal here is simple: spot any obvious visual glitches or broken elements before your audience does.
Here's a quick checklist for your front-end review:
- Images and Media: Are all your images, videos, and downloadable files loading correctly? Missing images are a classic post-migration headache.
- Theme Styling: Check that your CSS loaded properly. Look at the fonts, colors, and layouts. Do they appear correct across different pages?
- Interactive Elements: Test your sliders, pop-ups, and any other interactive features to make sure they're still functioning.
- Forms: This one is a big deal. Fill out and submit every single form on your site—contact forms, newsletter sign-ups, quote requests. You need to be certain those notifications are still being sent to the right inbox.
Back-End Verification and Final Polish
Once the front-end looks good, it's time to peek under the hood. Log into your WordPress dashboard and confirm your admin tools are all in working order.
A good place to start is your plugin settings. Sometimes a migration can reset plugin configurations, so it’s smart to double-check your most critical ones, like any SEO or caching plugins. Also, verify that your SSL certificate is active on the new host, ensuring your site is secure with HTTPS.
If you find something has gone horribly wrong and you need to roll back, our guide on how to restore WordPress from a backup can walk you through the recovery process.
Don't forget to run a quick performance test. Use a tool like GTmetrix or PageSpeed Insights to confirm you're actually getting the speed boost you moved for in the first place.
This thorough check is what turns your project from simply "moved" to successfully "migrated."
Common Questions About Moving a WordPress Site
Even when you've got a solid migration plan, a few questions always seem to pop up. Let's tackle some of the most common worries I hear from people so you can move forward with confidence.
One of the biggest fears is, understandably, about search engine rankings. It's a valid concern, but if you do this right, the impact on your SEO should be minimal. Your main goals are to keep downtime to an absolute minimum and be ready to hunt down and fix broken links the second you go live.
If you're changing your domain name as part of the move, setting up 301 redirects is absolutely non-negotiable. This is how you tell search engines the new address for your content, ensuring you pass along all that hard-earned SEO value.
Will Moving My WordPress Site Hurt My SEO Rankings?
To keep your SEO on solid ground, focus on a couple of key actions. You'll need to update every single internal link to use the new URL structure. As soon as the new site is up and running, your very next step should be to resubmit your sitemap through Google Search Console. This gives Google a direct nudge to crawl the new site and get its index updated quickly.
Honestly, the best defense against any SEO trouble is just following a thorough post-migration checklist, like the one we've already covered.
How Long Does a WordPress Migration Take?
This one really depends. A small blog with just a handful of media files could be done in less than an hour, especially if you're using a good plugin.
On the other hand, a huge e-commerce site with thousands of products and a massive database could easily take several hours—even longer if you're doing it all by hand.
My advice? Always block out way more time than you think you'll need. That buffer is a lifesaver when you hit an unexpected snag, preventing you from rushing and making a costly mistake.
What Is the Safest Way to Move My Site?
The "safest" method comes down to your personal comfort level with the tech involved. For most people, a high-quality migration plugin is the most secure and reliable path.
- Plugin Migration: Tools like All-in-One WP Migration or Duplicator are fantastic because they automate the trickiest parts of the process, which cuts down the risk of human error. They're built to package everything up and unpack it reliably on the other end.
- Manual Migration: If you're a developer who's comfortable working with FTP and managing databases directly in something like phpMyAdmin, doing it manually gives you total control. This can actually be the safer bet for extremely large or complex sites where a plugin might time out or fail.
No matter which route you take, the single most critical safety step is this: create and verify a complete backup before you touch anything. It's your ultimate undo button.
Managing one WordPress site is enough work. But what about ten? Or fifty? With WP Foundry, you can update plugins, manage users, and run database backups across all your sites from a single desktop app. No more logging in and out of dozens of dashboards. Take control of your sites with WP Foundry today!