A chaotic start can doom even the most promising WordPress project. Misaligned expectations, missed deadlines, and endless back-and-forth emails are often symptoms of a broken or nonexistent onboarding system. A well-defined client onboarding checklist is the single most effective tool for preventing these issues, transforming your process from a source of stress into a significant competitive advantage. It sets the tone for the entire engagement, establishing clear communication channels and building client confidence from day one.
This comprehensive guide provides that definitive checklist. We will walk through every critical step needed to build a repeatable, scalable, and efficient onboarding experience for your WordPress clients. By implementing this structured approach, you will eliminate ambiguity, streamline project kickoff, and create a solid foundation for a successful partnership. Following this client onboarding checklist ensures every project begins with clarity, trust, and efficiency.
You'll learn how to master key stages, from initial pre-kickoff communication and information gathering to final launch preparations. The goal is to not only deliver superior results but also to cultivate stronger, long-lasting client relationships that become the cornerstone of your agency's growth. This is your blueprint for achieving operational excellence and setting every project up for success before the real work even begins.
1. Pre-Onboarding Communication
The first step in a successful client onboarding checklist isn't the project kickoff meeting; it's the thoughtful communication that precedes it. Pre-onboarding communication is the crucial bridge between contract signing and the official start of work. It’s your first opportunity to reinforce the client’s decision, manage their excitement, and set a professional, organized tone for the entire project. This phase is about making your new client feel welcomed, informed, and confident in their choice.

This initial outreach moves beyond a simple "thanks for signing." It’s a strategic sequence designed to prepare the client for a smooth collaboration. It clearly outlines immediate next steps, introduces key team members, and provides necessary documentation, preventing confusion and pre-kickoff anxiety. By proactively addressing common questions, you demonstrate your expertise and respect for the client’s time.
Why This Step Is Crucial
Effective pre-onboarding communication immediately combats buyer's remorse and sets a positive precedent. It shows you are organized, proactive, and ready to guide them through the process. For example, a Shopify Plus agency might send a branded welcome package containing a printed project roadmap and a small gift, creating a memorable and high-end experience. In contrast, a freelance developer could use a simple, clear email from a tool like Basecamp to outline the next steps and set up the project portal.
Actionable Tips for Implementation
To make your pre-onboarding effective, consider these strategies:
- Act Quickly: Send your welcome communication within 24 hours of the contract being signed to capitalize on the client's enthusiasm.
- Assign a Single Contact: Introduce the primary point of contact for the project. This avoids confusion and ensures the client knows exactly who to turn to with questions.
- Personalize with Video: A short, personalized welcome video from the project manager or lead developer adds a human touch that text can't replicate. It helps build rapport before the first meeting.
- Provide a Clear "What's Next" Timeline: Don't leave them guessing. Outline the immediate next steps, such as scheduling the kickoff call, required document submissions, and the agenda for the first meeting.
2. Client Information Gathering
Once you've welcomed your new client, the next critical step in any client onboarding checklist is to systematically gather all necessary information. This isn't just about collecting login credentials; it's a deep dive into the client's business, goals, audience, and technical requirements. This phase moves the relationship from a signed contract to a true strategic partnership, ensuring the project is built on a solid foundation of mutual understanding and clear objectives.

Effective information gathering is a structured process that combines questionnaires, discovery calls, and documentation review. It’s designed to extract every piece of relevant data needed to execute the project successfully. By front-loading this discovery, you prevent scope creep, reduce mid-project pivots, and demonstrate a thorough, professional approach that builds client trust from day one.
Why This Step Is Crucial
A robust information-gathering process eliminates guesswork and aligns expectations. It ensures the final product truly solves the client's problem, rather than just fulfilling a set of tasks. For example, a design agency might use a detailed brand questionnaire to understand a client's values, competitors, and aesthetic preferences before a single pixel is designed. Similarly, a web development firm building a complex e-commerce site would use a technical requirements matrix to map out every feature, integration, and user flow, preventing costly misunderstandings later.
Actionable Tips for Implementation
To make your client information gathering process efficient and comprehensive, follow these tips:
- Break It Down: Avoid overwhelming the client with a single massive form. Break the information gathering into digestible chunks, perhaps one for branding, one for technical access, and another for content.
- Use a Mix of Media: Combine written questionnaires with a follow-up discovery call. Written forms allow clients to gather their thoughts, while a call helps you probe deeper and clarify ambiguities.
- Prioritize Critical Information: Identify the absolute essential information needed to start the project (like hosting access) and request that first. Secondary information can be collected as the project progresses.
- Automate Follow-Ups: Use your project management tool to set reminders for incomplete questionnaires. A gentle, automated nudge can keep the process moving without manual effort.
3. Team Introductions and Role Clarification
Once initial communications are complete, the next critical step is to introduce the human element. Team introductions and role clarification move beyond a list of names; this is about establishing the personal connections that form the foundation of a successful partnership. It’s the process of formally presenting the project team to the client, clearly defining who does what, and outlining the communication hierarchy to prevent future confusion. This step transforms abstract roles into relatable people, fostering trust and a collaborative spirit from the very beginning.
This is more than just an org chart. It’s a strategic move to show the client the depth of expertise dedicated to their project. By clearly delineating responsibilities, you eliminate ambiguity and empower the client to direct their questions to the right person efficiently. This proactive step ensures that communication flows smoothly, preventing delays and misunderstandings down the line, which is a key part of any comprehensive client onboarding checklist.
Why This Step Is Crucial
Clarifying roles early on prevents the client from defaulting to a single contact for every minor query, which can create bottlenecks and frustrate both sides. It demonstrates a well-organized operation and shows respect for everyone's time. For instance, a creative agency might create a brief intro video where the project manager, lead designer, and lead developer each explain their role. This not only clarifies responsibilities but also humanizes the team, making them more approachable.
Actionable Tips for Implementation
To make your team introductions effective and memorable, follow these guidelines:
- Create a Team Directory: Provide a simple, one-page PDF or a dedicated page on your client portal with photos, names, titles, and a brief bio for each team member. This gives the client a reference to come back to.
- Designate a Primary and Secondary Contact: Clearly name the primary point of contact for day-to-day communication. Also, provide a secondary contact to ensure continuity if the primary person is unavailable.
- Define Communication Channels: Specify which channels are for what. For example, use your project management tool for project updates, email for formal documentation, and Slack for quick, informal questions.
- Outline User Roles in WordPress: For WordPress projects, explain the different access levels you will be providing. Clarifying the permissions for editors versus administrators can prevent accidental site changes. For a deeper dive, you can learn more about managing users in WordPress.
4. Tool and Platform Setup
Once communication channels are open, the next practical step in your client onboarding checklist is setting up the digital infrastructure for the project. Tool and platform setup involves creating accounts, provisioning access, and configuring all the software and systems your client will interact with. This is the technical backbone of your collaboration, ensuring seamless communication, file sharing, and project tracking from day one. It’s about creating an organized, centralized digital workspace before the real work begins.

This process moves beyond just sending invites; it's a strategic setup designed to minimize friction and empower the client. By preparing their digital environment in advance, you prevent technical hurdles from derailing the project kickoff. It establishes a clear, efficient workflow and demonstrates a high level of professionalism, showing the client that you have a well-oiled process for managing projects and their associated digital assets.
Why This Step Is Crucial
A well-organized tool setup prevents confusion and technical delays, which can quickly erode a new client's confidence. It centralizes all project-related activities, ensuring nothing gets lost in email chains. For instance, a development agency might create a dedicated Slack channel, a Jira project board for task tracking, and a shared Google Drive folder for assets. For a WordPress project, this might also involve setting up staging environments and demonstrating the basics, such as how to install a plugin on WordPress. This immediate structure helps the client feel integrated and in control.
Actionable Tips for Implementation
To ensure a smooth technical onboarding, follow these best practices:
- Limit the Tech Stack: Don't overwhelm the client. Stick to a minimal set of essential tools for communication, project management, and file sharing.
- Provide Simple Guides: Create brief, step-by-step setup guides with screenshots or short video tutorials for each tool. This empowers clients to get started on their own time.
- Test All Access: Before sending login details, personally test every account and permission level to confirm they work as intended. This small step prevents frustrating first-time login issues.
- Offer a Live Walkthrough: During the kickoff meeting, dedicate 10-15 minutes to a live tour of the primary tools. This allows you to answer questions in real-time and ensure everyone is comfortable.
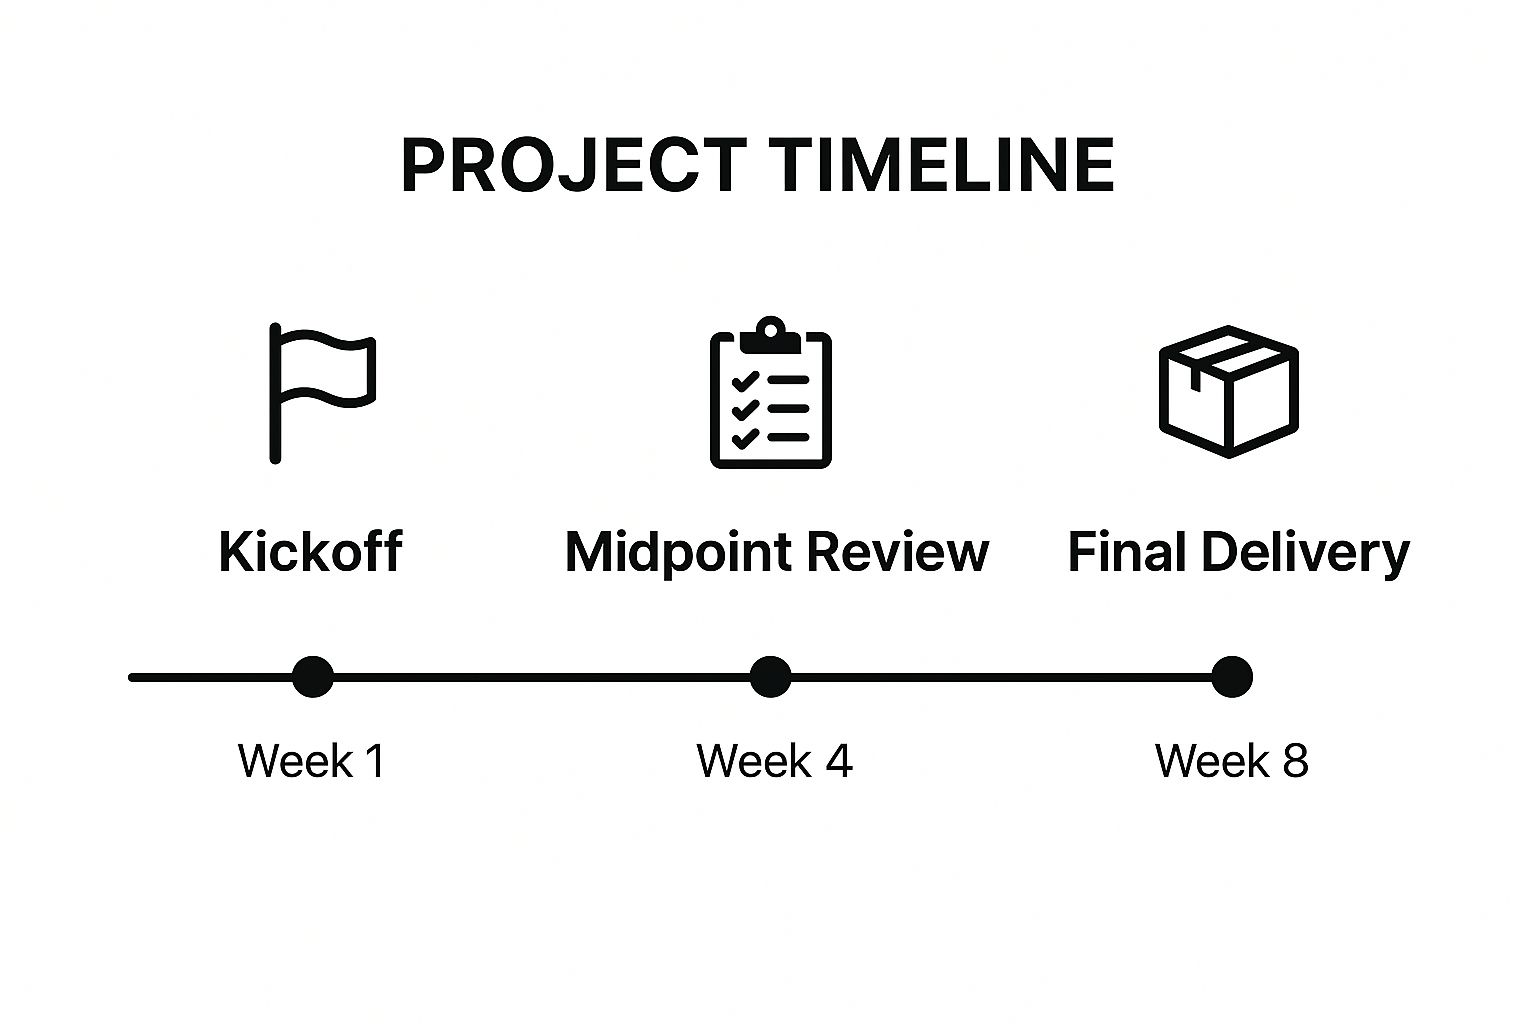
5. Project Scope and Timeline Definition
Once initial access is sorted, the next critical step is to collaboratively define the project's scope and timeline. This process transforms the client's high-level goals into a concrete, actionable plan with specific deliverables, clear milestones, and agreed-upon deadlines. It is the architectural blueprint for the entire project, ensuring that both you and the client have an identical understanding of what success looks like and how you will get there together.
This step moves beyond the initial proposal to create a shared project reality. It meticulously outlines every task, dependency, and success metric, leaving no room for ambiguity. By establishing these parameters early, you prevent scope creep, manage expectations effectively, and provide a clear framework for measuring progress throughout the engagement.
Why This Step Is Crucial
Defining the scope and timeline is fundamental to a successful client onboarding checklist because it aligns expectations and provides a single source of truth. It protects both parties by clearly documenting what is included and, just as importantly, what is not. For example, a web design agency might use a tool like Asana to map out a detailed schedule for wireframes, content delivery, and design revisions. This ensures the client understands their role in providing timely feedback to keep the project on track.
Actionable Tips for Implementation
To effectively define your project scope and timeline, consider these strategies:
- Use Visual Tools: Create a visual timeline using a Gantt chart or a project management tool. This makes the schedule easy to understand and helps illustrate dependencies between tasks.
- Build in Buffer Time: Always add a buffer for revisions, feedback cycles, and unexpected delays. A 15-20% buffer on your timeline is a professional and realistic approach.
- Define "Complete": Clearly articulate what constitutes project completion. This could be the final launch of a website, the delivery of a final report, or hitting a specific KPI.
- Schedule Regular Check-ins: Establish a recurring meeting (e.g., weekly or bi-weekly) to review the timeline, discuss progress, and address any potential roadblocks before they become major issues.
6. Contract Review and Legal Documentation
Before a single line of code is written, formalizing the legal framework is a non-negotiable step in any professional client onboarding checklist. Contract review and legal documentation involve the systematic walkthrough of all agreements to ensure both parties have a crystal-clear understanding of their rights, responsibilities, and the project's scope. This isn't just about signing a paper; it's about building a foundation of trust and mutual understanding.
This phase solidifies the terms discussed during the sales process into a legally binding agreement. It covers everything from project deliverables and timelines to payment schedules, intellectual property rights, and confidentiality clauses. By addressing these critical points upfront, you prevent future misunderstandings, scope creep, and potential legal disputes, ensuring the relationship starts on solid, professional ground.
Why This Step Is Crucial
Thorough contract review protects both you and your client. It defines the rules of engagement and provides a clear recourse if expectations are not met. For instance, a creative agency must explicitly state who owns the intellectual property for brand assets created. Likewise, a consulting firm handling sensitive business information needs a robust non-disclosure agreement. Properly managing these documents is key to mitigating risk.
A crucial element of legal documentation is effective contract management. You can explore essential contract management best practices to streamline workflows and reduce risks beyond the onboarding phase.
Actionable Tips for Implementation
To handle legal documentation smoothly and professionally, follow these tips:
- Use Plain Language Summaries: Provide a simple, one-page summary or a cover letter that explains the key terms of the legal document in plain English. This helps clients feel more comfortable and informed.
- Highlight Key Obligations: Use bold text or a separate section to draw attention to critical areas like payment due dates, required client feedback timelines, and the official scope of work.
- Schedule a Review Call: Offer a dedicated call to walk through the contract and answer any questions. This proactive step demonstrates transparency and helps clarify any confusing legal jargon.
- Utilize E-Signature Tools: Use professional tools like DocuSign or PandaDoc to streamline the signing process, making it easy for clients to sign and providing a secure, digital record for both parties.
7. Training and Knowledge Transfer
The onboarding process extends beyond setup and configuration; it culminates in empowering the client. Training and knowledge transfer is the educational phase where you equip your client with the skills and information needed to manage, utilize, and benefit from the solutions you’ve provided. This is about turning over the keys with a comprehensive lesson on how to drive, ensuring they feel confident and competent long after the initial project is complete.
This stage transforms a passive recipient into an active, engaged user. It involves structured training sessions, creating documentation, and providing resources for future reference. For a WordPress project, this means teaching the client how to update pages, add blog posts, or manage e-commerce products. Neglecting this step often leads to client dependency, frustration, and an inability for them to achieve the long-term goals the project was designed to solve.
Why This Step Is Crucial
Proper training is a cornerstone of a successful client onboarding checklist because it directly impacts long-term client success and satisfaction. It reduces future support tickets, prevents user error, and increases the perceived value of your work. For example, a digital agency that trains a client on using Google Analytics to track campaign performance empowers them to see tangible ROI. Similarly, a SaaS company providing certified platform training ensures users can leverage advanced features, leading to higher product adoption and lower churn. This step solidifies your role as a partner, not just a vendor.
Actionable Tips for Implementation
To deliver effective training and knowledge transfer, consider these strategies:
- Record All Training Sessions: Always record live training calls. This provides an invaluable asset the client can re-watch and share with new team members, saving you from repeating the same training multiple times.
- Offer Multiple Learning Formats: Cater to different learning styles by providing a mix of video tutorials, written user guides with screenshots, and quick-reference "cheat sheets" for common tasks.
- Start Simple, Then Advance: Structure your training logically. Begin with the most basic, essential functions (e.g., logging in, editing text) before moving to more complex features. Overwhelming a client with too much information at once is counterproductive.
- Create a Centralized Knowledge Base: Use a tool like Notion, a private section of their WordPress site, or even a shared Google Drive folder to house all training materials, making it easy for the client to find what they need.
8. Initial Check-in and Feedback Collection
The client onboarding process doesn't conclude when the project officially starts; it ends with a deliberate check-in to gather feedback. This final step involves proactively reaching out to the client to discuss their onboarding experience, address any lingering questions, and ensure a seamless transition into the ongoing project work. It’s your chance to confirm that the foundation you've built is solid and that the client feels confident and prepared for the journey ahead.
This step moves the relationship from a transactional setup to a collaborative partnership. It’s a structured conversation designed to capture honest insights about your processes, communication, and overall effectiveness. By formally requesting feedback, you demonstrate that you value the client’s perspective and are committed to continuous improvement, setting a positive tone for all future interactions and project phases.
Why This Step Is Crucial
Collecting feedback at this stage is essential for client retention and process refinement. It identifies and resolves any friction points before they can escalate into larger project issues. For instance, a marketing agency might use a Net Promoter Score (NPS) survey to gauge onboarding satisfaction, while a consulting firm could schedule a 30-day review call to discuss the experience in detail. This proactive approach ensures the client feels heard and reinforces their decision to work with you. It also provides valuable data to refine your client onboarding checklist for future engagements.
Actionable Tips for Implementation
To make your check-in process effective, follow these best practices:
- Schedule Strategically: Don’t just check in once. Plan for touchpoints at key intervals, such as one week, 30 days, and 90 days, to capture evolving perspectives.
- Use a Hybrid Approach: Combine quantitative methods like surveys with qualitative one-on-one discussions. This gives you both measurable data and the nuanced context behind it.
- Act on Feedback Immediately: If a client raises a concern, address it swiftly and transparently. This builds immense trust and shows you are responsive to their needs.
- Set the Stage for Ongoing Care: Use this conversation to transition to long-term collaboration. It’s an ideal moment to introduce ongoing services, like those detailed in a comprehensive WordPress website maintenance plan.
Client Onboarding Process Comparison
| Onboarding Phase | Implementation Complexity 🔄 | Resource Requirements ⚡ | Expected Outcomes 📊 | Ideal Use Cases 💡 | Key Advantages ⭐ |
|---|---|---|---|---|---|
| Pre-Onboarding Communication | Moderate – needs personalized messages | Medium – team time for follow-up | Reduced client anxiety, clear expectations | New clients post-contract, setting initial tone | Builds confidence, prevents miscommunication |
| Client Information Gathering | High – detailed forms and calls | High – data collection and review | Comprehensive client understanding, reduced scope creep | Projects needing deep client insight | Aligns project goals, early challenge identification |
| Team Introductions & Role Clarification | Low to Moderate – depends on team size | Medium – preparing profiles & sessions | Clear contact points, trust building | Complex projects with multiple team members | Builds trust, creates accountability |
| Tool and Platform Setup | High – technical setup & configuration | High – training and support | Streamlined collaboration, centralized info | Projects relying on shared platforms and tools | Improves transparency, reduces email overload |
| Project Scope & Timeline Definition | High – detailed planning & revisions | Medium to High – coordination effort | Prevents scope creep, accountability, tracking | Projects requiring clear deliverables and deadlines | Clear goals, resource planning, measurable progress |
| Contract Review & Legal Documentation | Moderate to High – legal expertise needed | Medium – document review time | Clear legal boundaries, dispute prevention | All projects with formal agreements | Protects interests, clarifies obligations |
| Training and Knowledge Transfer | High – training sessions & materials | High – time and content creation | Client empowerment, reduced support | Clients using new tools/processes extensively | Increases satisfaction, improves collaboration |
| Initial Check-in and Feedback | Low to Moderate – scheduling and follow-up | Medium – time for feedback analysis | Early issue resolution, process improvement | Post-onboarding transitions | Strengthens relationships, informs improvements |
From Checklist to Competitive Edge
Moving beyond the individual tasks, it's clear that a comprehensive client onboarding checklist is far more than an administrative hurdle. It is the architectural blueprint for a successful client relationship and a high-performing project. By methodically progressing from pre-onboarding communication and information gathering to the final launch preparations, you systematically dismantle ambiguity, prevent scope creep, and build a powerful foundation of trust and clarity. This is not just about ticking boxes; it's about engineering a predictable, professional, and positive experience for everyone involved.
The true value of this structured approach lies in its transformative impact. A well-executed onboarding process turns initial client excitement into sustained project momentum. It empowers your team with the precise information they need, sets crystal-clear expectations, and establishes a communication rhythm that fosters collaboration rather than confusion. Think of each step, from defining the project scope to conducting user training, as a deliberate investment in efficiency and client satisfaction.
Key Takeaways for Lasting Success
To truly leverage this framework, consider these core principles:
- Consistency is Your Superpower: A standardized process ensures every client receives the same high level of service. This builds brand reputation and makes your workflow scalable, whether you're onboarding your fifth client or your fiftieth.
- Communication Over Assumption: Never assume a client understands your process, terminology, or tools. Proactive communication during onboarding prevents misunderstandings that could derail a project weeks or months down the line.
- Technology as an Enabler: The right tools are not just a luxury; they are essential for executing your checklist efficiently. Automating repetitive tasks like site setup, security scans, and plugin updates allows you to focus on the high-value, strategic aspects of the client relationship.
Ultimately, mastering your client onboarding process is what separates thriving agencies from those that are constantly struggling. It reduces internal friction, minimizes costly revisions, and turns new clients into vocal advocates for your brand. By embracing this client onboarding checklist and adapting it to your unique needs, you are not just improving a single project. You are building a more resilient, profitable, and reputable business, one successful client at a time. This deliberate, front-loaded effort pays dividends throughout the entire project lifecycle, paving the way for long-term partnerships and sustainable growth.
Ready to supercharge your client onboarding and management process? WP Foundry centralizes all your WordPress sites into a single, intuitive dashboard, allowing you to execute key checklist items like user setup, plugin configurations, and security protocols in a fraction of the time. Streamline your workflow and deliver exceptional service from day one by visiting WP Foundry to see how it can revolutionize your agency's efficiency.