
Launching a new WordPress website is an exciting milestone, but the final steps before going live are absolutely critical. A rushed or incomplete launch can quickly lead to broken links, glaring security vulnerabilities, and a disastrous first impression on both search engines and potential customers. To guarantee a seamless transition from your development environment to a live, high-performing site, a methodical approach is not just recommended, it's essential.
This comprehensive WordPress website launch checklist is designed to be your final pre-flight manual. We will systematically break down the seven most critical areas you must verify before flipping the switch. You'll move beyond theory and get straight into practical, actionable steps for each crucial stage.
We will cover everything from a final content review and deep SEO optimization to rigorous performance testing and fortifying your site's security. You'll learn how to properly configure analytics, verify that every contact form works flawlessly, and implement a reliable backup system. Following this structured plan will do more than just prevent common launch-day headaches; it will establish a solid foundation for your website's long-term growth, search visibility, and success. Let's get started on your countdown to a flawless launch.
1. Content Review & SEO Optimization
Before your website goes live, its content must be flawless and strategically optimized for search engines. This crucial step in your WordPress website launch checklist involves a meticulous review of every piece of text, imagery, and metadata to ensure accuracy, readability, and discoverability. Think of it as proofreading your entire digital presence and simultaneously preparing it to attract organic traffic from day one. This process is foundational; even the most technically sound website will fail to convert or rank if its content is riddled with errors or invisible to search engines.

This stage, popularized by SEO pioneers like Joost de Valk (creator of Yoast SEO) and Rand Fishkin (founder of Moz), combines quality assurance with search engine strategy. It ensures that when users and search crawlers arrive, they find high-quality, relevant, and well-structured information.
### How It Works: A Dual-Focus Approach
Content review and SEO optimization is a two-part process. First, focus on the human element by ensuring all content is final, polished, and provides a clear message. Second, optimize that content for search engine algorithms.
- Content & Formatting Audit: Scrutinize every page for spelling and grammatical errors. Verify that all placeholder text (like "lorem ipsum") has been replaced with final, approved copy. Ensure headings are used logically (a single H1 per page, followed by H2s, H3s, etc.) to create a clear visual and structural hierarchy.
- On-Page SEO Implementation: Assign a unique primary keyword to each important page. This keyword should be integrated naturally into the page's meta title, meta description, H1 heading, and the first paragraph.
- Image & Link Verification: Confirm that every image has descriptive alt text. This is vital for both accessibility (screen readers use it) and SEO (it helps Google understand the image context). Check that all internal and external links work correctly and open in the appropriate browser tab (external links should typically open in a new tab).
### Actionable Tips for Implementation
To systematically tackle this task, use a combination of tools and a structured workflow.
- Leverage SEO Plugins: Install a reputable SEO plugin like Yoast SEO or Rank Math. These tools provide real-time feedback and a checklist within your WordPress editor, guiding you on keyword usage, meta description length, and readability.
- Create a Content Checklist: Develop a standardized checklist for every page. This should include checks for: final copy approval, spell/grammar check, H1 tag presence, logical sub-heading structure, meta title/description optimization, image alt text, and internal link placement.
- Write Compelling Meta Descriptions: Don't just stuff keywords into your meta descriptions. Write them like ad copy to entice users to click on your link in search results. A good description answers the user's query and includes a call to action.
Ultimately, this step is about marrying high-quality content with technical SEO. Beyond these optimizations, it's also critical to ensure the overall site structure and navigation are intuitive. To learn more about creating a seamless user journey, review these website UX best practices to ensure your well-optimized content is presented in a user-friendly framework.
2. Performance & Speed Testing
In today's fast-paced digital environment, website speed isn't a luxury; it's a necessity. Performance and speed testing is the process of measuring how quickly your website's pages load for a visitor and then optimizing all underlying components to make it as fast as possible. This step in your WordPress website launch checklist is critical because slow-loading sites frustrate users, leading to higher bounce rates, lower engagement, and ultimately, lost conversions. Even a one-second delay can have a significant impact on user satisfaction and your bottom line.
The emphasis on web performance was championed by pioneers like Steve Souders, who literally wrote the book on the subject, and further amplified by Google's Web Fundamentals team, which integrated site speed into its core ranking algorithms. The success of this principle is evident in real-world data: Amazon famously found that every 100ms of latency cost them 1% in sales, while the BBC discovered they lost an additional 10% of users for every extra second their site took to load.
### How It Works: A Cycle of Measurement and Optimization
Performance testing operates on a simple but powerful loop: measure, identify bottlenecks, and optimize. The goal is to reduce the time it takes for a user's browser to download and render all the elements on a page, from images and scripts to stylesheets. This directly impacts user experience and search engine rankings, especially with Google's focus on Core Web Vitals.
- Baseline Measurement: The process begins by running your site through analysis tools like GTmetrix or Google PageSpeed Insights. These tools provide a detailed report on metrics like First Contentful Paint (FCP), Largest Contentful Paint (LCP), and total load time, giving you a clear performance baseline.
- Asset Optimization: A major part of optimization involves shrinking the size of your website's files. This includes compressing images into modern formats like WebP, as well as "minifying" CSS and JavaScript files by removing unnecessary characters (like spaces and comments) without changing their functionality.
- Server and Caching Strategy: Performance isn't just about the front-end. It involves server-side optimizations like enabling GZIP compression, which reduces file sizes before they are sent to the browser. Implementing a robust caching solution is also vital, as it stores a static version of your site, allowing it to be served to visitors much more quickly.
The following infographic illustrates the fundamental workflow for improving your site's speed.
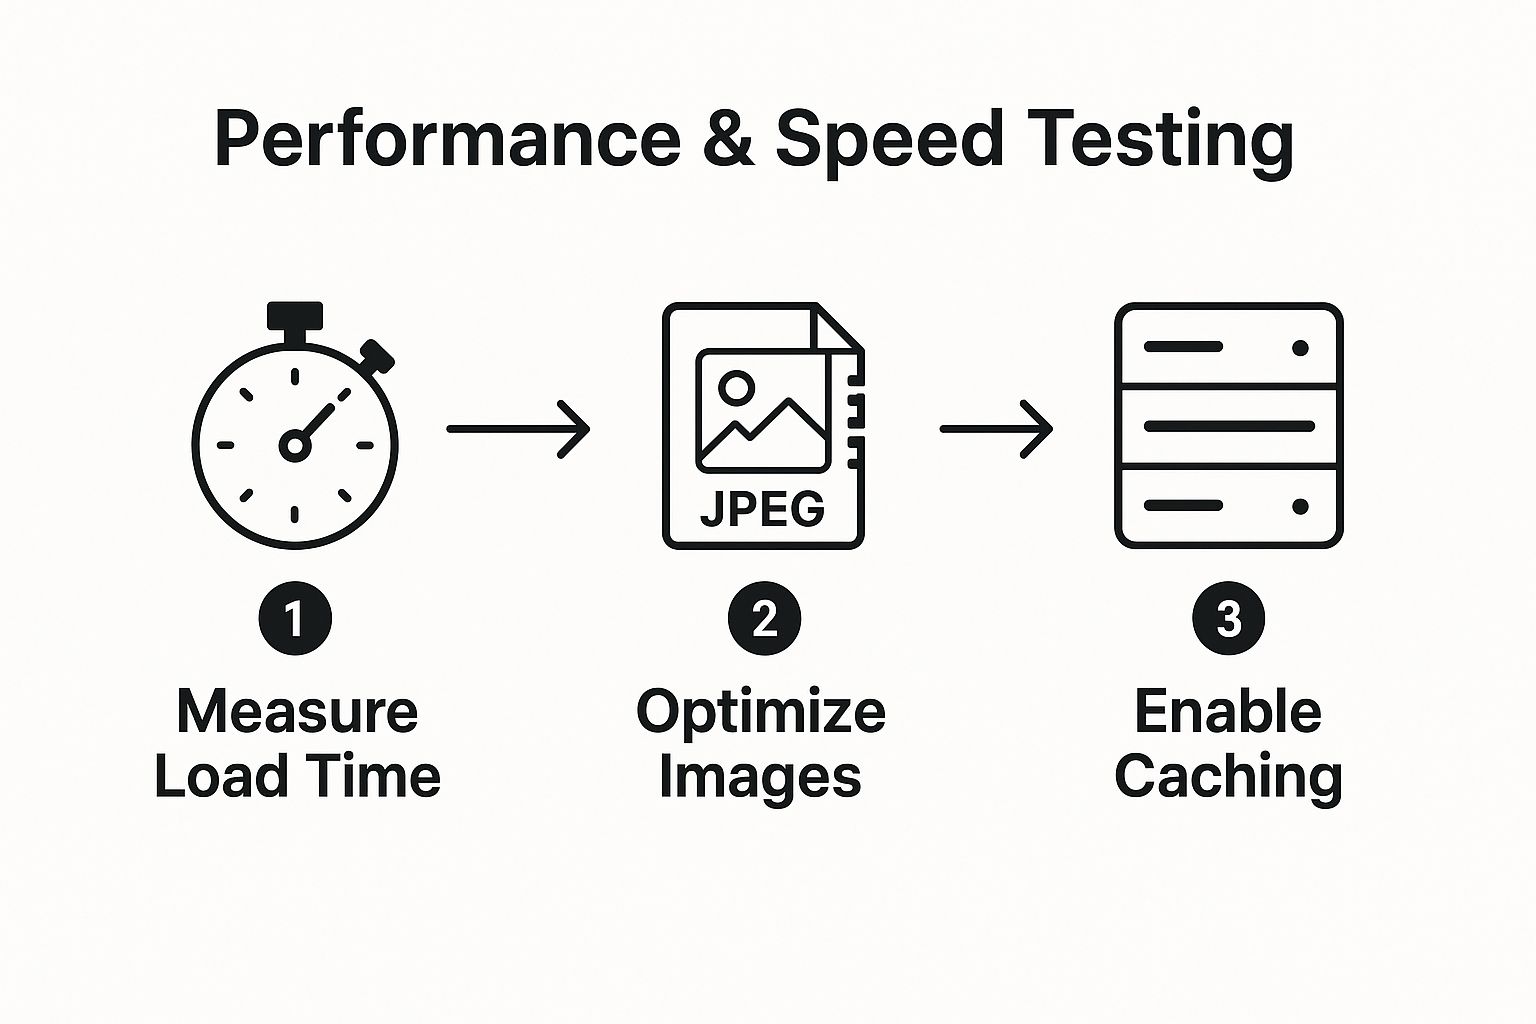
This simple, three-step cycle forms the core of any effective performance strategy, ensuring you address the most common and impactful speed bottlenecks.
### Actionable Tips for Implementation
Boosting your WordPress site's speed is achievable with the right tools and techniques. Focus on these high-impact actions before you launch.
- Choose Performance-Optimized Hosting: Your hosting environment is the foundation of your site's speed. Opt for a managed WordPress host like SiteGround or WP Engine that offers built-in caching, a Content Delivery Network (CDN), and servers optimized specifically for WordPress.
- Implement a Caching Plugin: Use a well-regarded caching plugin like WP Rocket or W3 Total Cache. These tools automate complex tasks like page caching, browser caching, and database optimization with just a few clicks.
- Use a Content Delivery Network (CDN): A CDN, such as Cloudflare, stores copies of your site's static assets (images, CSS, JS) on servers around the world. When a user visits your site, these assets are served from the server closest to them, dramatically reducing latency.
By systematically testing and optimizing, you ensure your website is ready to provide a fast and seamless experience for every visitor. For a deeper dive into one of the most effective speed-boosting techniques, you can find a guide that explains how to cache a website to significantly improve load times.
3. Cross-Browser & Device Testing
A beautiful design and flawless functionality on your primary computer mean little if the experience shatters for users on different devices or browsers. This is where cross-browser and device testing becomes a non-negotiable step in your WordPress website launch checklist. It involves systematically verifying that your site’s appearance, functionality, and performance are consistent across a wide range of web browsers, operating systems, and screen sizes. Without this verification, you risk alienating a significant portion of your audience, leading to high bounce rates and lost conversions.

This practice was championed by web standards advocates and pioneers of responsive design like Ethan Marcotte, who stressed the importance of a fluid, device-agnostic user experience. Modern digital giants like Netflix and Airbnb exemplify this principle, investing heavily in testing to ensure their platforms deliver a seamless experience whether a user is on a desktop in Chrome, a tablet in Safari, or an Android phone.
### How It Works: A Comprehensive Audit
The goal is to simulate and validate the user experience for every major segment of your audience. This process moves beyond simply resizing a browser window and dives into how different rendering engines and hardware handle your code.
- Browser Compatibility Check: Test your website on the latest versions of major browsers like Google Chrome, Mozilla Firefox, Apple Safari, and Microsoft Edge. Each browser interprets CSS and JavaScript slightly differently, which can lead to visual bugs or broken features.
- Responsive Design Verification: Your site must adapt gracefully to various screen resolutions. This includes testing on common device breakpoints for mobile phones (e.g., 375px), tablets (e.g., 768px), and desktops (e.g., 1440px and up). Key areas to check are navigation menus, forms, and complex layouts.
- Operating System Consistency: Minor but impactful differences can arise between operating systems like Windows, macOS, iOS, and Android. This is particularly true for fonts, form input styling, and scrollbar behavior. Testing ensures these platform-specific quirks don't break your design.
### Actionable Tips for Implementation
A structured approach using the right tools can make this complex task manageable and efficient.
- Use Testing Platforms: Services like BrowserStack or CrossBrowserTesting provide instant access to thousands of real browser and device combinations in the cloud. This is far more reliable and scalable than trying to maintain a physical device lab.
- Prioritize Real Devices: While browser developer tools and emulators are great for quick checks during development, always validate on physical devices before launch. This is the only way to accurately test touch interactions, performance, and real-world rendering.
- Focus on Your Audience: Use your analytics data (if available) or market share statistics to prioritize which browsers and devices to test. Focus on any platform that represents more than 5% of your target audience's traffic. Pay special attention to interactive elements like forms, buttons, and pop-ups, as these are common failure points.
Ultimately, this step ensures that every visitor, regardless of their technology, receives the high-quality experience you designed. It protects your brand's reputation and maximizes your reach. For a deeper dive into crafting a seamless user journey, understanding mobile-first design principles is essential, as it lays the foundation for a site that performs well across all devices from the start.
4. Security Configuration & SSL Setup
A secure website is non-negotiable. Implementing robust security measures is a critical part of your WordPress website launch checklist, serving to protect your site, your data, and your users from an array of digital threats. This involves everything from encrypting data with an SSL certificate to hardening your site against common attacks like brute-force logins and malware injections. A security breach can destroy your brand's reputation and lead to significant data loss, making this proactive step essential before going live.
The modern emphasis on universal encryption was heavily popularized by initiatives like Let's Encrypt, which made SSL certificates free and accessible to everyone. Combined with the work of security firms like Wordfence and Sucuri, these efforts have made website security a foundational expectation for any professional online presence. For instance, any WooCommerce store requires SSL for payment processing compliance, and even government sites like USA.gov demonstrate comprehensive security as a standard practice.
### How It Works: A Multi-Layered Defense Strategy
Securing a WordPress site involves creating multiple layers of protection. This approach ensures that if one layer is compromised, others are still in place to prevent a full breach. The goal is to make your site a difficult target for automated bots and malicious actors.
- SSL/TLS Encryption (HTTPS): The first layer is data encryption. An SSL certificate encrypts the data transferred between a user's browser and your server. This is visible as "HTTPS" and the padlock icon in the browser bar, which builds user trust and is a known Google ranking factor.
- Core Hardening & Access Control: This involves securing the WordPress installation itself. Key actions include changing the default
adminusername, enforcing strong passwords, and limiting login attempts to block brute-force attacks. It's about closing the most common entry points for hackers. - Firewall & Malware Scanning: A Web Application Firewall (WAF) acts as a shield, filtering out malicious traffic before it even reaches your site. Regular malware scans actively search your site's files for any known threats or suspicious code, allowing for quick removal.
- Regular Backups: In a worst-case scenario, a recent backup is your ultimate safety net. Automated, regular backups of your entire site (files and database) ensure you can restore a clean version quickly, minimizing downtime and data loss.
### Actionable Tips for Implementation
You can implement a strong security posture without being a cybersecurity expert by using powerful tools and following best practices.
- Install an SSL Certificate: Most quality web hosts offer a free Let's Encrypt SSL certificate that can be activated with a single click from your hosting control panel. For e-commerce or sites handling sensitive data, consider a premium Extended Validation (EV) SSL for a higher level of trust.
- Use a Comprehensive Security Plugin: Install and configure a reputable security plugin like Wordfence or Sucuri Security. These all-in-one tools provide a firewall, malware scanner, login attempt limiter, and file integrity monitoring.
- Set Up Automated Backups: Use a plugin like UpdraftPlus or BackWPup to schedule automated daily or weekly backups. Crucially, store these backups off-site in a cloud location like Google Drive, Dropbox, or Amazon S3.
- Keep Everything Updated: One of the most common vulnerabilities comes from outdated software. Always keep your WordPress core, themes, and all plugins updated to their latest versions to patch security holes as soon as they are discovered.
By integrating these measures, you fortify your website against common threats from the very beginning. To dive deeper into a comprehensive set of protections, explore this detailed WordPress security checklist that covers everything from basic hardening to advanced defensive tactics.
5. Analytics & Tracking Implementation
Launching a website without analytics is like driving with your eyes closed; you have no idea where you're going or how you're performing. Implementing comprehensive tracking tools is a non-negotiable step in any professional WordPress website launch checklist. It allows you to monitor user behavior, measure key performance indicators (KPIs), and gather actionable data from the moment your site goes live. Without this data, you're merely guessing at what works, making it impossible to optimize for growth.

This practice was championed by the teams at Google Analytics and later expanded upon by social platforms like Meta (for its pixel) and user behavior tools like Hotjar. The core idea is to transform raw visitor traffic into understandable insights. For instance, e-commerce giants like REI use analytics to map the entire customer journey, from ad click to checkout, while SaaS companies such as Slack track conversion funnels meticulously to refine their user acquisition strategies.
### How It Works: A Data-Driven Foundation
The process involves embedding small snippets of code (tracking scripts or pixels) onto your WordPress site. These scripts collect anonymous data about visitors, such as how they found your site, which pages they viewed, and what actions they took. This data is then sent to analytics platforms where it is processed into reports and dashboards, giving you a clear picture of your site's performance.
- Core Analytics Setup: The foundation is typically Google Analytics (GA4), which tracks website traffic, user demographics, and engagement metrics. You must also set up Google Search Console to monitor your site's health in Google search results, track keyword rankings, and identify technical issues.
- Conversion and Goal Tracking: Define what a "conversion" means for your business. This could be a form submission, a product purchase, a newsletter signup, or a PDF download. Configure these actions as specific goals within your analytics tool to measure success.
- User Behavior and Social Tracking: Implement tools like social media pixels (e.g., Meta Pixel, LinkedIn Insight Tag) to track the effectiveness of social media ad campaigns. You can also use heatmapping tools to visualize where users click, scroll, and move their cursors on a page.
### Actionable Tips for Implementation
Proper setup is crucial to avoid data inaccuracies. A centralized and organized approach is best.
- Use Google Tag Manager (GTM): Instead of adding multiple tracking scripts directly to your site's code, use GTM. It acts as a container for all your tags, simplifying management and improving site speed. You add one GTM script to your site, then manage all other tags (Google Analytics, Meta Pixel, etc.) from the GTM dashboard.
- Set Up Custom Conversion Goals: Don't rely on default metrics alone. In Google Analytics, create specific goals that align with your business objectives. For an e-commerce store, this would include "Add to Cart" events and "Completed Purchase" tracking. For a B2B site, it might be "Contact Form Submission" or "Demo Request."
- Implement Cookie Consent: To comply with regulations like GDPR and CCPA, you must obtain user consent before firing tracking scripts. Use a consent management platform or a WordPress plugin like Complianz to display a cookie banner and manage user permissions.
Ultimately, setting up analytics isn't just a technical task; it's a strategic one. The data you collect from day one will inform every future decision, from content strategy and marketing campaigns to UX improvements and product development. For an even deeper understanding of how data can shape user experience, explore these data-driven UX design principles, which complement a robust analytics foundation.
6. Form Testing & Contact System Verification
A website without functional forms is like a store with a broken cash register. This critical step in your WordPress website launch checklist ensures that every point of user interaction, from a simple contact form to a complex checkout process, works flawlessly. It involves rigorously testing all forms to confirm they capture data correctly, deliver notifications to the right people, and provide a seamless experience for the user. Neglecting this can lead to lost leads, frustrated customers, and a damaged reputation before your site even has a chance to succeed.
This process, championed by developers like Takayuki Miyoshi of Contact Form 7 and the teams behind Gravity Forms and Google's reCAPTCHA, is about guaranteeing the reliability of your communication channels. It ensures that when a user takes the time to reach out or make a purchase, their effort is rewarded with a successful interaction, not a silent error.
### How It Works: A Comprehensive Verification Protocol
Form testing is a systematic process of simulating user interactions to uncover any potential issues. It covers everything from the user-facing interface to the backend notification and data storage systems.
- Submission & Delivery Testing: The core of this step is filling out every form on your site and confirming the submission is successful. This includes checking that notification emails are delivered to the correct admin inbox and that any autoresponder emails are sent to the user who made the submission.
- Validation & Error Handling: Intentionally try to break the forms. Submit them with missing required fields, use incorrectly formatted email addresses, or enter text where numbers are expected. A well-built form will display clear, user-friendly error messages that guide the user to fix the mistakes.
- Data Integrity Check: Verify that the information you receive matches what was entered. Check for any data corruption or missing fields in the notification email or the database entry (e.g., in the backend of a form plugin).
- Spam Protection Verification: Ensure your anti-spam measures, like Google reCAPTCHA, are active and effective. This prevents your inbox from being flooded with junk submissions, allowing you to focus on legitimate inquiries.
### Actionable Tips for Implementation
To guarantee your forms are robust and reliable, implement a multi-layered testing strategy.
- Use Reputable Form Plugins: Build your forms using trusted plugins like Gravity Forms or Contact Form 7. These tools have built-in validation, notification systems, and integrations that significantly improve reliability.
- Test Across Multiple Environments: Don’t just test on your own computer. Check form functionality on different browsers (Chrome, Firefox, Safari), operating systems, and most importantly, mobile devices. Ensure the forms are touch-friendly and easy to use on a small screen.
- Set Up Confirmation & Autoresponders: Configure an on-screen "thank you" message to appear after a successful submission. Additionally, set up an autoresponder email to instantly confirm receipt of the user's message, which builds trust and provides reassurance. When verifying your contact systems, you might also consider implementing WordPress chat plugins to offer immediate support.
Ultimately, this phase ensures your digital doors are open for business. By confirming that every form works as intended, you create a reliable and professional experience that encourages user engagement and captures every valuable lead.
7. Backup & Recovery System Setup
Before launching, establishing a robust backup and recovery system is non-negotiable. This critical step in your WordPress website launch checklist involves implementing automated solutions to save your site’s data and having a clear plan to restore it quickly after a disaster. Think of it as an insurance policy for your digital asset; it protects you from data loss due to server crashes, hacking attempts, or user error. Without it, a single unforeseen event could wipe out all your hard work, leading to catastrophic downtime and business loss.
This practice was championed by the developers of plugins like UpdraftPlus and cloud storage pioneers such as Amazon Web Services (AWS), who made enterprise-level data protection accessible to everyone. Major sites like WP Engine and WordPress.com build their hosting reputation on providing reliable, automated daily backups, highlighting its foundational importance.
### How It Works: A Proactive Defense Strategy
A backup and recovery system is more than just clicking a "backup now" button; it's a complete, automated process designed for resilience. The system works by regularly creating complete copies of your website and storing them in a secure, separate location, ready for rapid deployment when needed.
- Comprehensive Backup Scope: A proper backup includes everything: your WordPress database (posts, pages, comments, user data), all core files, your theme files, plugins, and your uploads directory (images and media). Anything less is an incomplete snapshot and will cause problems during restoration.
- Automated Scheduling: The process should be automated to run on a consistent schedule (e.g., daily or weekly) without manual intervention. This ensures you always have a recent, viable restore point available.
- Off-Site Storage: Storing backups on the same server as your website is a critical mistake. If the server fails, both your site and your backups are lost. Effective systems push copies to secure, remote locations like Google Drive, Dropbox, or Amazon S3.
### Actionable Tips for Implementation
Setting up a reliable backup system is straightforward with the right tools and procedures.
- Install a Dedicated Backup Plugin: Use a trusted WordPress plugin like UpdraftPlus or BackWPup. Configure it to perform complete backups automatically and schedule them based on how frequently your site content changes. For a dynamic site, daily backups are a minimum.
- Diversify Your Backup Locations: Configure your plugin to send backups to multiple off-site locations. For instance, store one copy on Google Drive and another on Amazon S3. This redundancy protects you if one cloud storage provider experiences an outage.
- Test Your Restore Process Regularly: A backup is useless if it doesn't work. Before launch and at least once a quarter afterward, perform a test restoration on a staging site. This verifies the integrity of your backups and ensures you know the exact steps to take in an emergency, minimizing panic and downtime.
Ultimately, a solid backup strategy is the bedrock of website security and management. While backing up your files is crucial, understanding the specifics of protecting your database is equally important. To dive deeper into this, you can learn more about how to backup your WordPress database to ensure every component of your site is secure.
WordPress Launch Checklist Comparison
| Item | Implementation Complexity 🔄 | Resource Requirements ⚡ | Expected Outcomes 📊 | Ideal Use Cases 💡 | Key Advantages ⭐ |
|---|---|---|---|---|---|
| Content Review & SEO Optimization | Medium – requires detailed analysis and SEO expertise | Moderate – SEO tools/plugins and skilled personnel | Improved search rankings, user experience, reduced bounce | Websites needing strong SEO foundation | Boosts ranking, user trust, and content quality |
| Performance & Speed Testing | High – involves technical optimizations and monitoring | High – developer skills, performance tools, CDN | Faster load times, better rankings, higher conversions | Sites needing optimal speed and performance | Enhances UX, reduces costs, improves SEO through speed |
| Cross-Browser & Device Testing | Medium to High – requires multiple devices/tools | Moderate – testing platforms and diverse device access | Consistent functionality and appearance across platforms | Sites targeting broad, diverse audiences | Ensures maximum reach, prevents functionality issues |
| Security Configuration & SSL Setup | Medium – technical setup and ongoing maintenance | Moderate – security plugins, SSL certificates, expertise | Enhanced data protection, user trust, SEO benefits | Any website handling sensitive data or payments | Protects site and users, ensures compliance, builds trust |
| Analytics & Tracking Implementation | Medium – setup of multiple tracking tools | Low to Moderate – tracking codes and analytics tools | Actionable insights, data-driven decisions, ROI tracking | Sites focused on growth and user behavior analysis | Provides deep user insights and measures performance |
| Form Testing & Contact System Verification | Medium – testing various form scenarios | Low to Moderate – form plugins, email systems | Reliable lead capture, functional communication channels | Sites relying on user interaction and leads | Prevents lost leads, improves UX, protects against spam |
| Backup & Recovery System Setup | Medium – setup of automated backups and recovery | Moderate – backup solutions, storage, documentation | Data protection, quick restoration, minimal downtime | All websites requiring data safety and continuity | Ensures data safety, minimizes downtime, supports compliance |
Launch with Confidence: Your Next Steps
You've reached the end of this extensive wordpress website launch checklist, and if you’ve diligently ticked off each item, you are standing on the precipice of a successful debut. This is not just about flipping a switch; it's about launching a digital asset that is secure, fast, reliable, and poised for growth. By moving systematically through content audits, performance tuning, security hardening, and functional testing, you have transformed a simple website into a professional platform ready to meet its audience.
The journey from a development environment to a live server is fraught with potential pitfalls. A missed security setting can lead to a breach, a slow-loading page can deter visitors before they even see your content, and a broken contact form can mean lost leads and frustrated users. This checklist is your strategic shield against these common but avoidable disasters. It provides a repeatable framework that ensures quality and professionalism, turning the chaotic scramble of a typical launch into a controlled, confident process.
The True Meaning of "Live"
It's crucial to reframe your perspective: "going live" isn't the finish line. It is the starting line of a marathon. The digital world is in constant flux. New browser versions are released, security vulnerabilities are discovered daily, and user expectations for speed and functionality only increase. Your website is a living entity that requires ongoing care and attention to thrive.
The real value of mastering this checklist lies in building a foundation that makes this ongoing maintenance manageable. A well-launched site is easier to update, more resilient against threats, and simpler to scale. Think of it as building a house: a solid foundation and a well-constructed frame make future renovations and expansions significantly easier and more cost-effective.
From Checklist to Habit: Key Takeaways
As you move forward, let the principles of this guide become ingrained in your workflow. The most critical takeaways are not just the individual steps but the overarching themes they represent:
- Proactive Security is Non-Negotiable: Don't wait for a hack to happen. A robust security posture, established before launch with tools like strong passwords, user role limitations, and a configured firewall, is your best defense.
- Performance is a Core Feature: Speed is not a luxury; it's a fundamental part of the user experience. Optimizing images, leveraging caching, and choosing quality hosting are investments that pay dividends in visitor retention and SEO rankings.
- The User is Your Ultimate QA Tester: While you can test on multiple devices and browsers, real-world user interaction is unpredictable. Your pre-launch testing of forms, navigation, and core functionalities is about minimizing friction for that very first visitor.
- Data is Your Compass: Launching without analytics is like sailing without a map. Tools like Google Analytics and Search Console provide the critical feedback loop needed to understand your audience, measure performance, and make informed decisions for future growth.
For those building with specific frameworks like the Divi theme, the level of detail required can be even more granular. To ensure no stone is left unturned, consider reviewing a comprehensive Divi website launch checklist that covers all essential aspects before going live.
Ultimately, this wordpress website launch checklist is more than a set of tasks; it’s a commitment to quality. It’s a promise to your clients and your audience that you value their time, their data, and their experience. By adopting this rigorous approach, you elevate your work from just "done" to "done right," building a reputation for reliability and excellence that will serve you well long after the launch-day excitement fades. Launch with confidence, knowing you have laid the best possible foundation for success.
Tired of juggling multiple dashboards to manage your client sites? Streamline your entire workflow with WP Foundry. Our desktop application allows you to manage plugins, run security scans, create backups, and perform all your critical pre-launch and post-launch maintenance tasks for all your WordPress sites from a single, unified interface. Learn more and take control with WP Foundry today!
Comments
6 responses to “Top WordPress Website Launch Checklist for 2025”
[…] a wonky mobile layout can send a potential fan clicking away for good. I always recommend using a comprehensive WordPress website launch checklist if you're on that platform, but there are a few non-negotiables no matter what you're […]
[…] you build your own plan, it never hurts to see what others are doing. For instance, a comprehensive WordPress website launch checklist can give you tons of ideas for pre-launch checks that apply to any site, not just WordPress. These […]
[…] you get ready to go live, following a comprehensive WordPress website launch checklist can help ensure you don't miss a thing. Once you've ticked off these final boxes, you can […]
[…] planning lays the essential groundwork for a smooth launch. As you wrap up your strategy, using a comprehensive WordPress website launch checklist can be a lifesaver, ensuring no critical steps are missed during the technical […]
[…] local traffic and leads. To make sure you've ticked all the boxes before you go live, a solid WordPress website launch checklist is an absolute […]
[…] you move from development to deployment, running through a comprehensive WordPress website launch checklist is a lifesaver. It’s a great way to make sure you haven't overlooked critical steps like […]