
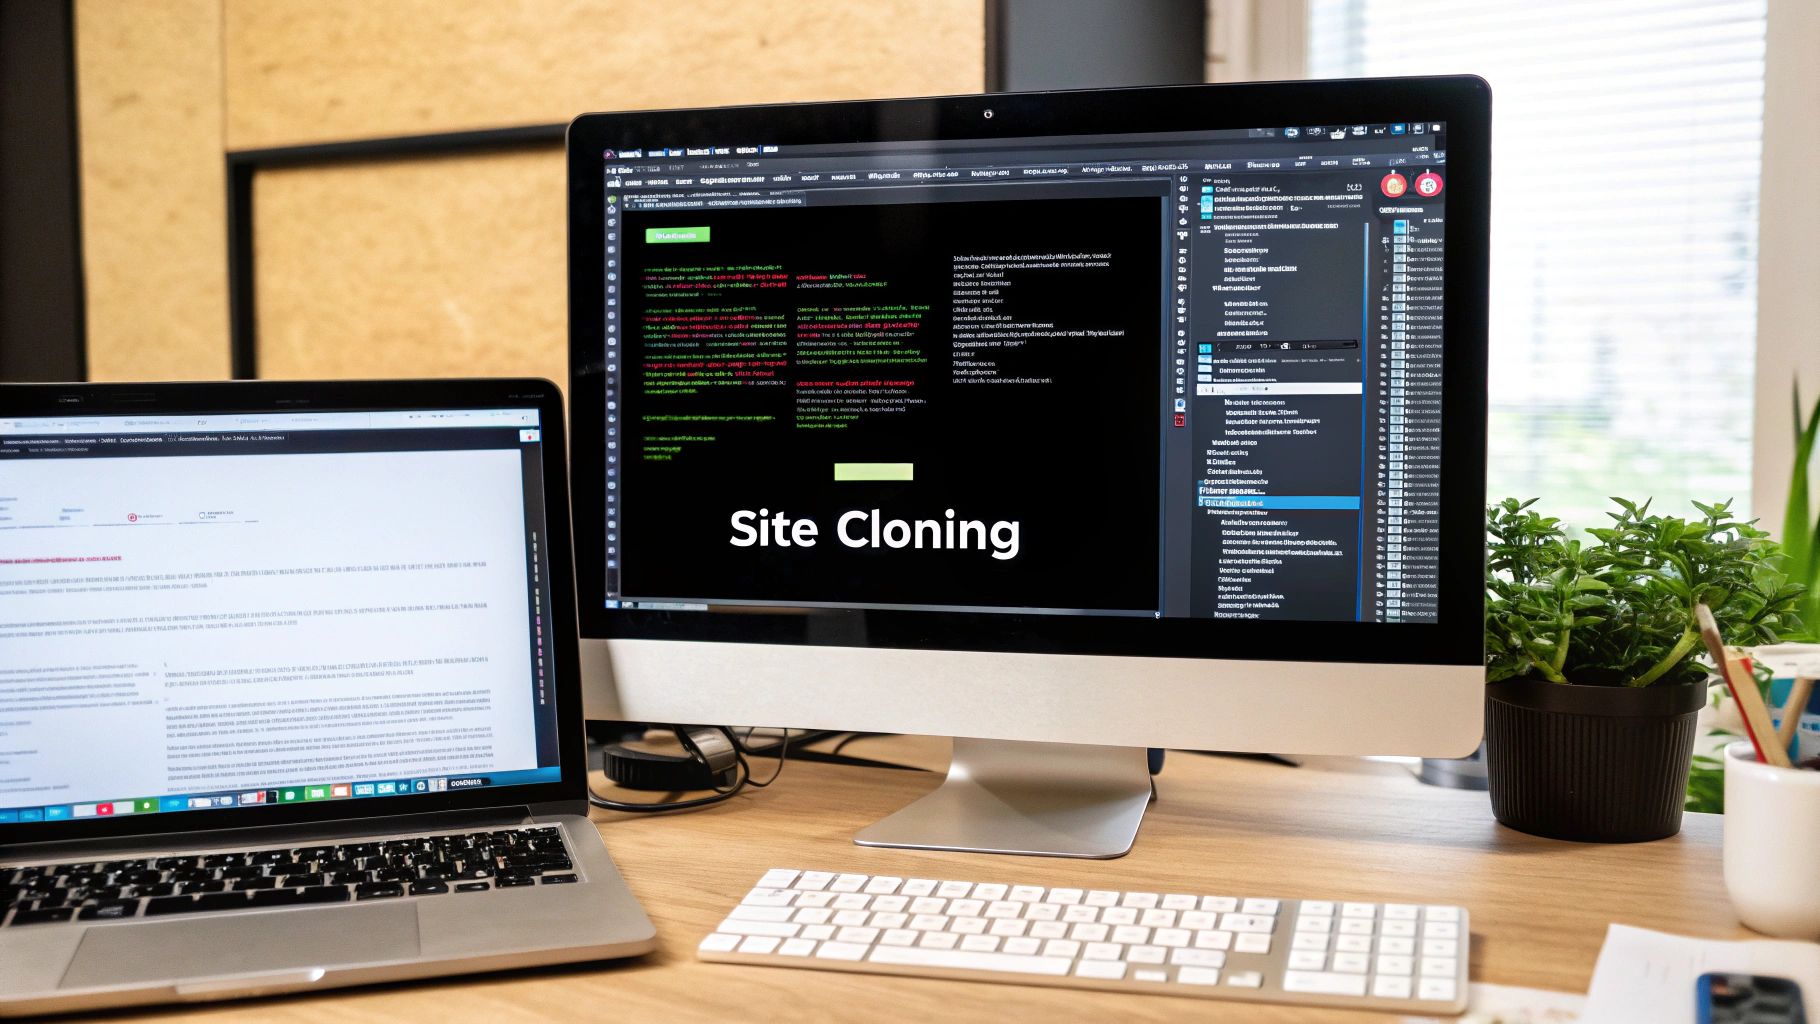
When you clone a WordPress site, you're creating a perfect, fully functional copy of it. This isn't just a simple backup; it's an exact duplicate of everything—your files, database, themes, plugins, and all the settings that make your site work. It's a fundamental skill for anyone serious about managing a WordPress site, allowing you to test changes, migrate to a new server, or speed up development without ever touching your live site.
Why Cloning Your WordPress Site Is a Smart Move
Before getting into the how, let's talk about the why. Cloning your WordPress site isn't some obscure technical task just for developers. It’s a strategic move that any website owner can, and should, make.
Think of it as your digital safety net. It creates a buffer between your live, customer-facing website and any changes that could potentially break it. This one practice protects your business, your data, and honestly, your sanity. It turns website management from a high-stakes guessing game into a controlled, stress-free process.
Create a Safe Staging Environment
The most popular reason to clone a site is to create a staging environment. This is a private, identical copy of your live website where you can test out changes with absolutely zero risk.
Let’s say you need to install a major WooCommerce update or a new plugin that adds some much-needed functionality. If you do this directly on your live site, you're rolling the dice. A single plugin conflict could crash your entire operation, leading to lost sales and a hit to your reputation. Nobody wants that.
With a staging site, you can perform all those updates in a safe sandbox. If something goes wrong, only the clone is affected. Once you’ve confirmed everything is working just right, you can push those changes to your live site with confidence. It's just smart, preventative site management.
Additional Benefits of Site Cloning
Beyond just testing, cloning your site offers several other key advantages that can streamline your workflow and protect your digital assets.
- Painless Server Migrations: Moving your site to a new hosting provider can be a nail-biting experience. A clone makes this process straightforward because you can set up and test your entire site on the new server before you ever change your DNS records.
- Rapid Site Development: This is a huge time-saver for agencies and freelance developers. They often clone a "base" site that comes pre-configured with their favorite themes, plugins, and settings. This becomes a template they can use to kickstart new client projects in a fraction of the time.
- Comprehensive Backups: While a clone isn't a direct replacement for your regular, automated backups, it serves as an excellent form of disaster recovery. It’s a complete snapshot in time. This also plays a vital role in your overall website security strategy. For more on that, take a look at our guide on https://wpfoundry.app/how-to-secure-wordpress-site/.
A key advantage of cloning is its role as a robust backup solution. To further enhance your site's resilience, consider adopting comprehensive best practices for secure data backup.
WordPress is a giant in the web world. As of 2025, it powers over 43% of all websites, a number that continues to grow. This massive adoption highlights just how crucial practices like cloning have become for managing sites effectively and minimizing downtime.
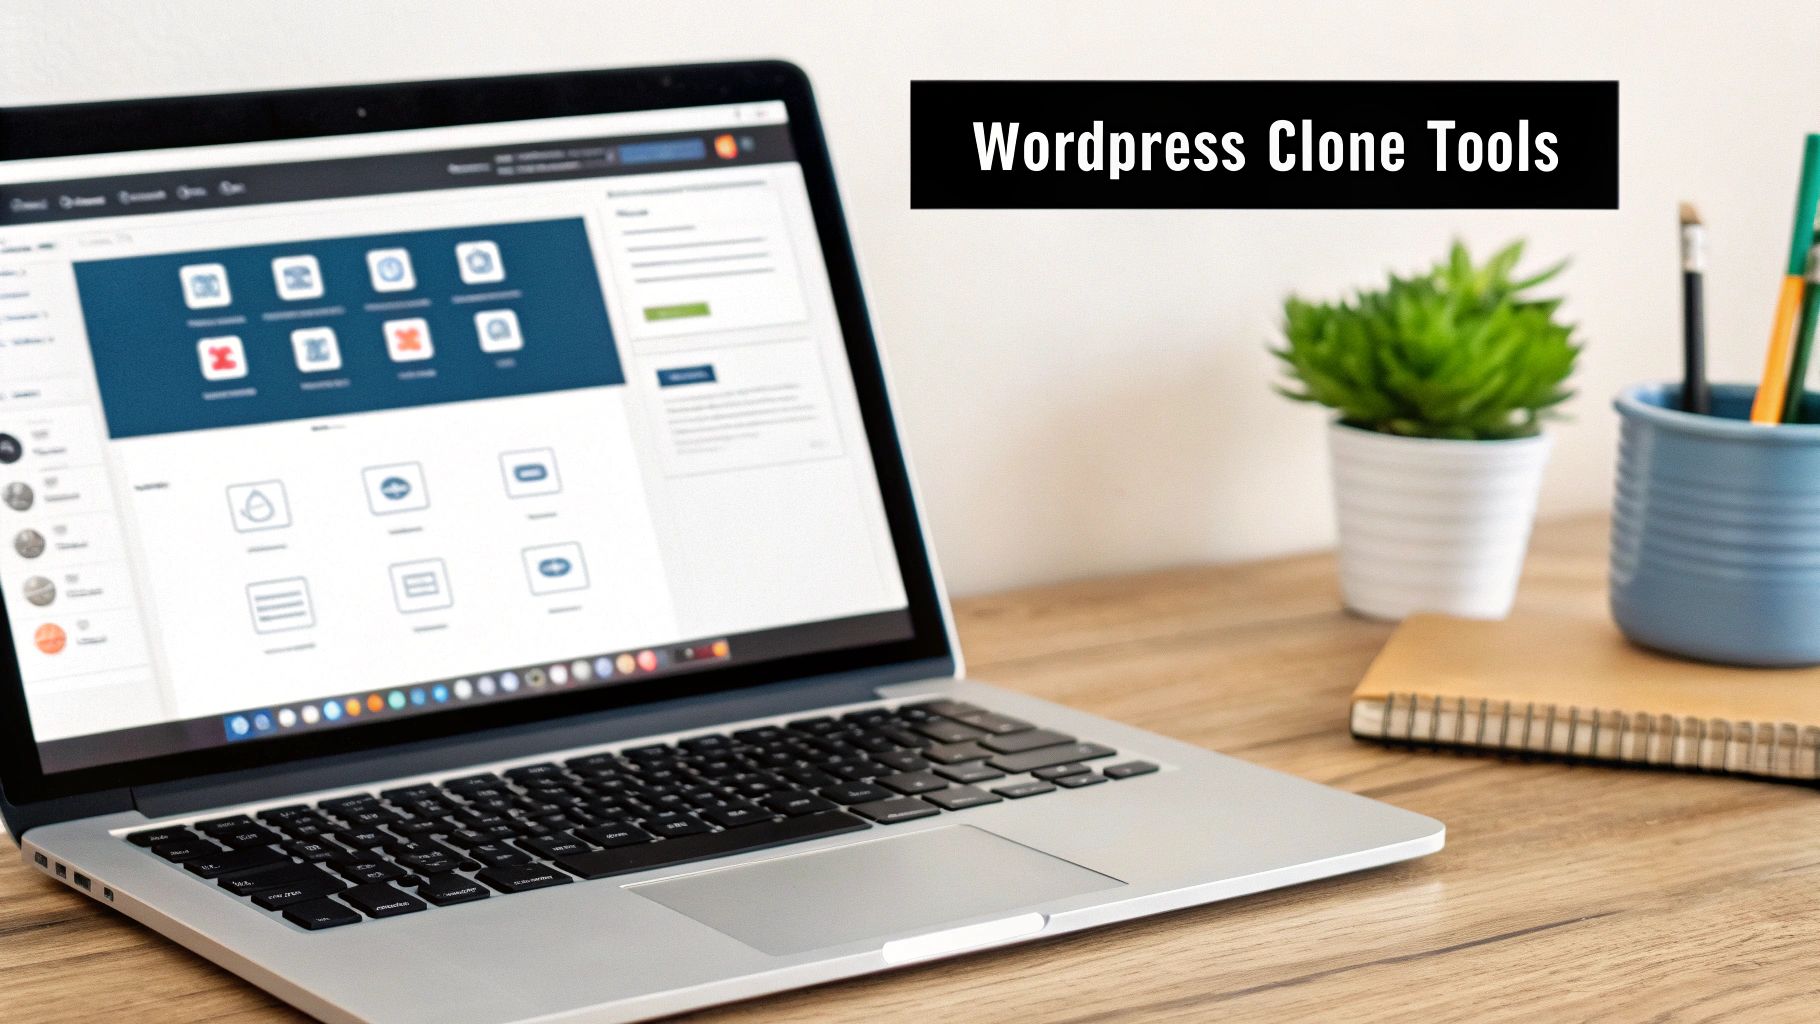
Cloning Your Site with a WordPress Plugin
For most people, grabbing a dedicated plugin is the simplest and most reliable way to create a perfect clone of a WordPress site. Forget messing around with FTP clients and database tools. A good plugin wraps up your entire site into a single package that you can easily move and deploy, taking most of the technical headaches out of the process.
The real magic is how these plugins handle the heavy lifting. They package up your core files, themes, plugins, uploads, and—most importantly—the database into one portable file. They also manage the tricky task of finding and replacing old URLs with new ones, a step that trips up even experienced users during a manual move. This makes the whole thing far more accessible and much less prone to error.
Choosing Your Cloning Plugin
If you look in the WordPress plugin repository, you'll find plenty of great options. One of the most popular and trusted is All-in-One WP Migration. It’s well-known for its clean interface and dependable results, making it a solid choice whether you're a beginner or have been doing this for years.
When you're picking a plugin, here's what to keep in mind:
- Ease of Use: Is the interface straightforward? The whole point is to make cloning easier, not to add another layer of complexity.
- Completeness: Does it move everything? A quality plugin should handle your database, files, plugins, and themes all at once.
- Server Compatibility: Look for a plugin that has a reputation for working well across different hosting setups and PHP versions.
- File Size Limits: Pay close attention to any limitations. Many free plugins have a cap on the size of the site you can export. If you have a larger site, you'll likely need a premium version or an add-on.
For this guide, we'll walk through the process using All-in-One WP Migration, as its workflow is pretty typical for top-tier cloning plugins.
Creating the WordPress Site Clone Package
Once you've installed and activated the plugin on the site you want to copy, the process is dead simple. Just find the plugin's menu in your WordPress dashboard—usually labeled "All-in-One WP Migration"—and look for the "Export" option.
This is where you control the clone. You can choose to export the entire site as-is or use the advanced options to exclude things like spam comments, old post revisions, or even specific plugins and themes. For a true 1:1 clone, you'll want to export everything.
Pro Tip: Before you hit export, do a little housekeeping on your site. Delete any unused themes, deactivated plugins, and old post revisions. This can dramatically shrink your final file size, which makes both the export and the import much faster.
Once you click "Export to" and select "File," the plugin starts working. It archives your database and all your files into a single .wpress package. When it's done, you just download that file to your computer. That's it. You now have a complete WordPress site clone, ready for its new home.
The image below gives you a good visual of the typical workflow for cloning a site, from the initial backup to the final migration.
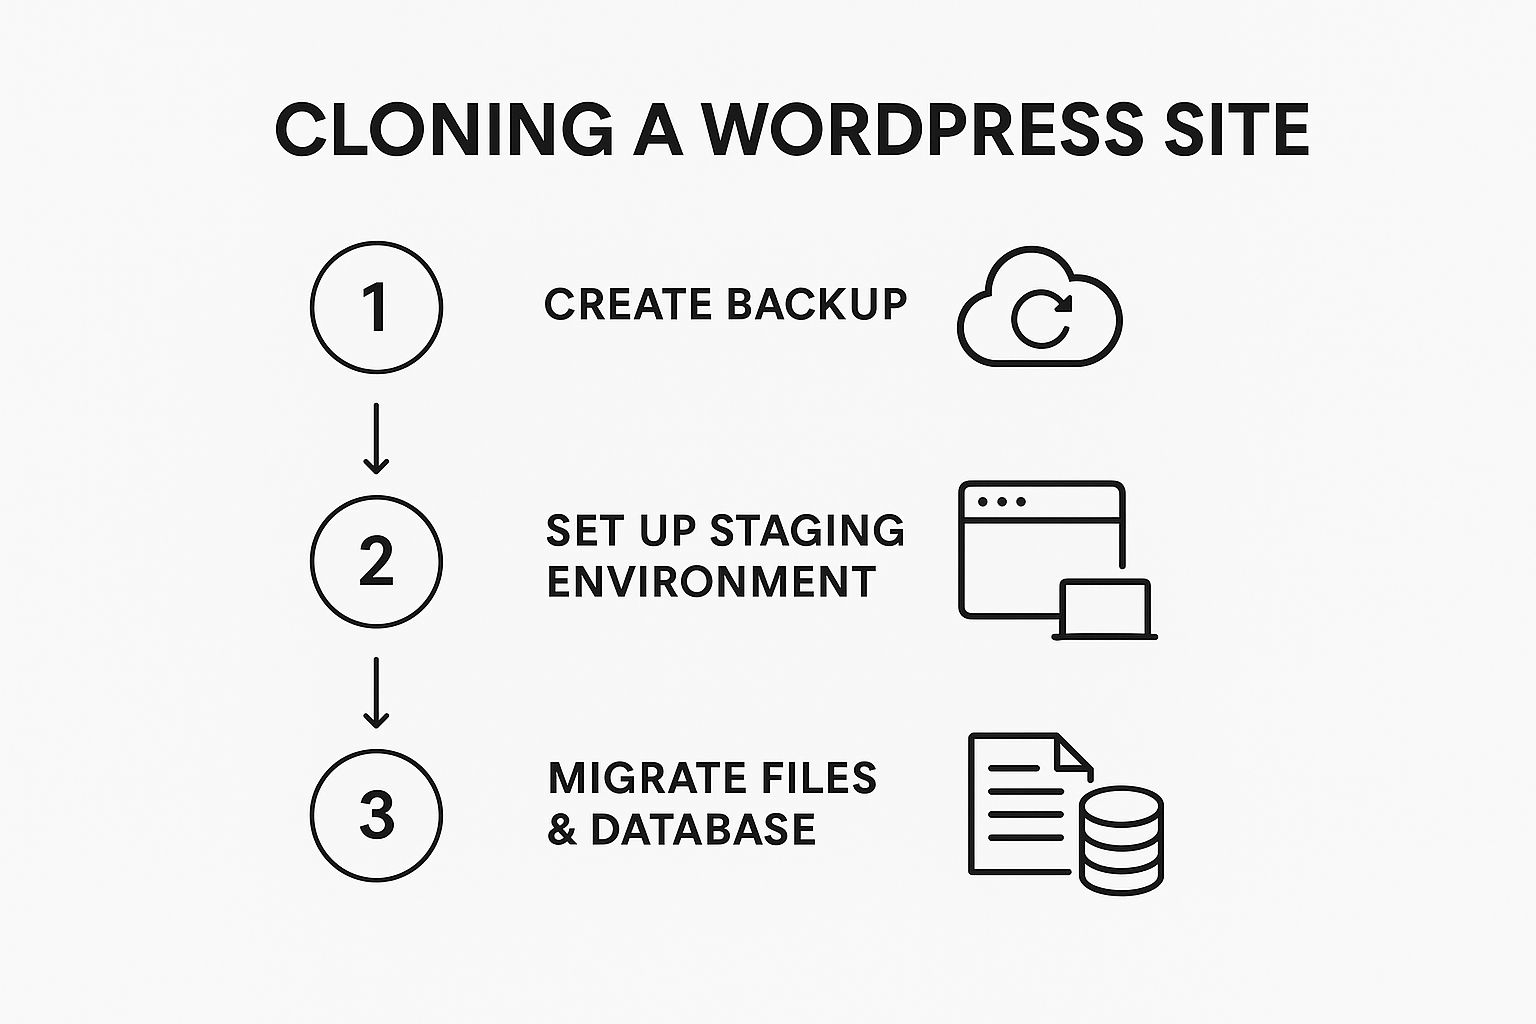
This flow shows that a successful clone isn't just about copying files; it's a structured process. This is also a critical part of good security. WordPress sites are constantly under attack—on average, a new attack happens every 32 minutes. Cloning your site before making any significant changes is a fundamental security step to prevent data loss.
If you want to dive deeper into moving your site with a plugin, our guide on how to migrate a WordPress site has even more tips.
The Manual Method for Complete Control
Sometimes, you just want to get your hands dirty. If you're the type who prefers full control or you're in a spot where plugins just aren't an option, the manual method is your best bet. It requires a bit more technical comfort, but the payoff is a much clearer understanding of how your site's files and database actually work together.
This approach is all about fundamentals. You'll be ditching the automated wizards and directly handling the two core components of any WordPress site. It’s the most transparent way to create a clone, and you’ll know precisely what's happening every step of the way.
Backing Up Your WordPress Files
First up, we need to grab a copy of all your website's files. This isn't just the WordPress core; it's everything—your themes, plugins, and every single image or document you've uploaded to the wp-content folder.
To do this, you'll need an FTP (File Transfer Protocol) client. I personally recommend using SFTP (Secure File Transfer Protocol) if your host supports it, as it's much more secure. Great tools for this are FileZilla or Cyberduck.
Just connect to your server using the credentials from your web host. Once you're in, find the root directory for your WordPress site, which is usually a folder named public_html or something similar. Then, simply download that entire directory to a folder on your computer. Be prepared to wait, as this can take a while, especially if your uploads folder is large.
Exporting the WordPress Database
With your files tucked away safely, it's time to tackle the database. This is the brain of your website, holding all your posts, pages, user data, and plugin settings. Most hosting providers give you access to a tool called phpMyAdmin through your cPanel or Plesk dashboard.
Open up phpMyAdmin, and you'll see a list of your databases on the left-hand side. You need to select the one connected to your WordPress site. Not sure which one it is? Pop open the wp-config.php file in the files you just downloaded—the database name is defined right in there.
Once you’ve selected the right database, the process is straightforward:
- Click the Export tab along the top menu.
- Stick with the Quick export method; it grabs everything you need.
- Make sure the format is set to SQL.
- Click Export (some versions might have a "Go" button instead).
Your browser will download a single .sql file. Think of this file as a complete text blueprint of your site's content and structure.
Critical Tip: You now have the two essential pieces of a full site clone: your file directory and your
.sqldatabase export. Keep these two parts together in a safe place. This is your complete manual backup, ready for deployment.
Now, the final (and trickiest) part of a manual clone is putting these pieces back together in a new location. This involves uploading the files, creating a new database on the destination server, importing your .sql file, and then carefully editing the wp-config.php file with the new database details. A crucial final step, where many people stumble, is running a search-and-replace on the database to update every instance of your old site URL to the new one.
Using Your Hosting Provider's Cloning Tools
What if you could clone your entire WordPress site with just a few clicks, right from your hosting dashboard? For a lot of people, this is a reality. Many managed WordPress hosting providers now include one-click cloning and staging tools as a standard feature, making it by far the easiest way to get the job done.
These built-in tools are designed to be both simple and safe. You don't have to mess with external plugins or risky manual file transfers. Instead, the whole process is integrated directly into your hosting environment, letting you spin up a perfect copy of your site without ever leaving your provider's control panel.
The Power of Integrated Staging
The most common reason to use these tools is to create a staging environment. Think of it as an isolated, private copy of your website where you can test updates, try out a new theme, or work on new features without any risk to your live, public-facing site.
Hosts like WP Engine or Kinsta, for example, have a dedicated "Staging" or "Cloning" section right in their user portal. It's usually as simple as picking the site you want to copy and hitting a button like "Create Staging Site." The host then takes care of all the heavy lifting in the background:
- It duplicates all your WordPress files and the entire database automatically.
- It sets up the new clone on a temporary, private URL that only you can access.
- It automatically tells search engines not to index the staging site, so you don't run into any duplicate content penalties.
Because the whole process is optimized for the host's specific server setup, it’s incredibly fast and reliable. You can have a fully functional clone ready for testing in just a few minutes.
One of the biggest wins here is the "push to live" feature. Once you're happy with the changes on your staging site, many hosts let you deploy them back to the live site with another click. This process is smart, too—it only merges the files and database tables that have actually changed.
The demand for better WordPress management tools is huge. Just look at the search data: the keyword 'WordPress' gets between 2.4 million and 2.6 million global searches every single month. This points to a massive community of users constantly looking for reliable tools, and cloning is a top priority for developers and store owners who can't afford any downtime. You can dig into more of these trends on this insightful statistics page.
Key Pros and Cons
While host-provided cloning tools are incredibly convenient, it's good to know where they shine and where they fall short. The convenience factor is off the charts, offering a seamless and secure way to create a WordPress clone. For anyone who values speed and simplicity, it’s usually the best option.
The main drawback, however, is portability. You're pretty much locked into your host's ecosystem. You can clone a site as many times as you want within that provider, but you can't use these tools to pack up your site and move it to a different company. For that kind of migration, you’ll need to turn to a plugin or the manual method.
Your Post-Clone Checklist and Troubleshooting
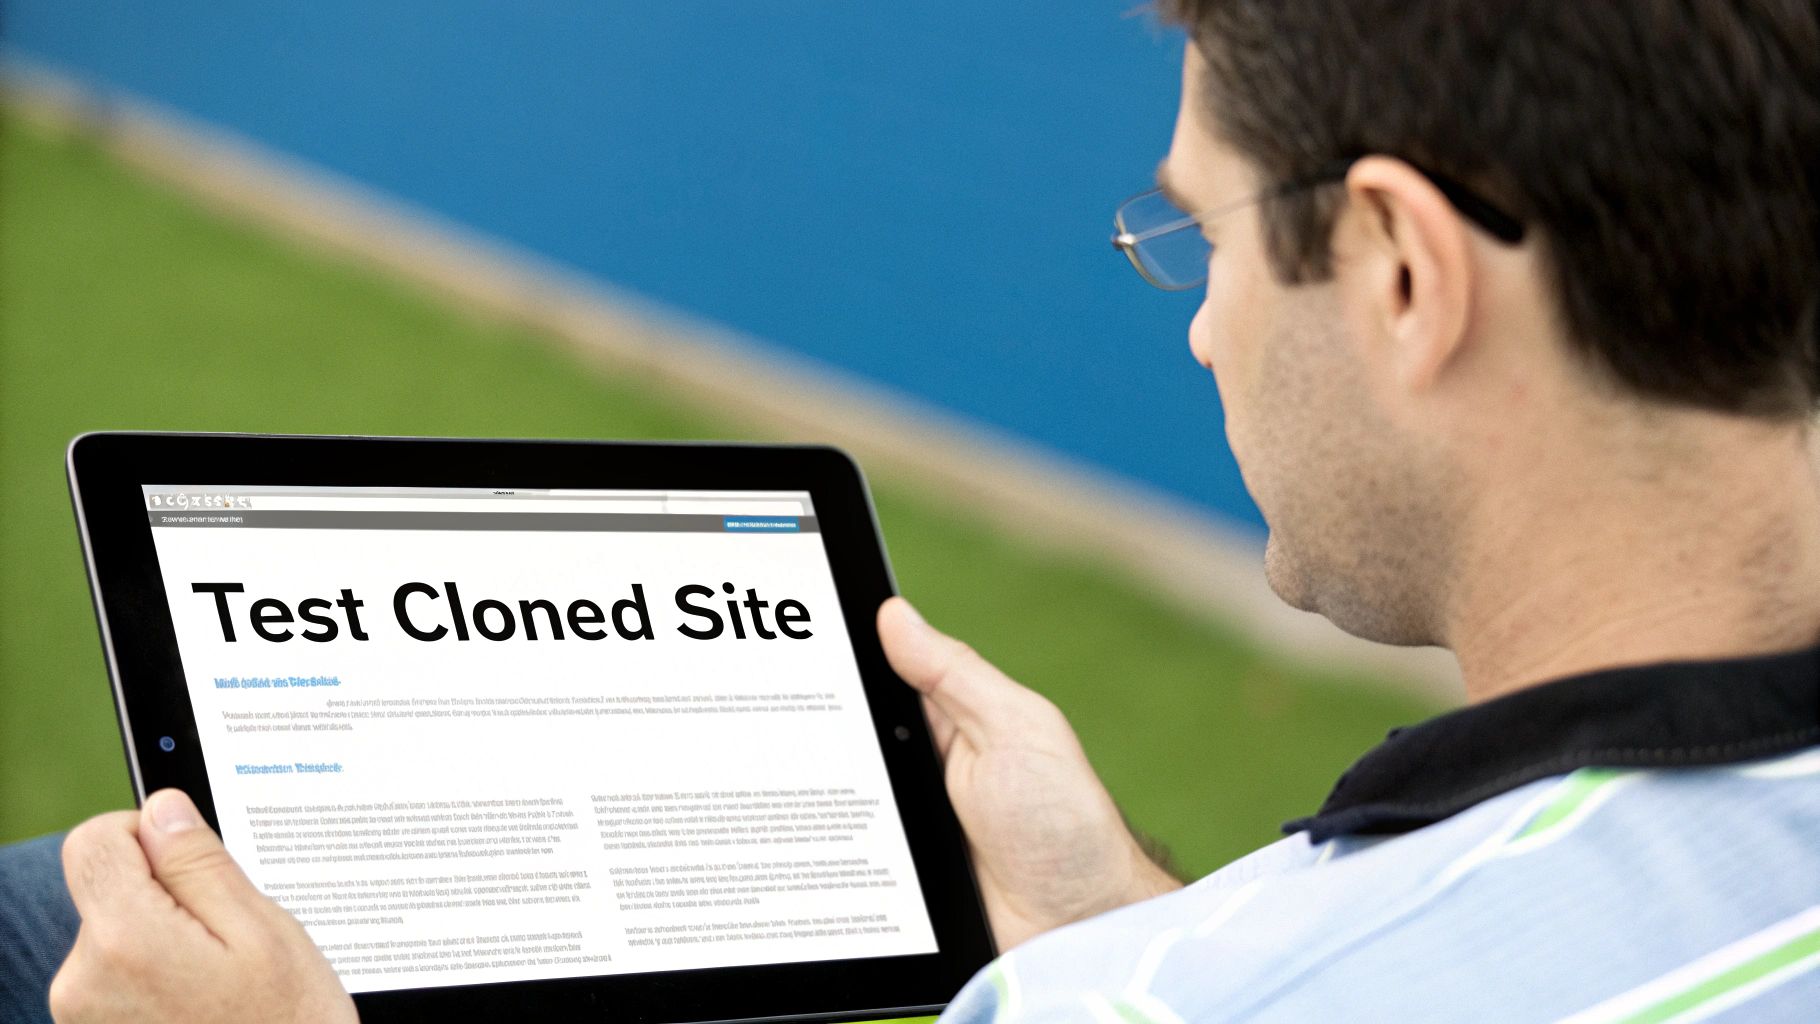
Getting your WordPress site cloned is a huge step, but the job isn't quite over. There are always a few final checks you need to run to make sure the new site is actually working properly and isn't haunted by any post-migration gremlins.
I've seen people skip this part and end up with broken links, confused users, and a whole host of problems that were completely avoidable. Think of this as your final quality assurance pass. It only takes a few minutes, but it's what separates a decent clone from a perfect one.
The Essential Post-Clone Walkthrough
The very first thing I always do is flush the permalinks. It's amazing how many problems this single action solves, particularly those frustrating 404 "Page Not Found" errors. Just head over to Settings > Permalinks in the new site's dashboard and hit "Save Changes" without actually changing anything. WordPress will then rebuild its URL structure. Simple.
Now, put on your user hat and start clicking around. You need to systematically test every critical function on your site.
- Forms: Go through and submit every single form—contact forms, newsletter signups, you name it. Check that the notifications are actually being sent and, more importantly, received.
- User Logins: If you have any kind of membership or e-commerce setup, try logging in and registering with different user roles to ensure the permissions are correct.
- E-commerce Functionality: For any online store, you absolutely must run a test transaction. Add an item to the cart, complete the checkout process, and verify that the order goes through correctly.
- Media and Links: Spend a few minutes browsing your key pages and blog posts. Keep an eye out for broken images or internal links that are still pointing to the old site's domain.
If you're using this clone as part of a full site migration, protecting your search engine rankings is critical. This is the point where you need to have an effective SEO migration plan ready to go. A smooth transition here can save you from losing a ton of valuable traffic.
Fixing Common Cloning Headaches
Even when you do everything right, things can sometimes go sideways. The infamous "white screen of death" is a classic. It's usually caused by a plugin or theme conflict. A good first step is to deactivate all your plugins and temporarily switch to a default WordPress theme. If the site comes back, you know where the problem lies.
Another headache I see all the time is a database connection error. This is almost always a simple typo in your wp-config.php file. Go back and meticulously double-check that the database name, user, password, and host are all perfectly correct for the new server environment.
Finally, be on the lookout for mixed content warnings. This happens when parts of your site try to load over HTTP on a page that's supposed to be secure (HTTPS). It can break your site's appearance and scare visitors with security warnings. A plugin like Better Search Replace is a lifesaver here, as it can quickly find and replace all the old http:// URLs in your database with the correct https:// version. And, of course, having a solid backup strategy is your ultimate safety net. It lets you quickly restore the site if your troubleshooting efforts make things worse. You can learn more in our guide to creating a reliable WordPress site backup.
Frequently Asked Questions About Site Cloning
Even with a detailed guide, you might still have some lingering questions about cloning a WordPress site. It's a process that touches on everything from your database to your SEO, so it's smart to get all the facts straight. Let's dig into some of the most common questions we see.
Will Cloning My WordPress Site Affect My SEO?
This is a big one, and the short answer is: it depends on what you're using the clone for.
If you're just spinning up a private staging or development site, a clone will have zero impact on your live site's SEO. Staging tools and standard practice are designed to block search engines from ever finding or indexing the duplicate site. You can double-check this yourself by going to Settings > Reading in your clone's WordPress dashboard and making sure the box for "Discourage search engines from indexing this site" is checked.
But if you're cloning the site to move it to a totally new domain, you absolutely must set up a proper 301 redirect plan. This tells search engines that your site has permanently moved, passing all your hard-earned SEO authority over to the new address. If you're simply changing hosts but keeping the same domain name, your SEO will be fine once the DNS changes have fully propagated.
What Is the Difference Between a Clone and a Backup?
Creating a clone can feel a lot like making a backup, but they serve very different purposes. I like to think of it this way: a backup is your fire extinguisher, while a clone is your practice fire drill.
- A backup is just a static copy of your site, usually zipped up and stored somewhere safe for disaster recovery. Its only job is to restore your site if something goes wrong.
- A WordPress site clone is a fully functional, interactive copy of your website. It's a "live" environment you can actually use for testing updates, developing new features, or handling a site migration.
You actively work with a clone. You hope you never have to touch a backup, but you're glad it's there.
Can I Clone a WordPress Multisite Installation?
Yes, but it's a completely different ballgame and far more complex than cloning a standard single-site install. A WordPress multisite network has a deeply interconnected database and a much trickier file structure.
Some advanced cloning plugins claim to handle multisite, but this is one of those tasks where a careful manual approach or getting professional help often makes more sense. The risk of breaking something is much higher because of things like network-wide settings in
wp-config.php, unique database table prefixes, and domain mapping. Unless you have serious technical chops, I'd say proceed with extreme caution.
Ready to manage all your WordPress sites from one powerful dashboard? WP Foundry brings all your management tasks—plugin and theme updates, database backups, security scans, and more—into a single application. Stop juggling logins and start managing your sites the smart way. Find out more at https://wpfoundry.app.