
Why Your WordPress Site Is a Prime Target (And How This Checklist Is Your Shield)
Powering over 43% of all websites, WordPress isn't just a popular content management system; it's the biggest target on the internet. Its massive market share makes it a highly profitable playground for automated bots and malicious actors searching for a single weak point. A successful attack can result in catastrophic data breaches, severe reputational damage, and significant financial loss. This reality means proactive defense isn't optional; it's a core responsibility for any site owner or manager.
This article is more than just a collection of tips; it is a comprehensive, actionable WordPress security checklist designed to build a fortified defense. We will move beyond generic advice and dive directly into the specific configurations, tools, and processes required to harden your digital assets. For those seeking a more foundational overview before diving in, understanding the core principles of WordPress website security basics can provide a helpful starting point.
This guide provides a clear, step-by-step plan covering critical security layers, including:
- Hardening your WordPress core, themes, and plugins.
- Implementing strong authentication and user privilege management.
- Configuring automated defenses like Web Application Firewalls (WAFs).
- Establishing reliable backup and recovery systems.
- Securing your server environment and limiting access points.
- Running regular security scans to detect and neutralize threats.
By following this checklist, you will systematically transform your website from a potential victim into a resilient digital fortress, prepared for the modern threat landscape. Let’s begin securing your site.
1. Keep WordPress Core, Themes, and Plugins Updated: Your First Line of Defense
If there is one non-negotiable task on any WordPress security checklist, it's this one. Regularly updating your WordPress core files, themes, and plugins is the single most effective security practice you can adopt. Outdated software is the number one entry point for attackers, who use automated bots to constantly scan the web for sites running older, vulnerable versions. Ignoring an update notification is akin to learning about a faulty lock on your front door and choosing not to fix it.
When developers release updates, they often contain crucial security patches that fix newly discovered vulnerabilities. For example, the WordPress 6.4.1 security release patched several Cross-Site Scripting (XSS) vulnerabilities. Similarly, popular plugins like WooCommerce and Elementor frequently issue security releases to protect e-commerce transactions and site integrity. Failing to apply these patches leaves your site exposed to known exploits that hackers are actively targeting.
Building a Safe and Reliable Update Workflow
Simply clicking the "update" button without a plan can sometimes lead to compatibility issues or even break your site. A professional workflow mitigates these risks and ensures a smooth process.
Here are actionable steps for a secure update routine:
- Always Backup First: Before initiating any updates, perform a complete backup of your website files and database. This is your safety net. If an update causes an issue, you can quickly restore your site to its previous state.
- Use a Staging Environment: A staging site is a private clone of your live website. Test all major core, theme, and plugin updates here first. This allows you to check for plugin conflicts, theme display errors, or broken functionality in a safe environment without impacting your live users. Most quality hosting providers, like Kinsta and WP Engine, offer one-click staging environments.
- Prioritize Security Updates: Pay close attention to update changelogs. If an update is specifically labeled as a "security release," it should be prioritized and applied as soon as possible after successful testing.
- Enable Automatic Updates for Minor Releases: WordPress can automatically handle minor core updates (e.g., from 6.4.2 to 6.4.3), which are typically for security and maintenance. You can enable this by adding
define( 'WP_AUTO_UPDATE_CORE', 'minor' );to yourwp-config.phpfile. - Remove Unused Assets: Before updating, delete any deactivated themes and plugins. These can still contain vulnerabilities and add unnecessary clutter to your system, creating potential security risks.
This disciplined approach transforms updating from a risky gamble into a controlled, repeatable security procedure. For business owners or agencies managing multiple sites, this process can become time-consuming. In such cases, engaging professional WordPress maintenance services can provide the necessary expertise and vigilance to ensure all your digital assets remain consistently updated and secure.
2. Implement Strong Authentication and User Management
While keeping software updated closes known security holes, strengthening your site's entry points is the next critical layer of defense. Strong authentication and user management focus on preventing unauthorized access in the first place. This means moving beyond simple username and password combinations and implementing a robust system that ensures only legitimate individuals can access your WordPress admin area, and once inside, they only have the permissions they absolutely need. Ignoring this is like leaving your front door unlocked with a sign that says "Admin" on it.
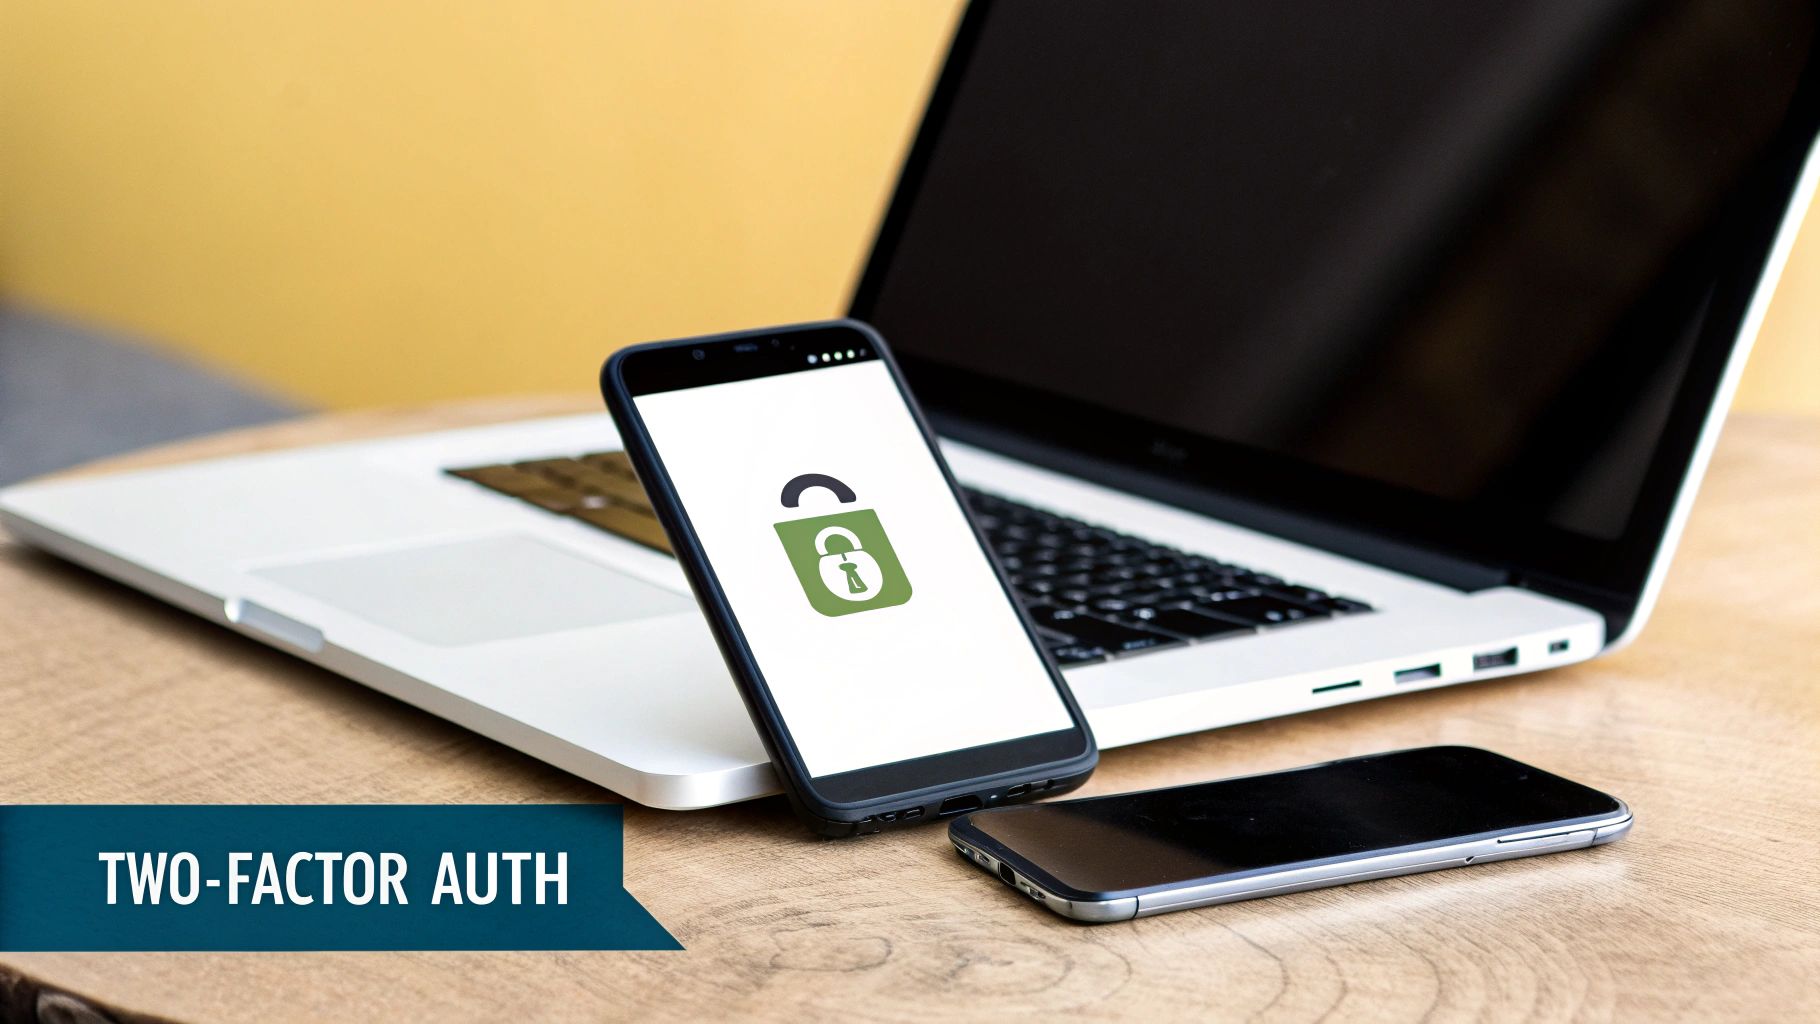
Attackers use brute-force attacks, where bots try thousands of password combinations per minute, to gain entry. A simple password like "Password123!" can be cracked almost instantly. This is why multi-layered authentication is essential. For example, popular security plugins like Wordfence or iThemes Security allow for seamless integration with Two-Factor Authentication (2FA) apps like Google Authenticator or Authy. For larger organizations, solutions like Microsoft Azure AD can even provide Single Sign-On (SSO) capabilities, centralizing user access control. This part of your WordPress security checklist is about building a secure gateway to your digital property.
Creating a Secure User Access Framework
A proactive approach to user access goes beyond just a strong password. It involves a strategic combination of technology and policy to create a secure environment that is difficult to breach.
Here are actionable steps to fortify your user authentication and management:
- Enforce Strong Passwords: Go beyond just encouraging strong passwords; enforce them. Use a plugin that requires users to create complex passwords (a mix of upper/lowercase letters, numbers, and symbols) and sets a minimum length. For further insights into strengthening your authentication, exploring modern password best practices can significantly enhance user security.
- Implement Two-Factor Authentication (2FA): This is non-negotiable for all administrator accounts. 2FA requires a second form of verification, usually a time-sensitive code from an app on your phone, in addition to your password. This means even if a hacker steals your password, they cannot log in without physical access to your device.
- Apply the Principle of Least Privilege: Assign users the lowest role level necessary to perform their jobs. An author does not need administrator rights. A shop manager does not need to edit theme files. Limiting permissions minimizes the potential damage if a user account is compromised.
- Regularly Audit User Accounts: Schedule a quarterly or monthly review of all user accounts on your site. Immediately remove any users who are no longer with the company or who no longer require access. Deleting inactive accounts reduces the number of potential entry points for attackers.
- Monitor Failed Login Attempts: Use a security plugin to limit login attempts and to monitor and receive alerts for unusual access patterns or a high number of failed logins. This can be an early indicator of a brute-force attack in progress, allowing you to take defensive action.
By implementing these measures, you transform your user management from a simple roster into a dynamic security system. Properly managing user roles and access is a fundamental skill, and you can get an in-depth guide on how to manage WordPress users on wpfoundry.app to master this essential practice.
3. Regular Automated Backups with Offsite Storage
While proactive security measures prevent attacks, a robust backup strategy is your ultimate insurance policy. If your site is ever compromised, hacked, or suffers from data corruption, a recent and reliable backup is the fastest, and sometimes only, way to recover. Relying on manual backups is risky, as they are easily forgotten. An automated, scheduled backup system ensures you always have a recovery point without constant manual intervention.

This process involves more than just creating a copy; it's about storing that copy securely and independently from your server. Storing backups on the same server as your live site is a critical mistake. If the server is compromised or fails, both your site and its backups are lost. Effective solutions like UpdraftPlus can be configured to automatically send complete backups to offsite storage locations like Amazon S3 or Google Drive. Similarly, premium services like Jetpack VaultPress offer real-time backups, capturing every change as it happens.
Creating a Resilient and Testable Backup Plan
A backup is only valuable if it works when you need it most. A comprehensive backup plan isn't just about automation; it's about integrity, redundancy, and verified restoration, forming a key pillar of any serious WordPress security checklist.
Here are actionable steps for a professional backup routine:
- Schedule Backups Strategically: Configure your automated backups to run during periods of low traffic to minimize any potential impact on server performance. For a typical blog, a daily backup is sufficient, while a busy e-commerce site may require more frequent or even real-time backups.
- Embrace Offsite Redundancy: Never rely on a single backup location. A best practice is the 3-2-1 rule: keep at least three copies of your data on two different media types, with one of those copies being offsite. For example, a copy on your server, one on Google Drive, and another on Dropbox.
- Test Your Restorations: Periodically, test the restoration process on a staging site. This verifies the integrity of your backup files and ensures you know the exact steps to take in an emergency. A backup that fails to restore is useless.
- Maintain Multiple Versions: Don't just keep the single latest backup. A security breach or error might go unnoticed for days. Retaining daily backups for a week and weekly backups for a month allows you to restore to a point before the issue occurred.
- Secure Your Backup Files: Your backups contain a complete copy of your site, including sensitive user data. Ensure your offsite storage is secure and consider using backup plugins that offer encryption for an added layer of protection. For more in-depth guidance, you can explore tutorials on how to properly back up your WordPress database.
Implementing a disciplined and automated backup strategy provides peace of mind. It transforms a potential catastrophe into a manageable inconvenience, ensuring your digital assets are always recoverable.
4. Install and Configure a Web Application Firewall (WAF)
While internal security measures are vital, a significant portion of threats originate from the internet before they even reach your server. A Web Application Firewall (WAF) acts as an essential perimeter defense, filtering, monitoring, and blocking malicious HTTP traffic between your WordPress site and the wider web. Think of it as a highly intelligent security guard for your website's entrance, inspecting every visitor and turning away known troublemakers before they can cause harm.
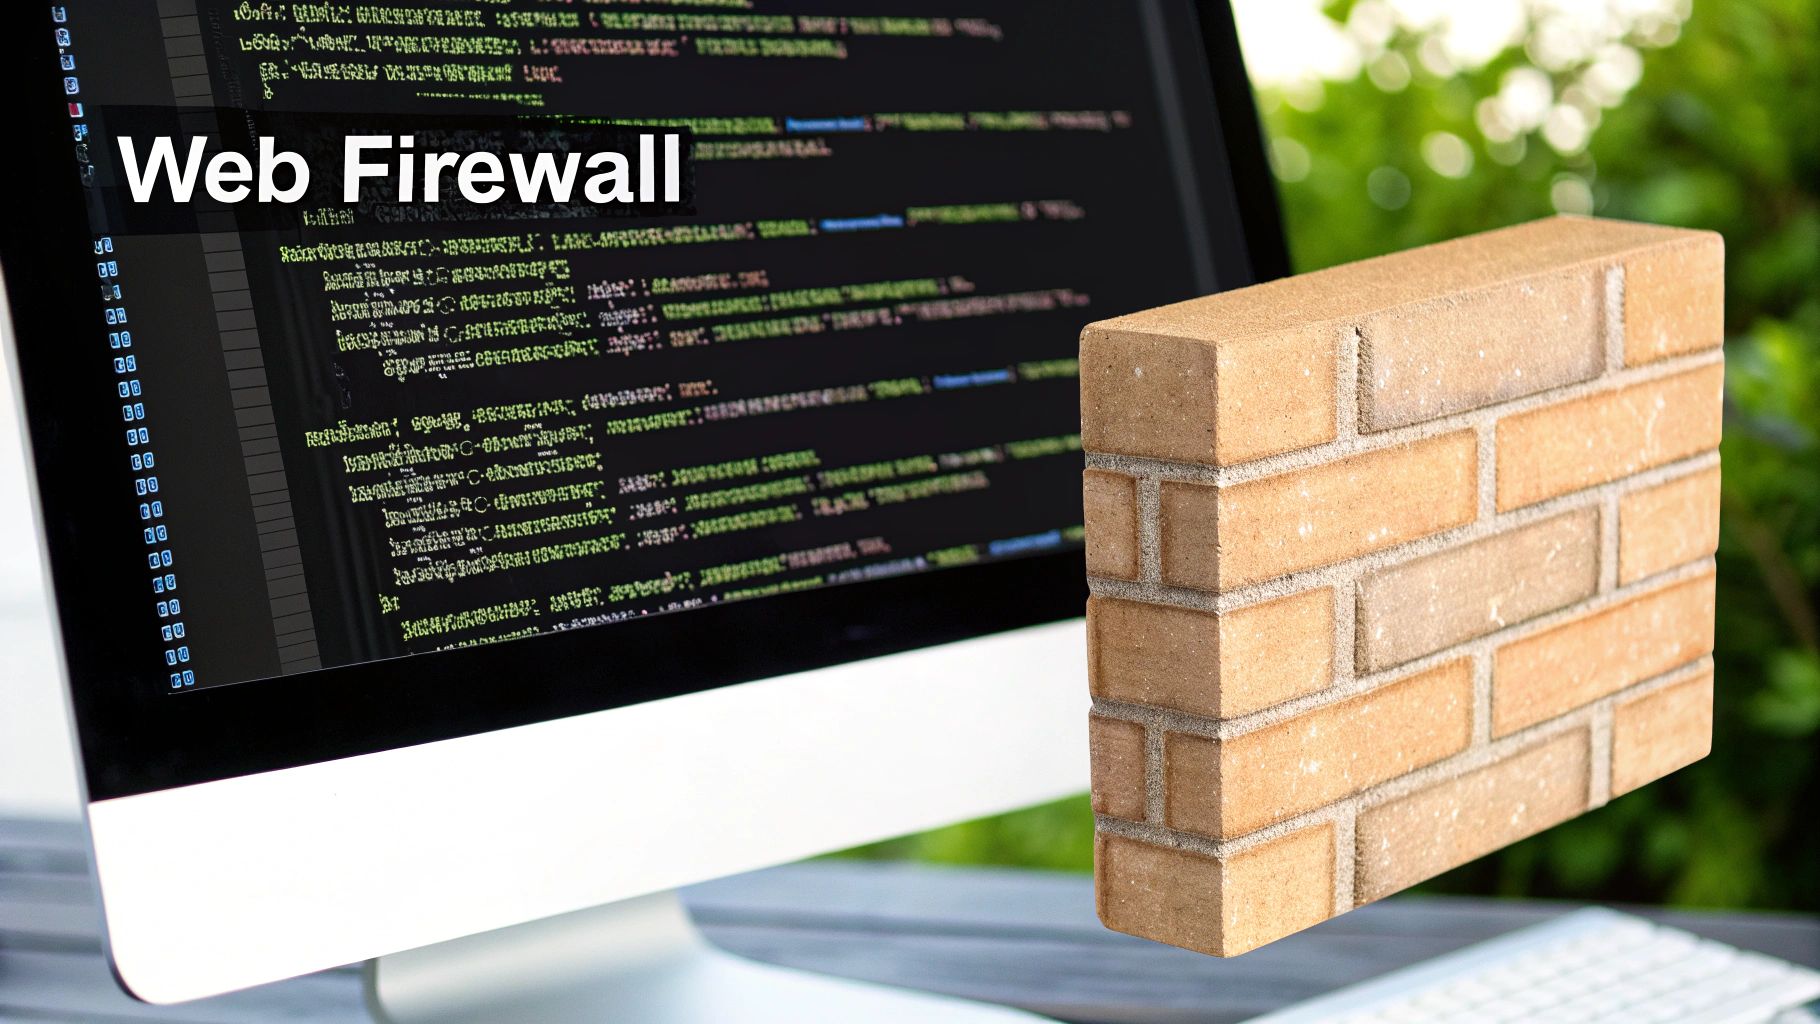
A WAF provides real-time protection against some of the most common and damaging attacks, including SQL injections, Cross-Site Scripting (XSS), brute-force attempts, and malware uploads. It achieves this by analyzing traffic patterns against a constantly updated set of rules. For example, the popular Wordfence firewall plugin, with over 100 million installations, actively blocks millions of attacks daily. Similarly, cloud-based services like the Cloudflare WAF protect a vast number of WordPress sites by filtering traffic at the DNS level, stopping threats before they even touch your hosting server.
Setting Up an Effective Firewall Strategy
Implementing a WAF isn't a "set it and forget it" task. Proper configuration is key to maximizing protection without inadvertently blocking legitimate users. A misconfigured firewall can lead to false positives, locking out customers or administrators, which is why a strategic approach is necessary for any serious WordPress security checklist.
Here are actionable steps for configuring your WAF:
- Start with Recommended Rules: Most WAFs, whether plugin-based like iThemes Security or cloud-based like Sucuri, come with a set of pre-configured rules designed for WordPress. Enable these first as your baseline protection.
- Monitor Firewall Logs: Regularly review your WAF's logs. This helps you understand the types of attacks being blocked and identify any false positives where legitimate traffic was flagged. You can then adjust the rules accordingly.
- Whitelist Trusted IPs: To avoid locking yourself or your team out, whitelist the static IP addresses of your home, office, and any third-party services that need regular access to your site's backend.
- Configure Rate Limiting: This is a crucial feature for stopping brute-force attacks. Set a limit on how many login attempts can be made from a single IP address within a short period. This effectively neutralizes automated bots trying to guess your password.
- Use Geographic Blocking: If your business or audience is located in specific countries, you can use your WAF to block traffic from regions where you don't operate. This can significantly reduce the volume of spam and malicious bot traffic.
- Review and Update Rules: Cyber threats evolve, and so should your firewall rules. Periodically review your settings and apply any new rules or updates provided by the WAF developer to stay protected against emerging vulnerabilities.
5. Secure Hosting Environment and Server Configuration: Your Website's Foundation
Your WordPress site doesn't exist in a vacuum; it lives on a server. The security of that server environment is the foundation upon which all your other security efforts are built. Choosing a secure hosting provider and ensuring proper server configuration is as crucial as locking the doors to your house. A poorly configured server is like building a fortress on quicksand; no matter how strong your on-site defenses are, the entire structure is at risk.
Your hosting environment is the first line of defense against many network-level and brute-force attacks. Reputable hosting providers invest heavily in infrastructure security, including hardware firewalls, intrusion detection systems, and physical security for their data centers. This foundational security layer operates before a threat ever reaches your WordPress installation, making it an indispensable part of a comprehensive wordpress security checklist.
Selecting a Hosting Partner for Robust Security
Not all hosting is created equal. While cheap, shared hosting might be tempting, it often comes with significant security compromises. A high-quality hosting provider acts as a proactive security partner, not just a landlord for your website files.
Here are the key elements to look for in a secure hosting environment:
- Choose WordPress-Specific Managed Hosting: Providers like WP Engine, Kinsta, and SiteGround specialize in WordPress. They configure their servers specifically for the platform, often including managed Web Application Firewalls (WAFs), automatic malware scanning, and performance optimizations that also enhance security. Kinsta, for example, leverages the Google Cloud Platform's enterprise-level security, while SiteGround uses an in-house, AI-driven system to block threats.
- Insist on an SSL/TLS Certificate: An SSL certificate encrypts data transferred between a user's browser and your server (HTTPS). This is non-negotiable for protecting login credentials, personal information, and e-commerce transactions. Quality hosts provide and often auto-renew free SSL certificates. Ensure it's correctly configured to force all traffic over HTTPS.
- Verify Server-Level Security Measures: Ask potential providers about their security stack. Do they offer server-level firewalls, DDoS mitigation, and regular security audits? Cloudways, for instance, provides dedicated firewalls and security patching at the server level, isolating your site from platform-wide vulnerabilities.
- Inquire About Malware Scanning and Removal: A key differentiator for secure hosts is their policy on malware. Do they proactively scan for it? More importantly, if your site is compromised, will they help you clean it up? This service can save you hundreds or thousands of dollars and significant stress compared to handling a hack on your own.
- Confirm Automated Backups and Disaster Recovery: Your host should offer reliable, automated daily backups that are stored off-site. Check their retention policy and how easy it is to restore a backup. This is your ultimate safety net in a worst-case scenario.
6. Limit Login Attempts and Implement Access Controls
Your WordPress login page (wp-login.php) is the main gateway to your site's administrative backend, making it a prime target for attackers. Hackers use automated scripts, known as brute force attacks, to repeatedly guess username and password combinations until they gain access. Implementing login attempt limits and access controls is a fundamental security measure that directly hardens this critical entry point. It's like adding a high-tech security system to your front door that automatically locks out anyone who tries the wrong key too many times.
By default, WordPress allows unlimited login attempts from any IP address, creating an open invitation for these automated attacks. A brute force protection mechanism effectively shuts this vulnerability down. For example, a popular security plugin like Wordfence or Limit Login Attempts Reloaded will temporarily or permanently block an IP address after a set number of failed login attempts. This simple action stops the vast majority of automated attacks in their tracks, significantly reducing the risk of unauthorized access and making your site a much harder target.
Strengthening Your Login and Admin Access Points
Securing your login form goes beyond just limiting attempts. A multi-layered approach to access control provides robust protection. By strategically restricting who can access the admin area and when, you create a much smaller attack surface for malicious actors to exploit.
Here are actionable steps to lock down your login and admin areas:
- Set Reasonable Attempt Limits: Configure your security plugin to lock out an IP address after 3 to 5 failed login attempts. This provides a good balance, preventing brute force attacks while not inconveniencing legitimate users who might mistype their password. Plugins like iThemes Security offer fine-grained control over these limits.
- Implement Progressive Lockout Durations: Instead of a permanent ban on the first lockout, set a short initial lockout period (e.g., 20 minutes). Increase the duration for subsequent lockouts from the same IP. This progressive delay is effective against automated scripts without permanently blocking a real user who is having trouble.
- Change Your Login URL: The default login URL (
/wp-login.phpor/wp-admin/) is known by every bot. Changing it to a unique, custom URL (e.g.,/my-secret-portal) instantly hides it from generic attacks. This "security through obscurity" tactic is a powerful first filter. - Use IP Whitelisting: If you and your team always access the site from static IP addresses, you can configure your security plugin or server firewall to only allow logins from those specific IPs. This is one of the most effective access control methods available.
- Monitor Failed Login Attempts: Regularly review logs of failed login attempts. This can help you identify persistent attack patterns, discover compromised user accounts being used in attacks, and spot targeted threats. Most top-tier security plugins, including Jetpack Protect, provide detailed logging for this purpose.
Combining these access control strategies within your WordPress security checklist transforms your login page from an open door into a fortified checkpoint. This ensures that only authorized personnel can access your site's administrative functions, protecting your digital assets from one of the most common attack vectors.
7. Regular Security Scanning and Malware Detection
Implementing a proactive defense strategy is a cornerstone of any robust WordPress security checklist. While preventative measures like strong passwords and firewalls are essential, you also need a system to detect threats that might slip through. This is where regular security scanning comes in. Automated scanning tools act as a digital security guard, continuously monitoring your site's files, database, and code for malware, backdoors, and known vulnerabilities. They provide an early warning system, helping you identify and neutralize threats before they cause significant damage, data loss, or reputational harm.
Without consistent scanning, a malicious script could sit dormant on your server for weeks or months, slowly siphoning data or waiting for the right moment to deface your site or launch a larger attack. Leading security plugins like Wordfence and Sucuri use constantly updated malware signatures and behavioral analysis to spot suspicious activity. For instance, they can detect unauthorized file modifications, spam injections in your posts, or unrecognized PHP scripts designed to give an attacker remote access, providing the vigilance needed to maintain a clean and secure website.
Establishing a Proactive Scanning and Alerting System
Effective scanning is more than just installing a plugin; it requires a structured approach to monitoring and response. A well-configured system ensures that threats are identified quickly and that you have a clear plan for remediation. This transforms security from a reactive scramble into a managed, proactive process.
Here are actionable steps for building a comprehensive scanning routine:
- Schedule Scans Intelligently: Configure your security plugin to run scans during your website's lowest traffic periods. This minimizes any potential impact on server performance and user experience. Daily scans are recommended for active or e-commerce sites, while weekly scans may suffice for smaller, static sites.
- Configure Immediate Alerts: Don't wait to discover a problem by logging into your dashboard. Set up email or Slack notifications for critical threats, such as new malware detection or changes to core WordPress files. This allows for an immediate response, drastically reducing the window of opportunity for attackers.
- Combine Scanning Tools: No single tool is infallible. For maximum coverage, consider using a combination of a server-side scanner (like the one in Wordfence or MalCare) and a remote, external scanner (like Sucuri SiteCheck or Quttera). This approach provides different perspectives and increases the likelihood of catching a wider range of threats. You can explore different options by reading this guide on choosing the best WordPress vulnerability scanner.
- Review Reports and Logs: Make it a habit to review your scan reports, even if no critical alerts are triggered. These logs can reveal low-level warnings, suspicious user activity, or repeated failed login attempts that might indicate a brute-force attack is underway, allowing you to strengthen your defenses accordingly.
- Automate Cleanup Where Possible: Many premium security solutions, such as MalCare, offer one-click or automated malware removal. While manual verification is still wise, leveraging these features can significantly speed up the cleanup process and get your site back to a secure state faster.
WordPress Security Checklist: 7-Point Comparison
| Security Practice | Implementation Complexity 🔄 | Resource Requirements ⚡ | Expected Outcomes 📊 | Ideal Use Cases 💡 | Key Advantages ⭐ |
|---|---|---|---|---|---|
| Keep WordPress Core, Themes, and Plugins Updated | Easy | Low | Fixes vulnerabilities, improves performance | Basic maintenance for all WordPress sites | Fixes known flaws, improves compatibility, reduces malware risk |
| Implement Strong Authentication and User Management | Medium | Medium | Prevents unauthorized access, audit trails | Sites requiring tighter access control | Strong attack prevention, granular permissions, compliance aid |
| Regular Automated Backups with Offsite Storage | Easy to Medium | Medium (storage & bandwidth) | Fast recovery, data loss prevention | Any site prioritizing data integrity | Quick recovery, disaster planning, peace of mind |
| Install and Configure a Web Application Firewall (WAF) | Medium | Medium to High | Blocks attacks before server, real-time defense | Sites exposed to high traffic and attacks | Real-time blocking, reduces server load, detailed analytics |
| Secure Hosting Environment and Server Configuration | Varies (Easy to Hard) | High (cost and management) | Foundational security, uptime, compliance | Sites needing professional server and network security | Strong foundational protection, managed updates, performance |
| Limit Login Attempts and Implement Access Controls | Easy | Low | Prevents brute force, reduces attack surface | Sites vulnerable to brute force attacks | Effective brute force defense, customizable, reduces server load |
| Regular Security Scanning and Malware Detection | Easy | Low to Medium | Early threat detection, automated monitoring | Sites needing proactive threat identification | Early detection, detailed reports, integration with cleanup |
From Checklist to Habit: Making WordPress Security Second Nature
You have just navigated a comprehensive WordPress security checklist, a detailed roadmap designed to transform your website from a potential target into a hardened digital fortress. Completing these steps is a monumental achievement, but the journey towards true, lasting security doesn't end here. The digital world is in a constant state of flux; new vulnerabilities emerge, and attackers relentlessly refine their methods. Therefore, the ultimate goal isn't just to check off boxes, but to internalize these practices and forge them into unbreakable security habits.
Security is not a static, one-time fix. It is a dynamic, ongoing process of vigilance and adaptation. By moving beyond a simple "set it and forget it" mindset, you build a resilient digital asset that can withstand the evolving challenges of the modern web.
Key Takeaways from Our Security Deep Dive
Recapping our journey, we've dissected the critical layers of WordPress defense. The strength of your security posture is only as strong as its weakest link, which is why a holistic approach is non-negotiable.
Let's revisit the core pillars we established:
- Proactive Updates: Consistently updating your WordPress core, plugins, and themes is your first line of defense against known exploits. This single habit closes the most common entry points for attackers.
- Robust Access Control: Strong passwords, two-factor authentication (2FA), and strict user role management are fundamental. They ensure that only authorized individuals can access your site's backend, protecting your most sensitive areas.
- Reliable Recovery Plan: Automated, offsite backups are your ultimate safety net. In a worst-case scenario, having a clean, recent backup is the difference between a minor inconvenience and a catastrophic business failure.
- Advanced Threat Blocking: A Web Application Firewall (WAF) acts as a powerful shield, filtering malicious traffic before it ever reaches your site. It is an essential tool for blocking sophisticated attacks like SQL injections and cross-site scripting (XSS).
- Vigilant Monitoring: Regular security scans and log reviews allow you to detect suspicious activity early. This proactive monitoring enables you to identify and neutralize threats before they can escalate into full-blown breaches.
Your Actionable Path Forward: From Checklist to Routine
The true measure of a secure website lies in consistent execution. Your next step is to integrate the items from this WordPress security checklist into a manageable, repeatable maintenance schedule. This transforms abstract concepts into concrete, routine actions.
Here is a simple framework to get started:
-
Weekly Actions:
- Review and apply all pending core, plugin, and theme updates.
- Check your backup logs to confirm successful, complete backups were created and stored offsite.
-
Monthly Actions:
- Audit all user accounts. Remove any old or unnecessary users, and enforce password strength policies for existing ones.
- Review your WAF and security plugin logs for any blocked threats or unusual patterns.
- Run a full malware and vulnerability scan to catch anything that might have slipped through.
-
Quarterly Actions:
- Perform a test restore from a recent backup to a staging environment. This verifies your recovery plan actually works.
- Review and update your security configurations, including
.htaccessrules and file permissions. - Stay informed by reading up on the latest WordPress security news and vulnerability disclosures.
Adopting this structured approach ensures that security remains a top priority, not an afterthought. It builds a culture of security around your digital operations, whether you manage a single blog or a vast portfolio of client websites. By making these security measures a habit, you are not just protecting data; you are safeguarding your brand's reputation, maintaining customer trust, and ensuring business continuity.
Are you managing multiple WordPress sites and finding it difficult to keep up with this essential security routine? WP Foundry centralizes your entire portfolio, allowing you to perform updates, run backups, and manage security across all your sites from a single, intuitive dashboard. Transform your WordPress security checklist from a manual chore into an automated, efficient process by visiting WP Foundry today.
Comments
3 responses to “WordPress Security Checklist: 7 Essential Tips for 2025”
[…] a comprehensive guide on implementing these measures, our WordPress security checklist provides a step-by-step walkthrough. Ultimately, consistent monitoring is what makes the […]
[…] the very beginning. To dive deeper into a comprehensive set of protections, explore this detailed WordPress security checklist that covers everything from basic hardening to advanced defensive […]
[…] easier than trying to clean up a disaster later. For a great place to start, check out our complete WordPress security checklist to begin securing your site […]