
Before we dive into the nuts and bolts of restoring a WordPress site, it’s worth taking a moment to understand why this is such a critical skill. A good backup is your get-out-of-jail-free card. It’s the ultimate safety net for everything from a simple plugin update gone wrong to a full-blown cyberattack that knocks your site completely offline.
When you have a reliable restoration plan in place, what could be a business-ending disaster becomes little more than a minor inconvenience.
Why A WordPress Backup Strategy Is Crucial
Think of your website as your digital storefront. What would you do if the front door lock broke, a display shelf collapsed, or a vandal smashed a window? You wouldn't just close up shop for good. You'd have a plan to get it fixed, and fast.
A WordPress backup is exactly that—your rapid repair plan. It is, quite simply, the undo button for your entire website.
Real-World Risks And Why Backups Matter
The threats that can bring a site down are far more common than most people realize. A simple human error, like accidentally deleting a critical file while using FTP, can cripple your site. I've seen it happen. A seemingly routine theme update can conflict with a key plugin, leading to the dreaded "white screen of death," locking you and your visitors out entirely.
But it goes beyond simple mistakes. The digital world has its own set of dangers. Because WordPress powers such a massive slice of the internet, it’s a huge and constant target for attackers looking for any weakness.
Below is a quick look at some common situations that can make you very glad you have a recent backup ready to go.
Common Scenarios Requiring A WordPress Restore
| Scenario | Cause | Impact |
|---|---|---|
| Plugin/Theme Update Failure | Incompatibility between a new version and your existing WordPress core, or other plugins. | White screen of death, broken features, or being locked out of the admin area. |
| Malware or Hack | Exploitation of a security vulnerability, often in outdated software. | Site defacement, malicious redirects, data theft, or getting blacklisted by Google. |
| Human Error | Accidentally deleting important files, making incorrect database changes, or deleting content. | Missing pages, broken functionality, or a completely inaccessible site. |
| Hosting Server Failure | Hardware malfunction, data center outage, or account issues with your web host. | Complete loss of your website files and database if you don't have your own backup. |
As you can see, the risks are varied and very real. A clean backup is your fastest, and sometimes only, way to recover.
Having a backup file sitting on a hard drive isn't enough, though. The whole point is having a recovery process you've actually tested. This is something I always stress to my clients; true peace of mind comes from knowing the importance of regular backup and continuity drills.
The real value of a backup is realized not when it's created, but when it's successfully restored. An untested backup is just a hope; a tested one is a strategy.
Given how many websites run on WordPress, it's a constant target. Studies repeatedly show that a huge percentage of hacked content management systems are WordPress sites, often due to out-of-date plugins and simple security oversights. In this environment, your most recent backup is your first line of defense to keep downtime to an absolute minimum.
To make this whole process easier, it's worth looking into a dedicated WordPress backup plugin that can handle the scheduling and storage for you automatically.
Preparing For A Smooth WordPress Restoration
A successful WordPress restore doesn't start when your site goes down. It starts long before that. Honestly, thinking ahead is the single biggest thing that separates a full-blown catastrophe from a manageable inconvenience. Think of it as your pre-flight checklist; it ensures you can actually recover when you need to.
The first move is to set up a backup schedule that actually makes sense for your site. A busy e-commerce store with orders flying in needs a far more aggressive schedule than a simple portfolio site that rarely changes. For any dynamic site, daily backups are the bare minimum.
Choosing Your Backup Frequency
You have to ask yourself: what’s the real cost of lost data? How many new customer sign-ups, blog comments, or product sales would you lose if your last backup was from a week ago?
- High-Activity Sites (e-commerce, forums): You really need daily or even real-time backups here. Losing even a few hours of data can hit your revenue and, just as importantly, your customers' trust.
- Moderate-Activity Sites (blogs, business sites): Weekly backups usually hit the sweet spot. This catches your new posts and content changes without hogging storage space.
- Low-Activity Sites (portfolios, brochure sites): A monthly backup might seem okay, but I'd still recommend a weekly schedule. It’s a much better safety net for those "just in case" moments.
Having a regular backup schedule is the foundation of any good restoration plan. While daily is the go-to for active sites, you can find more tips on finding the right rhythm in these effective backup strategies on hostinger.com.
The Critical Role Of Off-Site Storage
Just as important as when you back up is where you put those files. Keeping your only backup copies on the same server as your live website is a massive gamble. If that server gets hacked, fails, or just goes offline, you lose everything—both the site and your only way to get it back.
Storing backups on the same server as your live site is like keeping your spare house key under the doormat of that same house. When you need it most, it's likely to be inaccessible or compromised.
True preparedness means using off-site storage. This is all about automatically sending your backup files to a completely separate, secure location.
The most reliable way to do this is with a third-party cloud service. Some popular and solid choices are:
- Google Drive: Easy and familiar for most people.
- Dropbox: Known for being incredibly simple and reliable for file syncing.
- Amazon S3: A powerhouse solution that’s great for bigger sites or developers who need serious storage infrastructure.
By separating your backups from your live server, you're creating a firebreak. It ensures that no single point of failure—whether it's a hardware meltdown, a nasty hack, or a hosting provider outage—can completely erase your digital presence. This one step is the bedrock of a solid WordPress restoration plan.
Restoring Your Site With A Plugin Like UpdraftPlus

For most people, using a plugin is the simplest and least stressful way to restore a WordPress backup. It completely bypasses the need for technical skills like FTP or direct database management, which is a huge relief when your site is already down.
UpdraftPlus is a massively popular choice in this space. It’s the go-to backup plugin for a reason, boasting over 3 million active installations and stellar ratings. Its success comes from a solid mix of a user-friendly interface and powerful, reliable features that let you handle a full restore right from your WordPress dashboard.
Navigating The UpdraftPlus Restore Process
To start, you'll obviously need UpdraftPlus installed and activated. Once you're set up, just head to Settings » UpdraftPlus Backups in your WordPress admin area.
This page is your control panel. You should see a list under "Existing backups," which shows all the backup files you have, whether they're stored locally on your server or in a connected cloud service like Google Drive or Dropbox. The interface lays out all available backups by date, making it easy to spot the one you need.
From here, you can see every backup point and what it contains, giving you the choice to restore everything or just specific parts.
When you've found the correct backup date, click the big blue Restore button next to it.
Choosing Your Backup Components
UpdraftPlus will then ask you to choose which parts of your site you want to restore. This level of control is incredibly handy. You’ll usually see five main components:
- Plugins: This restores all your plugin files to the state they were in when the backup was made.
- Themes: This brings back your theme files, which includes any changes you might have made directly to the templates.
- Uploads: All your media library content—images, documents, videos—gets restored from this component.
- Others: This is a catch-all for other files in your
wp-contentfolder that aren't plugins, themes, or uploads. - Database: This is the most crucial piece. It holds all your posts, pages, user accounts, comments, and website settings.
If you're recovering from a serious problem like a hack or a fatal error, you should almost always check all five boxes. A partial restore can easily create a mismatched site where the database is looking for files that aren't there, which can cause even more headaches.
After you've made your selections, the plugin will prepare the restore files. Once it's ready, a final confirmation button will appear. Clicking it kicks off the process, and UpdraftPlus will display a live log so you can watch its progress. This can take anywhere from a few minutes to much longer, depending on your site's size.
Once the process finishes, the last step is to check everything thoroughly. Click around the front-end and back-end of your site to make sure it all looks and works exactly as it should. If you run into trouble with the plugin method, it's good to know there are other options. We cover a wider range of strategies in our guide on how to restore your WordPress site from a backup.
The Manual Restore Using cPanel And phpMyAdmin
Sometimes, a simple plugin restore just isn't on the cards. Maybe you're staring at a fatal error, or worse, you've been completely locked out of your own admin dashboard after a security issue. When that happens, you need a more direct route back in.
This is where knowing how to restore from backup wordpress manually is a lifesaver. Using standard hosting tools like cPanel and phpMyAdmin, you can get your site back online even when WordPress itself is completely inaccessible.
It's definitely more technical than clicking a button in a plugin, I won't lie. But this method gives you total control, letting you bypass the broken WordPress installation and work directly with your site's core files and database. Think of it as your ultimate fallback plan.
Before you even think about starting, here's a crucial tip from someone who's learned the hard way: back up your current broken site. It sounds backward, I know. But having a copy of the site in its broken state gives you a reference point and a safety net if the restoration goes sideways or you realize you need to pull a specific file from the wreckage.
Restoring Your WordPress Files Via cPanel
First up, let's tackle your website's files. This includes everything in your wp-content folder—your themes, plugins, and all those media uploads. The mission is to replace the corrupted files on your server with the clean, working versions from your backup.
You’ll be doing this through the File Manager in your hosting control panel. For most of us, that means cPanel.
- First, log into your cPanel and open the File Manager.
- Navigate to your website's root directory, which is almost always
public_html. - Now, upload the ZIP file from your backup that contains your website files.
- Once it's uploaded, just select the ZIP file and use the "Extract" function. This will overwrite the existing files with the ones from your backup.
A Quick Pro-Tip: I always recommend deleting the existing
wp-contentfolder on the server before you upload and extract your clean backup. This extra step ensures you're wiping the slate completely clean and getting rid of any nasty, corrupted files that a simple overwrite might miss.
As you can see, going the manual route requires a bit more technical know-how, but its success rate is a huge advantage when you're in a real bind.
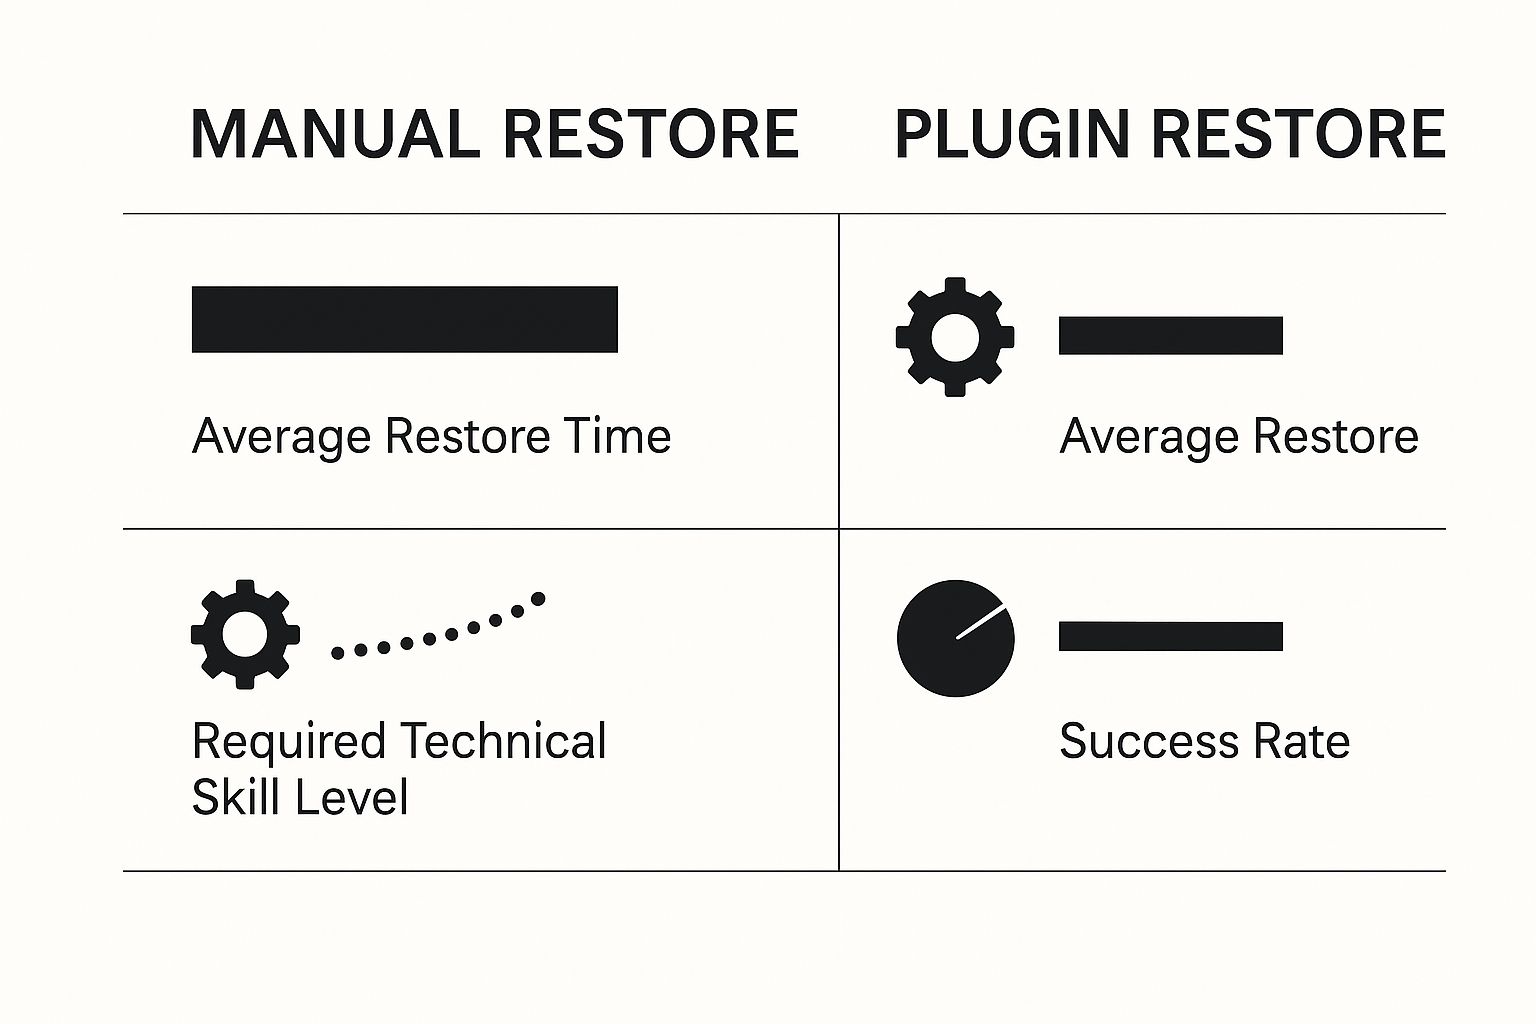
Plugin vs Manual Restoration Methods
Deciding between a plugin or a manual restore often comes down to your comfort level and the specific situation you're in. One is built for convenience, the other for complete control. Here’s a quick breakdown to help you choose the right path.
| Feature | Plugin Method (e.g., UpdraftPlus) | Manual Method (cPanel/FTP) |
|---|---|---|
| Ease of Use | Very user-friendly; often a one-click process. | Requires technical knowledge of file managers and databases. |
| When to Use | Standard restores, site migrations, routine backups. | When locked out of WP admin, fatal errors, or security breaches. |
| Control Level | Limited to the plugin's features and interface. | Full, granular control over every file and database table. |
| Speed | Generally very fast for both backup and restore. | Slower; requires manual uploading, extracting, and importing. |
| Risk Factor | Low risk, but can fail if the site is badly broken. | Higher risk of user error, but a reliable last resort. |
| Tools Needed | WordPress dashboard access and the backup plugin. | Hosting control panel (cPanel) and FTP client access. |
Ultimately, plugins are fantastic for everyday use, but every WordPress site owner should understand the basics of a manual restore. It's the skill that will save you when the easy options have failed.
Importing Your Database With phpMyAdmin
With your files back in place, it's time to restore the brains of the operation: your WordPress database. This is where every post, page, user profile, and plugin setting lives. For this part of the surgery, we'll use phpMyAdmin, another tool you'll find in your cPanel.
First things first, you need to prep the old database.
Head into phpMyAdmin and click on your WordPress database from the list on the left. To avoid any conflicts, it's best to empty it out before importing the clean one. Simply click "Check All" at the bottom of the table list, and from the "With selected:" dropdown menu, choose "Drop". Confirm the scary-looking warning, and you'll have a clean slate.
Now you’re ready to import your backup. Your database backup should be a file ending in .sql or .sql.gz.
- With your now-empty database still selected, click the Import tab at the top.
- Click the "Choose File" button and find the SQL backup file on your computer.
- You can usually leave all the other settings as they are. Just scroll down and click Go.
The import can take a little while, especially if you have a large site. If you hit an error about file size limits, don't panic—it's a common issue. Your host puts a cap on upload sizes. Just contact their support and ask them to increase the upload_max_filesize limit for you temporarily. Once the import is finished, your database is restored.
And with that, your site should be back up and running
Using Your Hosting Provider For A Quick Restore
Sometimes, a plugin or a manual restore just isn't in the cards. This is especially true when your entire site goes down—I’m talking white screen of death, no admin access, complete lockout. When that happens, your hosting provider is often your fastest way back online.
Many quality managed WordPress hosts like Kinsta, SiteGround, and Hostinger have built-in automated backup and restore systems. Forget about wrestling with FTP clients or phpMyAdmin. Instead, you just log into your hosting account, find the backup tool, and get to work.
These systems are designed to be dead simple. You'll typically see a list of restore points or a calendar view showing available backups, which are often taken automatically every 24 hours. All you do is pick a date and time before things went wrong and hit the "Restore" button. The host takes it from there, overwriting the broken site with the clean, working version.
The Trade-Offs Of Host-Level Backups
This method is incredibly convenient, but it's not without its drawbacks. You're trading granular control for speed and simplicity, and it's crucial to know what you're giving up.
Here are a few things to keep in mind:
- Less Granular Control: Unlike a plugin such as UpdraftPlus, you usually can't restore just one specific thing, like your themes folder or the database. Most host-level restores are all-or-nothing, which means your entire WordPress installation gets overwritten.
- Shorter Retention Periods: Hosts typically don't keep backups forever. A retention window of 14 to 30 days is pretty standard. If you discover an issue that started two months ago, you'll be out of luck unless you have your own off-site backups.
- Potential for Extra Costs: While daily backups might be included in your plan, some hosts charge a fee for the actual restoration service. It’s always a good idea to check your provider's policy so you aren't surprised by an unexpected bill during a crisis.
Think of your host's backup system as an emergency response team. It’s perfect for getting your site stable after a major disaster, but it doesn't replace a comprehensive strategy that includes your own independent backups.
The right host can make or break your recovery plan. It's not just about restore features; your provider choice affects everything from performance to ongoing costs. If you're weighing your options, it can be helpful to look into affordable web hosting solutions to see what fits your budget and needs.
In the end, for a catastrophic failure where you're completely locked out, a host-level restore is almost always your best first move.
Common Questions About Restoring WordPress
Even with the best instructions, things can go sideways when you're trying to restore a WordPress backup. It's never a perfectly straight line, and hitting a snag is incredibly frustrating, especially when your site is down.
Let's walk through some of the most common questions and issues people run into. I'll give you straight answers to get you past the roadblock.
What happens when a restore just… fails? It might time out halfway through, spit out a database connection error, or even say it "completed" while leaving you with a totally broken site. This is probably the most stressful part of the whole process.
A failed restore doesn't automatically mean your backup file is corrupted. More often than not, the problem lies with the server environment itself—things like restrictive server settings or file permission problems are common culprits.
Before you panic, the first place to look is your server's error logs. They can be cryptic, but they often hold the key. I've seen countless restores fail due to low PHP memory limits or maximum execution times that are just too short for a large site. A quick message to your hosting provider asking them to temporarily bump up these limits can often solve the problem in minutes.
Can I Restore a Backup to a New Domain?
Yes, absolutely. In fact, this is a standard procedure for migrating a website or spinning up a staging copy to test changes. It’s not quite as simple as just restoring the files and database, though.
Once the restore is done on the new server, your database is still full of references to the old domain name. This is what causes all those broken links, missing images, and frustrating redirect loops. You'll need to run a "search and replace" on the database to swap every instance of the old URL with the new one. A great tool for this is the Better Search Replace plugin, which you can run right after the restoration is complete.
How Long Does a WordPress Restore Take?
This is the classic "it depends" answer, but it's the truth. The time it takes is tied directly to the size of your website.
A small personal blog with a handful of posts might be back online in under five minutes. On the other hand, a large e-commerce store with thousands of products and gigabytes of images could easily take an hour or more.
The two biggest factors are:
- Database Size: The more posts, pages, users, and orders you have, the longer it takes to import the SQL file.
- File Size: Your
wp-content/uploadsfolder is almost always the heaviest part. Restoring gigabytes of media files just takes time.
Of course, your server's muscle plays a huge part. A restore on a beefy VPS will fly compared to one chugging along on a cheap shared hosting plan.
What If My Restored Site Looks Broken?
This one is common and always causes a mini heart attack. The restore finishes, you get the success message, but the site is a mess—the styling is gone, images are missing, and every link leads to a 404 error.
Don't worry. This is almost always an easy fix.
The number one cause is your permalinks setting. After a restore, WordPress sometimes needs a little nudge to rebuild its URL structure. Just log into your admin dashboard, go to Settings » Permalinks, and click the Save Changes button without changing a thing. This simple action forces WordPress to flush its rewrite rules and usually fixes all the broken links and 404s instantly.
For more serious situations where your site is badly damaged, you might need a more intensive approach. Our guide on complete WordPress site recovery can walk you through the more advanced troubleshooting steps.
Juggling backups and restores across several sites can quickly become a full-time headache. WP Foundry brings it all together, letting you create database backups, manage plugins and themes, and check site health from a single, powerful desktop app. You can simplify your entire workflow and keep your sites secure by downloading WP Foundry today at https://wpfoundry.app.
Comments
One response to “Restore From Backup WordPress A Complete Guide”
[…] happens. If you run into a snag, having that complete copy is what saves the day. Knowing how to restore your WordPress site from a backup is the skill that will give you total peace of mind through this whole […]