
Trying to figure out how to migrate a WordPress site can feel overwhelming, but it doesn't have to be. At its core, the whole process is really just four main jobs: backing up your files and database, moving them over to the new host, pointing your domain's DNS records to the new location, and then giving the new site a thorough check.
Having a solid plan is your best defense against those classic migration headaches and unexpected downtime.
Your Pre-Migration Strategic Blueprint
A smooth migration is all about the prep work. Seriously, most problems happen when people rush this part, which is how you end up with lost data, broken links, or a site that's offline for hours. Think of this as your mission plan.
Your first big decision, and it’s a crucial one, is picking your new hosting provider. This choice is going to directly affect how fast your site runs, how secure it is, and how easily you can grow down the line.
Choosing the Right Host
Don't just chase the lowest price tag. A good host gives you a lot more than just space on a server.
You should be looking for:
- Performance: Does the host use up-to-date tech like NVMe SSDs? Are they known for quick server response times?
- Security: Check for built-in security like firewalls, malware scanning, and free SSL certificates. These are non-negotiable.
- Support: If something breaks at 2 AM, can you get in touch with someone who actually knows what they're doing?
- Migration Tools: Many hosts, especially those we recommend at WP Foundry, offer free or automated migration tools. This alone can save you a ton of time and stress.
This isn't just a technical choice; it's a strategic move that builds the foundation for your site's future.
WordPress Migration Method Comparison
There are a few ways to tackle a migration, each with its own pros and cons. This table should give you a quick idea of which approach might be the best fit for you.
| Migration Method | Best For | Technical Skill Required | Key Advantage |
|---|---|---|---|
| Managed Host Migration | Beginners or anyone wanting a hands-off experience. | Low | The host's expert team handles everything for you. |
| Migration Plugins | DIY users who want a guided, automated process. | Low to Medium | Simple interface, minimal manual work. |
| Manual Migration (FTP/cPanel) | Experienced users needing full control. | High | Complete control over every file and database entry. |
Ultimately, the best method depends on your comfort level with the technical side of things and how much time you're willing to spend. For most people, a good plugin or a managed service is the sweet spot.
Creating a Site Inventory
Next up, you need to take stock of your current website. This is more than just a file count; it’s about knowing all the moving parts.
Make a list of every active plugin, your theme (and any child themes), and any custom code snippets or special configurations you've added over the years. This audit is a lifesaver for spotting potential conflicts before they happen on the new server.
A detailed inventory prevents those "Oh, I forgot about that plugin" moments that can completely derail an otherwise smooth move. It turns a bunch of unknowns into a simple, predictable checklist.
The sheer number of websites needing this kind of planning is huge. WordPress now powers over 43% of all websites on the internet. That means more than 532 million sites globally are built on this platform. This incredible market share makes knowing how to migrate a WordPress site a vital skill for anyone managing a website. You can explore the latest WordPress statistics to see just how big its footprint is.
Creating a Bulletproof Backup of Your Site
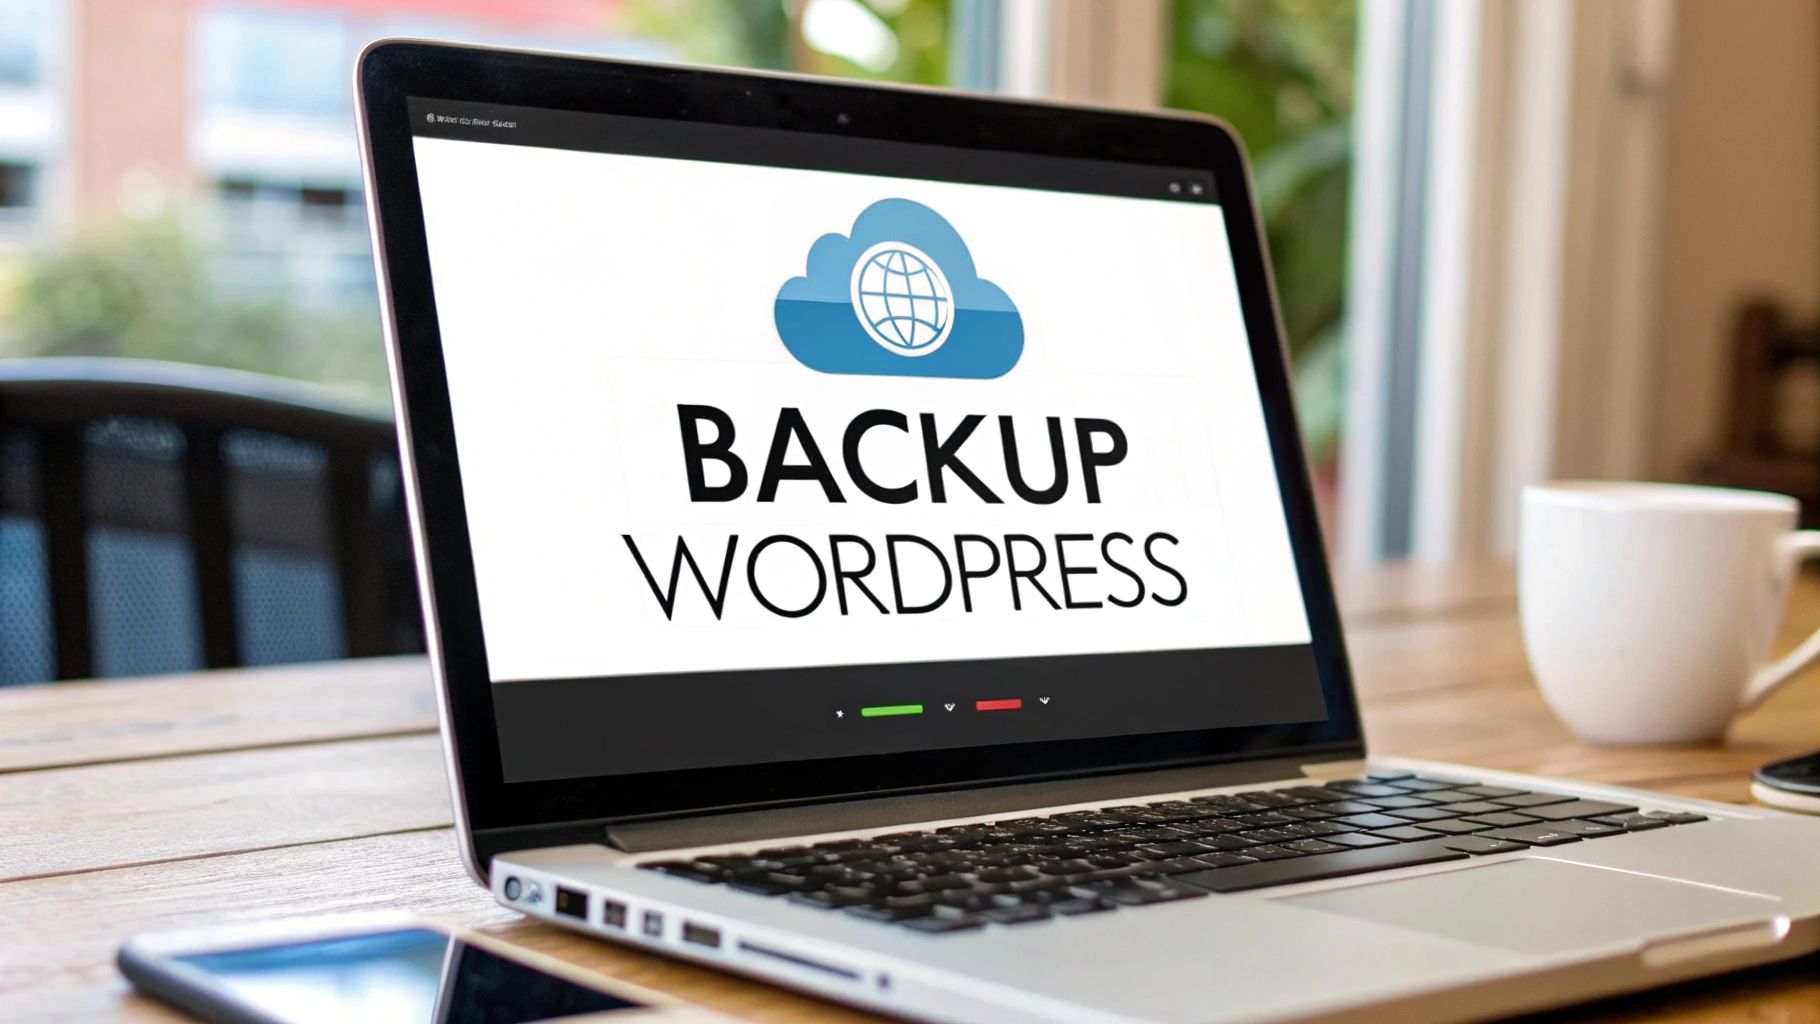
Let's talk about the single most important rule of learning how to migrate a WordPress site: your backup is your lifeline. Seriously. Before you touch a single file or tweak any settings, getting a complete and verified backup is non-negotiable. Think of it as your ultimate safety net—the reset button you can hit if anything goes sideways during the move.
I've seen it happen: someone thinks a backup is just a backup. But a truly bulletproof one has two critical parts: your website files and your WordPress database. If you miss one, you'll end up with a broken site on the other end.
Capturing Your Complete Website
When we say "website files," we're talking about everything that makes your site look and function the way it does. This goes way beyond just your image uploads; it's the entire digital skeleton of your site.
To make sure you've got it all, your file backup needs to include:
- WordPress Core Files: The foundational engine of your WordPress installation.
- The
wp-contentDirectory: This is the big one. It holds your themes, plugins, and every piece of media you've ever uploaded. - Configuration Files: Key files like
wp-config.phpand.htaccesswhich tell your site how to talk to the database and manage your URLs.
Forgetting any of these pieces can cause anything from a wonky layout and missing images to a site that just won't load at all.
Database and File Backup Methods
You've got a few solid ways to grab your backup. The right one for you usually depends on your technical comfort zone.
| Backup Method | Who It's For | Key Benefit |
|---|---|---|
| Plugin-Based | Most users, from beginners to experts. | Simple, automated, and often has options to send backups straight to cloud storage. |
| Manual (SFTP/phpMyAdmin) | Users who want full, granular control. | Gives you direct access to every file and the database for a completely hands-on process. |
| Host-Level Backups | Anyone whose host provides this service. | Usually an easy one-click backup made right from your hosting control panel. |
The sheer scale of migrations happening daily shows just how vital good backup habits are. In 2025, the United States alone is home to over 3 million WordPress sites, with Germany and the UK not far behind. This means countless migrations involve complex, high-traffic sites where a failed transfer just isn't an option.
A backup you haven't tested is just a guess. Once you have your backup files, store copies in at least two different, secure, off-site locations. Think Google Drive or Dropbox. This redundancy is your best defense against a server glitch or an accidental deletion.
Once your backup is tucked away safely, you're ready for whatever happens. If you run into a snag, having that complete copy is what saves the day. Knowing how to restore your WordPress site from a backup is the skill that will give you total peace of mind through this whole process.
Executing the Migration with Precision
With your backup safely stored, it’s time to get down to the actual migration. This is where a good tool really proves its worth, transforming what could be a headache-inducing technical process into a series of straightforward steps. We'll use WP Foundry as an example to show you how to package up your site and deploy it confidently.
Don't think of this as some daunting technical task. A solid migration tool does the heavy lifting for you, handling things like updating database connection strings and sorting out file permissions on the new server. This kind of automation is a huge help when you're figuring out how to migrate a WordPress site.
Packaging Your Entire Site
The first real step is creating a complete, self-contained package of your website. Tools like WP Foundry are built to bundle everything—your database, plugins, themes, and all your media files—into a single, portable archive. It’s like putting your entire digital presence into one well-organized box, ready for the move.
Migrating a small blog is one thing, but moving a large e-commerce store with thousands of products and customer records is another beast entirely. A good migration utility handles these differences without a fuss, making sure no data gets lost or corrupted, no matter how big or complex your site is.
A packaged migration is all about consistency. It ensures the environment on your new host is an exact replica of the old one, which drastically reduces the chances of post-migration errors. This is the secret to a move that just works.
Deploying to the New Host
Once you've got your site package, the next move is to deploy it to your new hosting environment. Often, this is as simple as uploading the package file and an installer script to your new server's root directory. From there, you just navigate to the installer script in your browser, which kicks off the automated process of unpacking and setting everything up.
This is a key moment in the migration, where all the core pieces of your site, especially the database, are moved over.
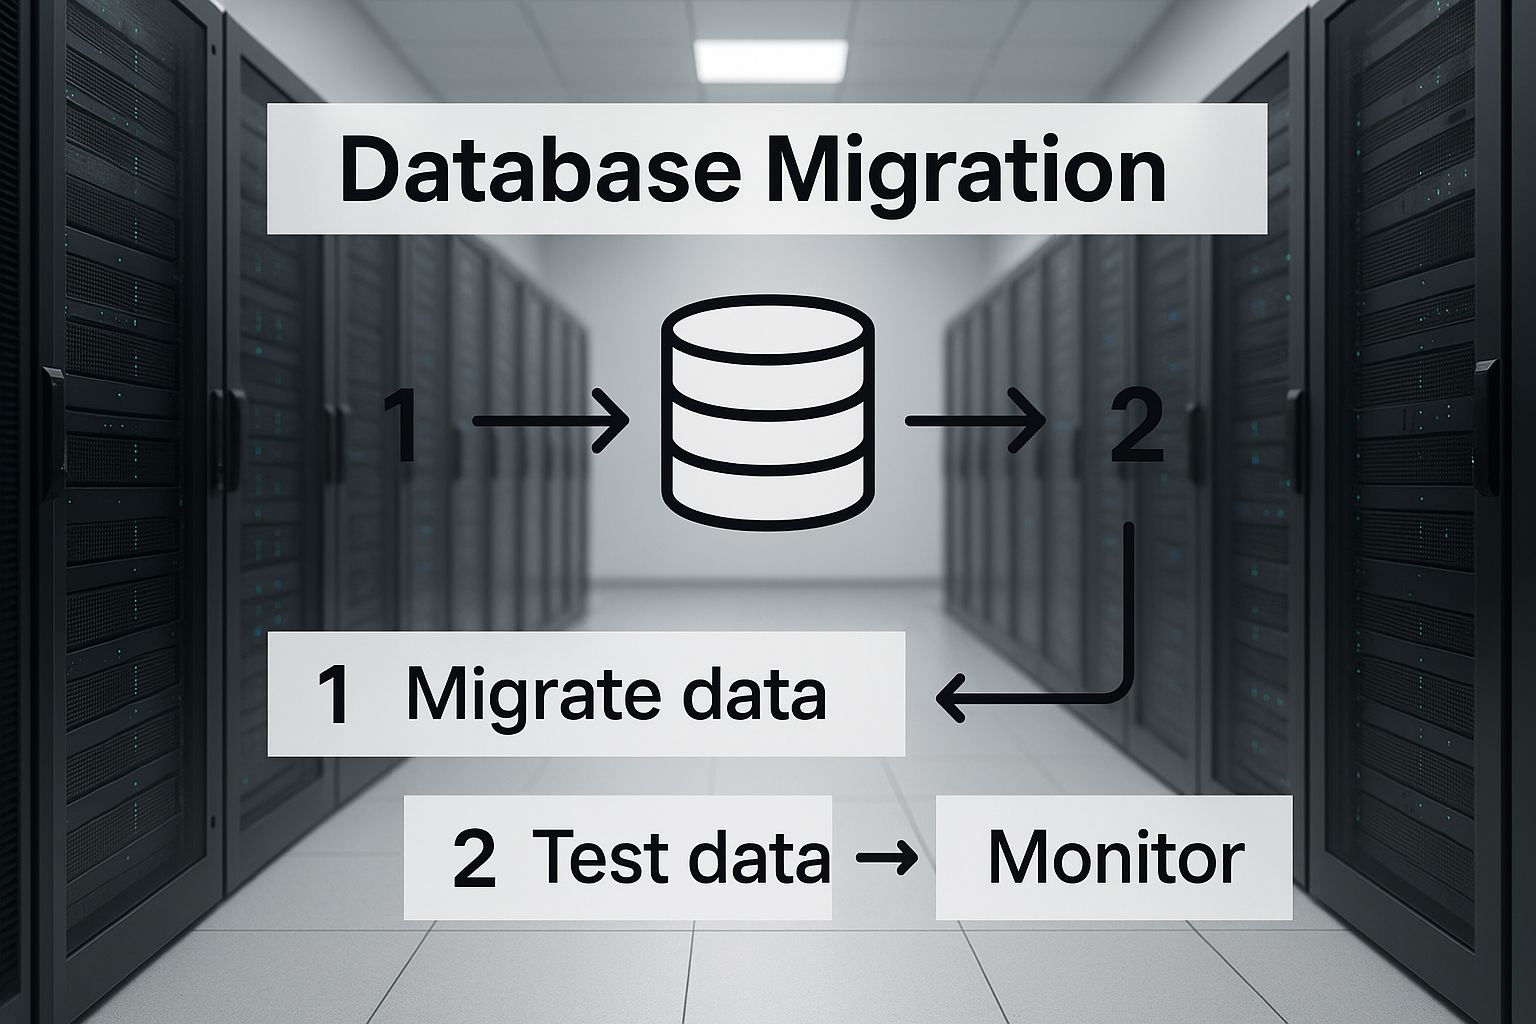
The image above really captures the essence of this step: moving the "brain" of your website from one server to another. A successful migration makes sure this transfer happens perfectly, without losing a single post, comment, or user setting.
During this automated setup, the installer will prompt you for your new database credentials. It then cleverly runs a search-and-replace on your database, updating all the old URLs and file paths to match the new server. This step alone can save you hours of manual tweaking and prevent a ton of broken links.
The Value of a Staging Environment
Before you flip the final switch, it's always a smart move to test the migration on a staging site. A staging environment is basically a private clone of your site on the new server, which lets you iron out any kinks before your visitors ever see them. Most quality hosts offer one-click staging setups these days.
Using a staging area lets you:
- Verify Functionality: Test all your forms, checkout processes, and plugin features in a safe space.
- Check for Errors: Hunt down any broken links, missing images, or plugin conflicts that might pop up on the new server.
- Confirm Performance: Get a real sense of how your site performs on the new hardware before you fully commit.
This testing phase is a non-negotiable part of a professional migration. To get a better handle on this, you can learn more about how to create a WordPress staging site with our detailed guide. It’s a small step that gives you massive peace of mind and helps ensure your final launch goes off without a hitch.
Pointing Your Domain to the New Server
Right now, your website lives in two different places—the old server and your new one. The final piece of the puzzle is to tell the internet where to send your visitors from now on. This is all handled by updating your Domain Name System (DNS) records, which basically act as the internet's address book.
You’re essentially submitting a change-of-address form for your domain. This isn't something you do inside WordPress or on your hosting server. Instead, you'll make this change at your domain registrar—the company you bought your domain name from, like GoDaddy, Namecheap, or Google Domains.
Your new host will give you a set of nameservers, which are just addresses that look something like ns1.newhost.com and ns2.newhost.com.
Updating Your Nameservers
The process itself is usually pretty straightforward. You’ll log into your domain registrar's control panel, find the DNS or nameserver management area for your domain, and swap out the old nameservers for the new ones.
This is the digital equivalent of flipping the main switch for your new site. Once you hit "Save," you’ve officially started the cutover.
I always take a screenshot of the old nameserver settings before touching anything. Think of it as a free insurance policy. If anything goes sideways, you can quickly switch back to your original setup without digging through old support tickets or emails to find the settings.
Understanding DNS Propagation
After you update your nameservers, the change isn't instant. It has to spread across the internet in a process called DNS propagation. You can think of it like a global memo going out to all internet servers, letting them know about your site's new address.
This can take anywhere from a few minutes up to 48 hours, although in my experience, it’s usually much quicker. During this window, some of your visitors might land on the old site while others see the new one. This is completely normal, and it's exactly why we did all our testing on a staging site first.
You can watch the process happen in real-time using a free tool like DNS Checker. Just type in your domain name, and it will show you a map of which locations around the world are pointing to your new server. It's a great way to confirm the switch is complete. Just be patient; messing with settings during propagation is a recipe for trouble.
Your Post-Migration Sanity Check

Your site is officially live on the new server, but don't pop the champagne just yet. This final, active phase of learning how to migrate a WordPress site is all about verification. I’ve seen it countless times—people rush this part and end up with small, frustrating glitches that annoy their visitors. A systematic check is what separates a good migration from a great one.
Think of it as the final walkthrough before you hand over the keys. Your mission is to find any gremlins that hitched a ride during the move before your audience does. This goes way beyond just loading the homepage; it’s about making sure the entire user experience is solid from top to bottom.
Hunting for Broken Links and Media
First things first: check for broken links and missing images. Site migrations are notorious for creating these kinds of path-related errors. Even the best migration tools can miss something, so it's always smart to double-check yourself.
I always start by manually clicking through the main navigation menu, header links, and anything in the footer. After that, I use a tool like the free online Broken Link Checker to crawl the entire site. It saves a ton of time and catches 404 errors on pages you might not think to check.
A single broken link on a key page can torpedo user trust and hurt your SEO. Taking 30 minutes to run a comprehensive link check is one of the highest-value tasks you can perform post-migration.
While you're at it, scroll through your most important pages—especially image-heavy blog posts or portfolio pages. Make sure all your images, videos, and other media are loading correctly. Nothing screams "unprofessional" like a broken image placeholder.
Testing Critical User Pathways
Next, it’s time to put on your user hat and test the most important functions on your website. These are the critical interactions that your business depends on.
Here’s a quick checklist of what I always test:
- Contact and Opt-in Forms: Fill out every single form. Do you get the email notification? Does the entry show up in your WordPress backend or CRM?
- Checkout Process: This is non-negotiable for e-commerce sites. I recommend placing a small test order with a live payment gateway to confirm the entire process works, from adding an item to the cart to seeing the final confirmation page.
- User Login and Registration: Go through the login flow and try registering a new test user. You need to be sure these accounts work flawlessly on the new server.
- Comments Section: Drop a test comment on a blog post to make sure it submits and appears as it should.
This is also the perfect time to ensure your backup system is configured and working on the new server. A solid backup strategy is your best insurance policy. You can learn more about how to create a WordPress site backup you can truly depend on.
Uncovering Sneaky Technical Glitches
Finally, it’s time to hunt for the less obvious technical issues that often pop up after a move. These can be tricky to spot but can have a real impact on your site’s performance and security.
A very common problem is mixed content errors. This happens when your site loads over secure HTTPS, but some resources (like an image or a script) are still being called over insecure HTTP, triggering a browser warning. The developer console in Chrome or Firefox is your best friend for spotting these.
Another one I see all the time involves permalinks. If your blog posts suddenly start returning 404 errors, it’s an easy fix. Just go to Settings > Permalinks in your WordPress admin dashboard and click the "Save Changes" button. You don't need to change anything; this simple action flushes the server's rewrite rules and forces WordPress to rebuild them for the new environment.
To help you stay organized, here’s a quick troubleshooting checklist for some of the most common post-migration hiccups.
Post-Migration Troubleshooting Checklist
This checklist covers the most frequent issues encountered after a migration. Running through it can help you quickly identify and resolve problems.
| Issue | Common Cause | How to Check | Quick Fix |
|---|---|---|---|
| Broken Images | Incorrect file paths after migration. | Manually browse key pages or use a site crawler. | Use a search-and-replace plugin to update old URLs to new ones. |
| 404 Errors on Pages | Permalinks not updated for the new server. | Click through internal links from your homepage. | Go to Settings > Permalinks and click "Save Changes" to flush rewrite rules. |
| Forms Not Sending | Server email configuration or plugin conflict. | Submit a test entry on all forms. | Check your WordPress mail sending settings (SMTP plugin) or contact your host. |
| Mixed Content Warning | Insecure (HTTP) elements on a secure (HTTPS) page. | Use your browser's Developer Tools (Console tab). | Install a plugin like "Really Simple SSL" to force HTTPS or run a database search-and-replace. |
| Slow Loading Times | New server caching is not configured or is misconfigured. | Use a speed test tool like GTmetrix or PageSpeed Insights. | Check your hosting panel for caching options or install a caching plugin like WP Rocket. |
Once you’ve worked through these checks and fixed any lingering issues, you can finally relax. Your WordPress migration is officially complete
Frequently Asked Migration Questions
Even with a perfect plan for how to migrate a WordPress site, a few questions always pop up. It's completely normal. Drawing from years of hands-on migrations, here are the things people ask us most often, along with some straightforward answers.
Will My Website Go Down During the Migration?
This is easily the number one concern, but here’s the good news: not if you do it right.
A proper migration is specifically designed to avoid any downtime. The whole idea is to get your site fully set up and working on the new host before you touch your DNS settings. Your old site stays live and accessible to visitors the entire time.
The only "in-between" moment is during DNS propagation. For a few hours, some of your visitors might land on the old site while others land on the new one. But at no point is your site actually "down" or showing an error.
How Long Does a WordPress Migration Usually Take?
This one really depends. The actual time can swing quite a bit based on a few key things:
- Site Size: A simple blog with a few hundred megabytes of files could be done in under an hour. But a huge e-commerce site with gigabytes of product images and customer data? That could take several hours.
- Migration Method: Using a migration plugin or a managed host's built-in tool is almost always the quickest way. A manual migration, moving files and the database yourself, is much more involved and time-consuming.
- Your Experience Level: If this isn't your first rodeo, you'll naturally be faster. If you're a beginner, it’s wise to budget extra time to carefully go through each step.
As a general rule, I'd suggest setting aside a full afternoon. This way, you won't feel rushed, which is when mistakes tend to happen.
A migration isn't a race. The file transfer itself might be quick, but the real time is in the prep work and the final checks. Rushing is a recipe for problems.
Do I Need to Migrate My Posts and Pages Separately?
No, you shouldn’t have to. A complete migration moves your entire site as a single package.
When you create a full backup, it includes your entire WordPress database. That's where all your posts, pages, comments, users, and website settings live. Restoring this backup on the new server brings everything over in one clean operation.
The built-in WordPress import/export tool is really only designed for moving basic text content. It often leaves things like featured images behind and creates more manual cleanup work. A full migration is far more thorough and efficient.
Will I Lose My SEO Rankings After a Migration?
If you handle it correctly, a migration should have little to no negative effect on your SEO. It all comes down to making sure your URLs stay exactly the same and that you don't accidentally create a bunch of broken links (404 errors).
The single most critical SEO task post-migration is running a full link check. If you have to change any URLs, you must set up 301 redirects. This is how you tell search engines that a page has moved for good, allowing them to pass its ranking authority to the new address.
So long as you preserve your URL structure and patch up any broken links, your rankings should hold steady. This is a non-negotiable part of any successful site move.
Juggling updates, backups, and security scans for one or more WordPress sites can feel like a full-time job. With WP Foundry, you can manage everything from a single desktop app, saving you time and giving you total peace of mind. Streamline your entire workflow at https://wpfoundry.app.