
When it comes to adding new features to a WordPress site, you've got three main ways to install a plugin: searching the official directory, uploading a zip file, or using FTP for a manual install.
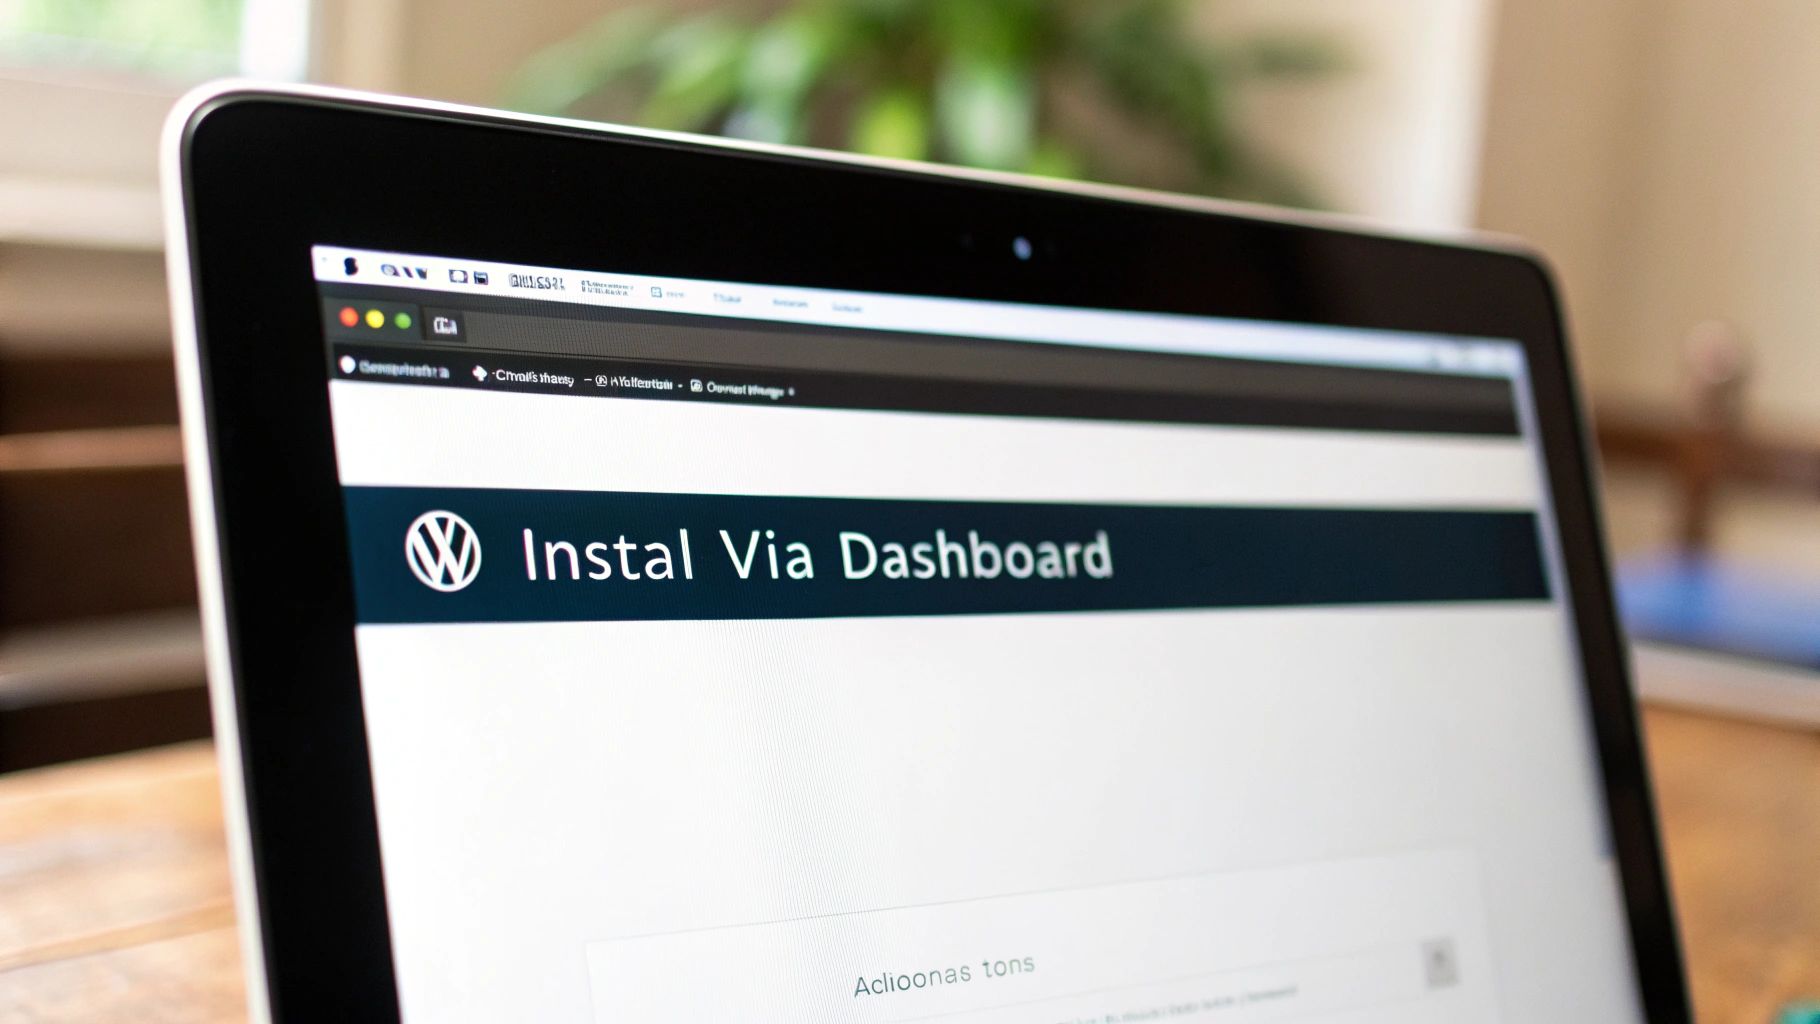
For most people, the simplest route is right through the WordPress dashboard. Just head to Plugins > Add New, search for what you need, click "Install Now," and then "Activate." Easy.
Why Mastering Plugin Installation Is a Core WordPress Skill
Before we get into the step-by-step, let's talk about why this is such a fundamental skill. Plugins are the building blocks that let you turn a basic WordPress site into just about anything you can imagine—a bustling online store, a portfolio, or a high-traffic blog. They add all the cool features that don't come standard.
This incredible flexibility is why WordPress is the undisputed king of content management systems. As a key part of any comprehensive web development project, getting comfortable with plugins is how you truly customize a site to fit your exact needs.
The Power of Extensibility
Think about it. Plugins can add powerful SEO tools like Yoast, beef up your security with Wordfence, or give you an amazing drag-and-drop page builder like Elementor. When you know how to find, install, and manage them, you unlock your site's true potential.
It’s this very power that has led to WordPress running about 43.5% of all websites on the internet. The official directory alone has over 59,000 free plugins, covering almost any function you could dream up. You can dig into more WordPress usage statistics on Hostinger if you're curious.
When you can confidently manage plugins, you're in the driver's seat. You can adapt, grow, and add new features to your site without ever having to write a single line of code.
Knowing your way around plugins isn't just a technical task; it's a strategic one. This guide will walk you through the process so you can handle installations like a pro and keep your site running smoothly.
Installing Plugins from the Official WordPress Directory
The simplest and most reliable way to add features to your WordPress site is by using the official plugin directory. It's a massive library that’s built right into your admin dashboard, giving you access to thousands of free, pre-vetted plugins in just a few clicks.
To get started, head over to the Plugins > Add New section in the main menu on the left side of your dashboard. This screen is your direct portal to the entire directory.
Searching for the Right Plugin
You'll see a search bar at the top right of the page. This is where the magic happens. You can type in the name of a specific plugin you know, or just describe a function you're looking for, like "contact form" or "image optimization."
For our walkthrough, we'll search for a popular caching plugin called "LiteSpeed Cache."
As soon as you start typing, WordPress searches the directory and shows you the results. You’ll see a grid of plugin "cards," and each one gives you some essential info to help you decide what's best for your site.
This is what the search results typically look like inside the WordPress dashboard.
Notice that each result shows the plugin's name, a quick description, the author, user ratings, and how many active installations it has. This information is your first line of defense in choosing a quality plugin.
How to Evaluate Plugin Search Results
Before you hit that "Install Now" button, it's smart to take a quick look at the details. A solid, trustworthy plugin usually has:
- High Ratings: A healthy number of 4- and 5-star reviews is always a good sign.
- Many Active Installations: When a plugin has a huge number of active installations (think 1+ million), it generally means it's stable and widely trusted in the community.
- Recent Updates: Pay close attention to the "Last updated" date. A recently updated plugin is far more likely to be secure and play nice with the latest version of WordPress.
Once you’ve settled on a good candidate like LiteSpeed Cache, just click the Install Now button. WordPress will download and install everything for you in the background. When it's done, the button will turn into a blue Activate button.
Key Takeaway: Just installing a plugin adds its files to your site—it doesn't actually turn it on. You have to click Activate to make its features live and available.
And that's it! Once activated, you've successfully installed a plugin using the most common method. The next step is usually configuring its settings, which you can often find in a new menu item created by the plugin or under the main "Settings" tab.
For a more detailed look at this and other installation methods, our full guide on how to install a plugin in WordPress covers every option.
Uploading a Plugin Manually with a Zip File
While the official directory is fantastic for free plugins, you’ll quickly find that many of the most powerful tools come from third-party marketplaces or directly from a developer’s own website.
When you buy a plugin from a source like CodeCanyon or a premium developer, they’ll give you a .zip file to download. This file has everything WordPress needs, but you can't just search for it in the dashboard. This is where manual uploads come in.
Getting to the Plugin Uploader
The starting point is the same. Just head to Plugins > Add New in your WordPress admin menu.
This time, instead of using the search bar, look for the Upload Plugin button right at the top of the page. Clicking it slides open a simple file uploader.
You'll see a "Choose File" button, which will open your computer's file browser. Now, just find the .zip file you downloaded earlier.
Pro Tip: Here’s the single most common mistake people make: unzipping the file first. Don't do it! WordPress is built to handle the entire compressed .zip file. Uploading the folder inside the zip will only lead to errors.
After you select the file, its name will show up next to the button. All you need to do now is click Install Now. WordPress will handle the rest—uploading the package, unpacking it into the right spot on your server, and getting it ready to go.
Activating Your New Plugin
Once the upload and install process is done, WordPress will take you to a success screen. Just like with any other plugin, the final step is to switch it on.
Look for a big blue button or a link that says Activate Plugin. Give that a click, and you’re done.
Your new premium plugin is now installed and active on your site. The next step is usually to find its new settings menu and enter the license key you got when you bought it, which will unlock automatic updates and support.
Using FTP for Advanced Plugin Installations
Every now and then, the standard WordPress dashboard install just won't cut it. Maybe you're locked out of your admin area, or a pesky server configuration is blocking direct uploads. When that happens, knowing how to install a WordPress plugin with FTP (File Transfer Protocol) is a lifesaver.
This method lets you bypass the WordPress admin entirely and work directly with your site's files. You'll need two things to get started: your server's FTP login details (your web host provides these) and an FTP client. A great free option that many people use is FileZilla.
Once you have your credentials, you'll use the FTP client to connect to your server. Think of it like using Finder on a Mac or File Explorer on Windows, but for the files hosted on your web server.
The image below gives you a clear picture of how an FTP client bridges the gap between your computer and your website's server, letting you transfer the plugin files directly.
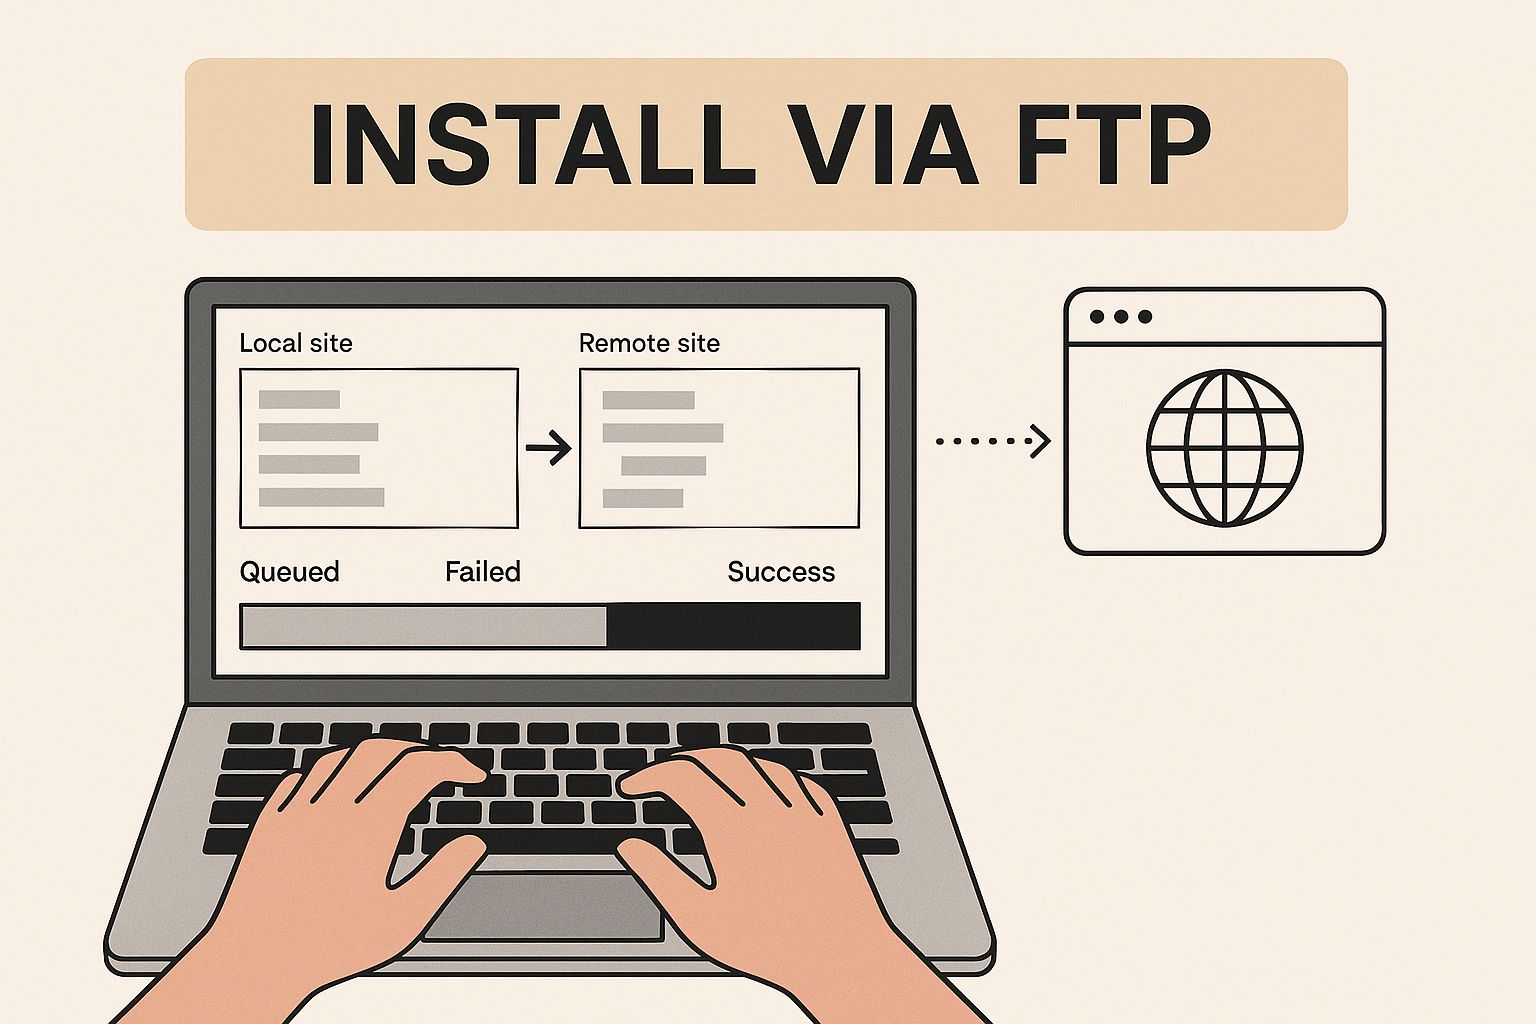
As you can see, the FTP client is simply the tool that moves the plugin folder from your local machine into the correct directory on your live site.
Navigating to the Right Directory
After you've connected to your server, you need to find the plugins folder. This is almost always located in the /wp-content/plugins/ directory. You'll likely start in a root folder called public_html or www to get there.
Here's a crucial step: unzip the plugin file on your computer before you upload it. Unlike the dashboard method, FTP requires the unzipped folder, not the .zip file.
A common trip-up is accidentally nesting the plugin folder. You want the path to be
/plugins/my-new-plugin/, not/plugins/my-new-plugin/my-new-plugin/. Double-check the folder structure after you unzip it.
Simply drag the unzipped plugin folder from your computer over to the /plugins/ directory in your FTP client. After the files finish transferring, head back over to your WordPress dashboard. Navigate to the Plugins page, find your new plugin in the list, and click Activate. You're good to go.
Post-Installation Checks and Plugin Management
Hitting 'Activate' on a new plugin isn't the finish line. I've learned from experience that what you do after installation is just as important to keep your site running smoothly and securely.
The very first thing I do is a quick spot-check. Go look at the key pages on your site—the homepage, a few blog posts, your contact form, and especially the checkout process if you're running an e-commerce store. This immediately tells you if the new plugin has caused any obvious visual glitches or conflicts.
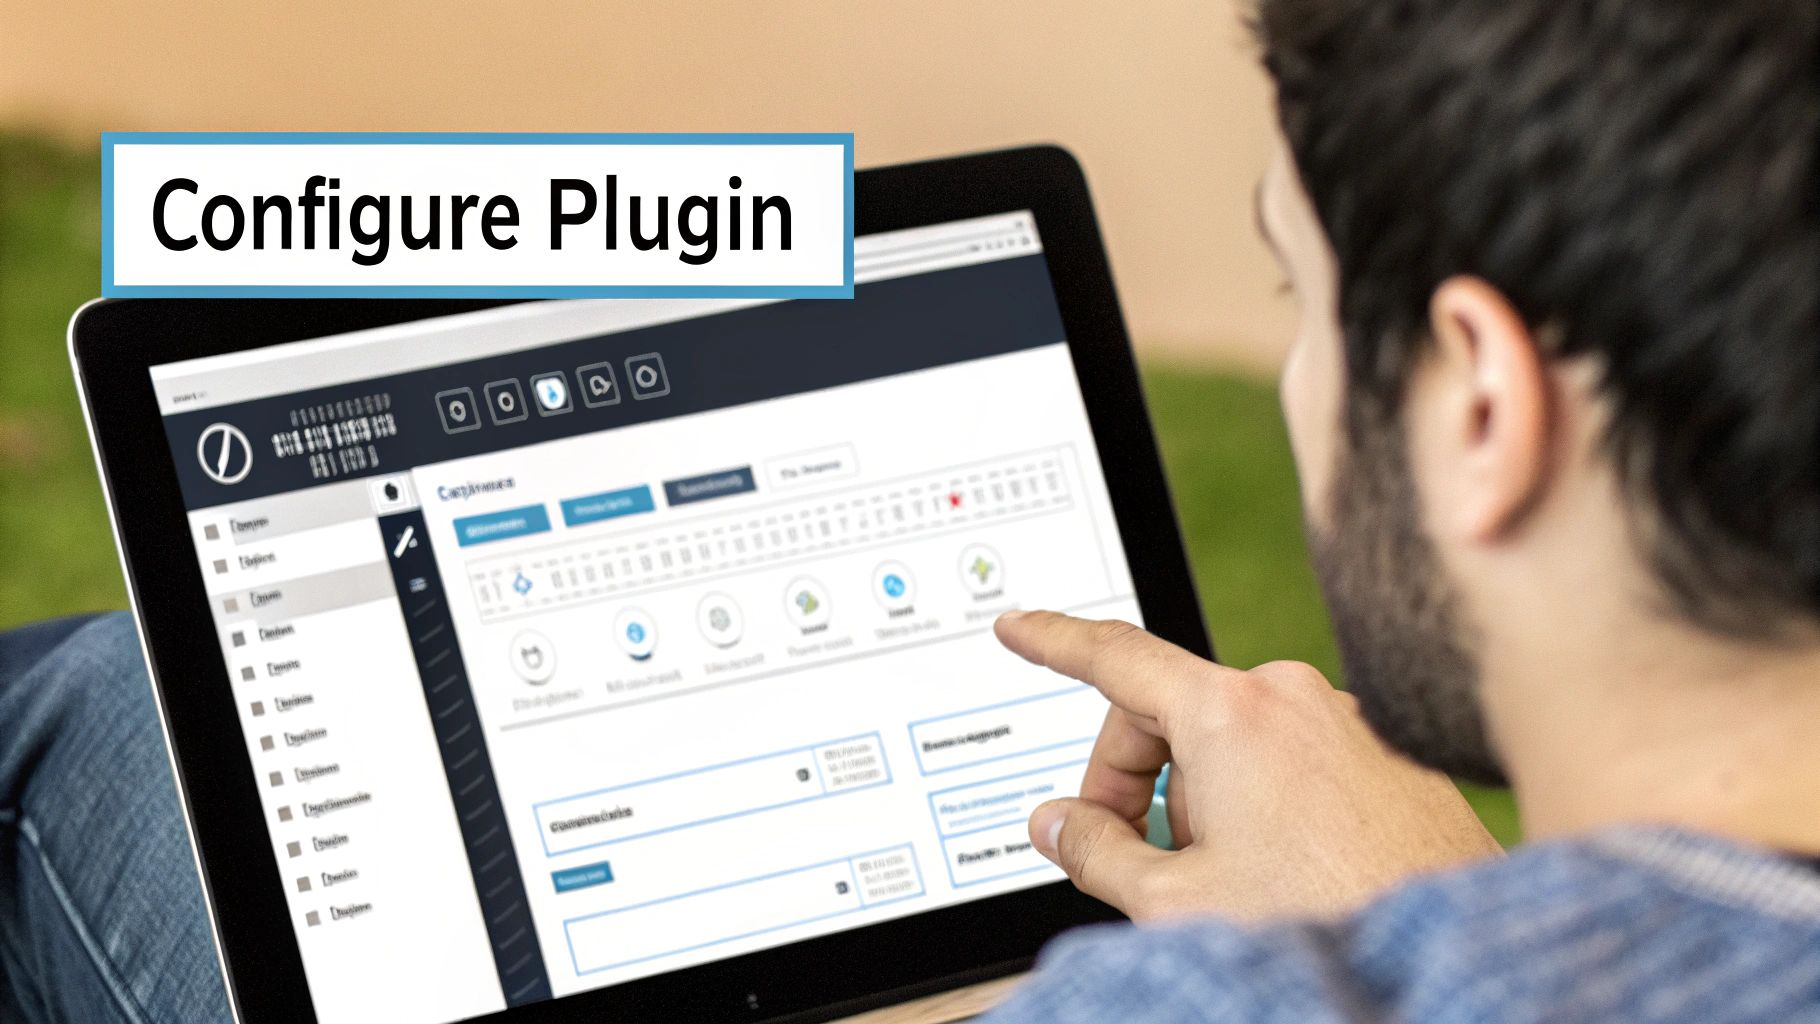
Configure and Verify
Most plugins will tuck their settings away somewhere in your WordPress dashboard, either as a new menu item on the left or under the main "Settings" tab. You'll want to find this and poke around, because the default settings are almost never a perfect fit for every site.
Once you have things configured, it's time to confirm everything is working as it should. Here's a quick checklist I run through:
- Front-End Functionality: Is the plugin actually doing what it's supposed to for your visitors? If it's a contact form plugin, send a test submission.
- Backend Performance: Is your admin dashboard still quick and responsive? A poorly coded plugin can really bog things down.
- No Console Errors: This is a pro-tip. Use your browser's developer tools (usually F12 on your keyboard) to check the "Console" tab for any red error messages.
For a deeper dive, especially after adding a major new feature, it's a good practice to think about performing a comprehensive website audit to ensure all systems are go.
I see this mistake all the time: people just deactivate plugins they aren't using. This is a bad habit because it leaves the plugin's code sitting on your server, which can be a security risk. If you don't need it, delete it.
Keeping up with this for one site is manageable, but it quickly becomes a huge time sink if you're juggling multiple WordPress sites. This is where a centralized tool for WordPress plugin management can be a lifesaver. It lets you handle all these checks and maintenance tasks across all of your sites from one place, which saves a ton of headaches down the road.
Common Questions About Installing WordPress Plugins
Even when things go smoothly, a few questions always seem to pop up when you're getting the hang of installing WordPress plugins. Getting these sorted out early on can save you a lot of headaches later.
What Is the Difference Between Installing and Activating a Plugin
This is a common point of confusion. Installing a plugin just copies the files onto your server; it doesn't actually do anything yet. The plugin is essentially dormant.
To get it working, you have to activate it. This is the step that actually runs the plugin's code and makes its features available on your site. Always remember to activate a plugin right after you install it if you want to use it.
A plugin isn't doing anything for your site until it's activated. Think of installing as putting a new app on your phone, and activating as opening it for the first time.
Is It Safe to Install Plugins from Outside the Official Directory
You can, but you need to be cautious. Stick to trusted developers and well-known premium marketplaces. Plugins from outside the official WordPress directory don't go through the same rigorous review process, which can open the door to security risks.
To keep your site safe, it’s always a good idea to stay on top of updating your WordPress plugins to make sure any vulnerabilities are patched as soon as possible.
Juggling plugins, themes, and backups for multiple websites can quickly become a chore. WP Foundry lets you manage everything from a single, central dashboard. It saves a ton of time and helps keep all your sites secure. See how WP Foundry can make your WordPress workflow a whole lot easier.