
Adding new features to your WordPress site is usually a straightforward process. Just head to your dashboard, go to Plugins > Add New, find the one you need, and click "Install Now," then "Activate." That's the quickest route for most people.
Your Quick Guide to WordPress Plugin Installation
Plugins are the lifeblood of a WordPress site. They're the building blocks you'll use for everything from simple contact forms and SEO improvements to full-blown e-commerce stores. Getting comfortable with installing them is the first real step to unlocking your site's full potential.
It’s a fundamental skill for a reason. With WordPress powering an astonishing 43.4% of all websites, a massive community depends on these tools every day. The admin dashboard makes this incredibly easy, giving you direct access to an official directory packed with over 59,000 free plugins.
This is the official WordPress Plugin Directory, your starting point for finding new functionality.
From here, you can browse a huge library of free, community-vetted plugins for just about anything you can think of.
Three Core Methods for Plugin Installation
Here's a quick comparison of the different ways you can install a WordPress plugin, highlighting who each method is best for.
| Installation Method | Best For | Difficulty Level |
|---|---|---|
| WordPress Dashboard | Beginners and most users installing free plugins from the official directory. | Easy |
| Manual Upload (.zip file) | Installing premium or custom plugins not available in the official directory. | Easy |
| FTP/SFTP | Experienced users, developers, or for troubleshooting when the dashboard is inaccessible. | Intermediate |
Each method has its place, but for day-to-day use, you'll likely spend most of your time in the dashboard.
What Plugins Can You Install?
The possibilities are practically limitless. You can find plugins for simple social media sharing buttons, complex booking calendars, and everything in between.
If you’re building an online store, for example, you might come across specialized payment gateway plugins. A good real-world case is Blockbee's WooCommerce Plugin, which adds cryptocurrency payment options to a shop.
The real power of WordPress comes from its incredible extensibility. Once you master the basic installation process, you open up a world of new features that let you build the exact site you need—no coding required.
While installing plugins one by one is easy enough, it can get tedious if you're managing several sites. If that's you, you might want a more streamlined workflow. Our guide on WordPress plugin management dives into how centralized tools can save you a ton of time and headaches.
For now, let's walk through the three main ways to get a new plugin up and running on your site.
The Easiest Method: Installing from the Dashboard
For most people, the simplest and safest way to add a new plugin is directly through the WordPress dashboard. This is the built-in method, and it connects you right to the official WordPress Plugin Directory—a massive library with thousands of free, pre-vetted tools.
Going this route means you don’t have to mess with any code or file managers. It's hands-down the best approach for both beginners and experienced pros who just want to get things done quickly.
To get started, head over to your site's admin area. In the left-hand menu, just hover over the Plugins tab and a little sub-menu will pop out. From there, click on Add New Plugin. This takes you right into the plugin library where the search begins.
Finding the Right Plugin
Once you're on the "Add New Plugin" screen, the search bar is your best friend. If you already know the name of the plugin you want—say, "Yoast SEO" or "Elementor"—you can just type it in.
But you can also search for what you want to do. For example, if your site is feeling a bit slow, you could search for "caching" or "speed up site" to see plugins designed to improve performance.
Let's walk through a common scenario. Imagine you've heard a caching plugin can make your site faster. You'd type "caching" into the search bar and see a results page that looks something like this:
This screen gives you a bunch of options, each with important details to help you pick the best one for your site.
Before you get click-happy on that "Install Now" button, take a moment to check out the plugin. It's a small step that can save you a world of headaches from potential conflicts or security issues later on.
Pro Tip: I never install a plugin just based on its name. Always check its vital signs—like how many people are using it, its rating, and when it was last updated. This ensures you're adding a healthy, well-supported tool to your site.
What to Look For Before Installing
Here are the four key things I always check on a plugin's information card:
- Active Installations: This tells you how many other websites are using the plugin. A high number—think tens of thousands or more—is a great sign that it's trusted and reliable.
- Star Rating: The community reviews give you a quick feel for how satisfied other users are. I look for plugins with a high average rating and a good number of reviews.
- Last Updated: This shows if the developer is still actively working on it. A recent update suggests it’s more likely to be secure and compatible with the latest version of WordPress.
- Compatibility: You'll want to see if the plugin has been tested with your current version of WordPress. If you see an "untested" warning, it's not always a red flag, but it's a good reason to be a little more cautious.
Once you’ve found a plugin that looks good, click the Install Now button. WordPress will handle the download and installation for you. After a moment, the button will change to say Activate. Give that a click, and your new plugin is officially live and running on your site.
Manually Installing Plugins with FTP
While installing plugins from the WordPress dashboard is usually the easiest route, it’s not always possible. You might have a premium plugin you’ve bought from a marketplace, or your server might have file upload restrictions that get in the way.
When that happens, knowing how to install a plugin in WordPress manually is a lifesaver.
This method involves using a File Transfer Protocol (FTP) client to upload the plugin files directly to your server. It sounds a bit technical, but I promise it's straightforward once you've done it.
Before you start, you'll need two things:
- Your website's FTP credentials (you can usually find these in your hosting account's cPanel).
- An FTP client. I recommend the popular and free FileZilla.
The image below shows the standard way of adding plugins via the dashboard, which is what we're bypassing here.
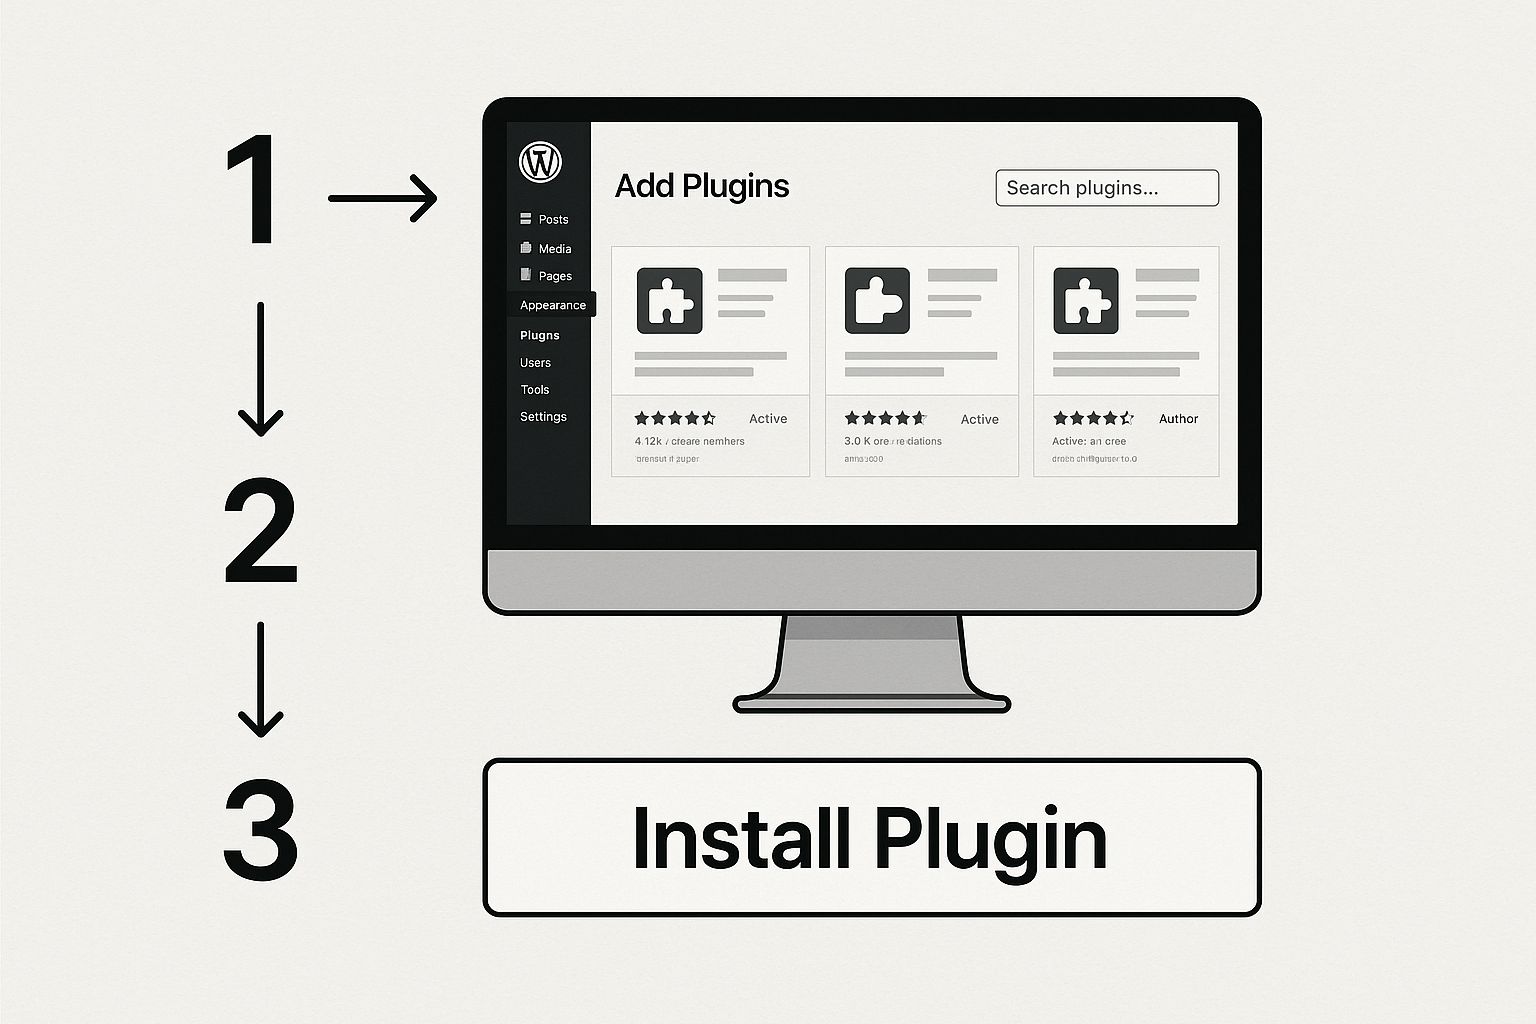
This visual highlights the simplicity of the dashboard method, but FTP is a powerful backup when that path isn't an option.
The Manual Installation Workflow
First, get the plugin’s .zip file from wherever you downloaded it. Here's a common mistake: don't upload the zip file directly. You need to unzip it on your local computer first. This will create a folder with the plugin's files inside, usually named after the plugin itself. That's the folder we'll be uploading.
Next, fire up your FTP client. Connect to your web server using the host, username, and password your hosting provider gave you. Once you’re in, you'll see your local computer's files on one side and your server's files on the other.
Now, you need to find the right folder on your server.
The destination is always the same for every WordPress site:
/wp-content/plugins/. Getting this path right is the most important part of the whole process.
Once you’ve navigated into the plugins folder on the server side, just find the unzipped plugin folder on your local side and drag it over. The FTP client will take care of the rest.
Activating the Uploaded Plugin
After the upload is complete, head back into your WordPress dashboard. Navigate to the main Plugins page. You should see the plugin you just uploaded in the list, but it will be inactive.
To finish up, just click the Activate link right below its name. And that's it! Your manually installed plugin is now live and ready for you to configure. It's a reliable method that gives you full control, ensuring you can install any plugin you need.
Managing Plugins Across Multiple Websites
If you're an agency, a freelancer, or anyone juggling more than a couple of WordPress sites, you know the pain. Logging into dashboard after dashboard to install the exact same plugin or update a page builder is a huge time-sink. It’s tedious, repetitive work that just doesn't scale.
This is where a centralized management tool is a total game-changer. Tools like WP Foundry, ManageWP, or MainWP are built for this exact problem. They pull all your WordPress sites into one interface, completely changing how you handle routine maintenance.
Instead of going through the motions of installing a plugin on each site, you can do it once for all of them, at the same time.
A Smarter, Centralized Workflow
Let’s say you find a fantastic new image optimization plugin. With a centralized dashboard, you can push it out to your entire portfolio of sites in a couple of clicks. Just select the sites, pick the plugin, and the tool does all the heavy lifting, installing it everywhere at once.
The benefits here are pretty clear:
- Massive Time Savings: You'll shave hours off your week by eliminating repetitive plugin installs and updates.
- Better Security: Instantly push security patches to all your sites at once, ensuring nothing gets missed.
- Total Consistency: Keep a standard set of your favorite, essential plugins across every site you manage.
- Quick Deployment: Roll out new tools or ditch outdated plugins from every site in an instant.
For anyone managing more than two or three sites, using a centralized system isn't just a nice-to-have; it's a strategic necessity. It lets you stop wasting time on manual grunt work and start managing your portfolio efficiently.
This approach fundamentally changes your workflow. You stop being a site admin who jumps between browser tabs all day. Instead, you become a portfolio manager with total control, able to make widespread changes securely and instantly. It’s the real secret to scaling your operations without burning out.
Troubleshooting Common Installation Problems
Even the smoothest WordPress task can hit a snag. Learning how to install a plugin in WordPress is one thing, but knowing how to fix things when they go wrong is what really counts. Thankfully, most installation problems are pretty common and entirely fixable with a bit of troubleshooting.
One of the errors I see most often is "Installation failed: Could not create directory." This one isn't actually a plugin problem—it's a server issue. It simply means WordPress doesn't have the permission it needs to add files to your /wp-content/plugins/ folder. The fix usually involves a quick chat with your hosting provider or adjusting folder permissions yourself using an FTP client.
Reacting to Critical Errors
The most alarming problem you can face is the dreaded "white screen of death" (WSOD). Your site is working one minute, and the next it's just a blank white page right after you activate a new plugin. This is a classic sign of a major code conflict or a fatal error.
First, don't panic. The fix is surprisingly straightforward.
- You'll need to use an FTP client to access your site's files.
- Navigate to the
/wp-content/plugins/directory. - Find the folder for the plugin you just activated.
- Simply rename that folder. For example, change
new-plugintonew-plugin-disabled.
Renaming the folder instantly deactivates the plugin, and your site should come right back online. From there, you can figure out what went wrong without your site being down.
Another common culprit for the WSOD is a syntax error, which often points to a PHP version conflict. This happens when a plugin needs a newer version of PHP than what your server is running. A quick trip to your hosting control panel to update your site’s PHP version will usually sort this out.
If you’re managing multiple sites, keeping all your plugins updated is the best way to prevent these kinds of headaches in the first place. It's a good idea to check out our guide on how to safely update plugins in WordPress to get ahead of conflicts before they start.
Common Questions About WordPress Plugins
Once you get the hang of installing plugins, a few common questions always seem to come up. From my experience helping people manage their sites, these are the ones I hear the most. Here are some straightforward answers to help you handle your plugins like a pro.
How Many Plugins Is Too Many?
This is the million-dollar question, but there’s no magic number. It's not about the quantity of plugins; it's all about their quality.
I've seen sites with 30 well-coded, lightweight plugins run circles around sites that are bogged down by just five poorly built ones. The key is to install only what you absolutely need, and always stick to plugins from reputable developers. If you want to see how quality plugins can add serious power, check out these examples of the best WordPress plugins for ideas.
Should I Delete Inactive Plugins?
Yes, without a doubt. An inactive plugin might not be running code on the front end of your site, but its files are still there on your server.
This makes them a security loophole just waiting to be exploited if a vulnerability is discovered. It's just good practice to completely remove anything you aren't actively using. For a more detailed walkthrough on this, take a look at our beginner's guide to managing WordPress plugins, which covers how to audit and clean up your plugin list.
It's wild to think about the scale of some plugins. A top-tier tool like Yoast SEO, for example, has been downloaded more than 700 million times. Sticking with these heavily used and well-supported plugins is almost always a safe bet, as they’re crucial for things like SEO and security.
Can an Outdated Plugin Break My Website?
Absolutely, and it happens all the time. In fact, outdated plugins are one of the biggest culprits behind security breaches and site-breaking conflicts.
An old plugin can easily clash with a new version of WordPress or another plugin, leading to errors or even the dreaded "white screen of death." Keeping everything updated isn't just a suggestion—it's essential for a secure, stable website. Make regular updates a priority to protect your site and keep all its moving parts working together smoothly.
Managing plugins one-by-one across multiple sites can eat up your day. With WP Foundry, you can install, update, and manage plugins across all your WordPress sites from a single desktop app. Centralize your workflow and get your time back by giving WP Foundry a try today.